Wiki in additional languages can be found below:
¶ Video Guide
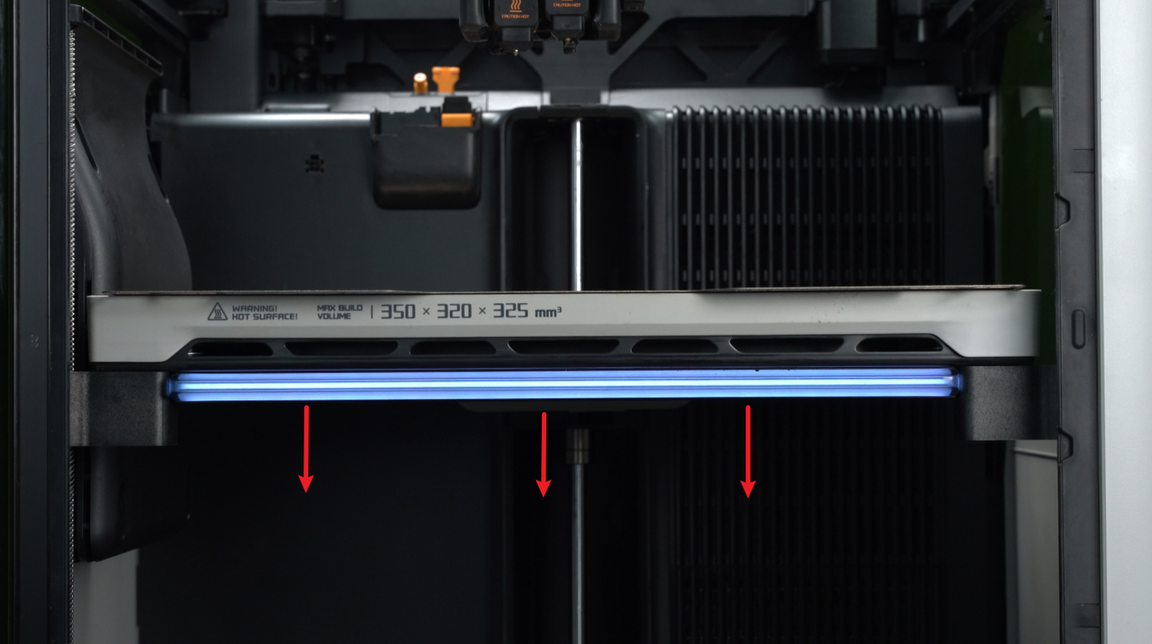
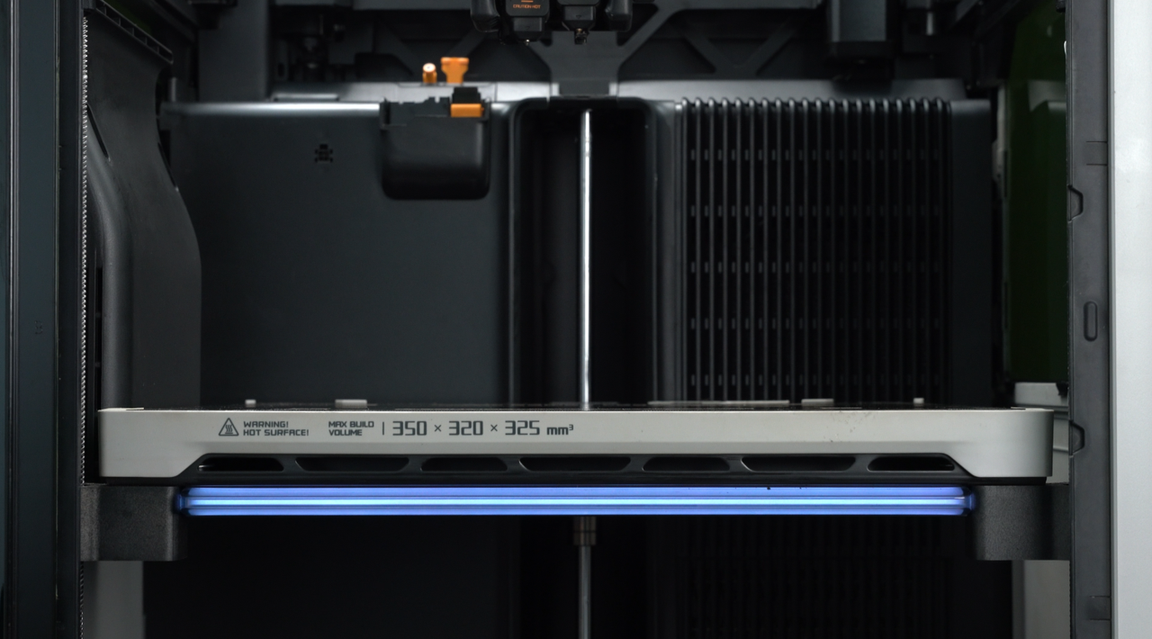
¶ 1. Lower the heatbed
¶ 2. Install the cutting platform
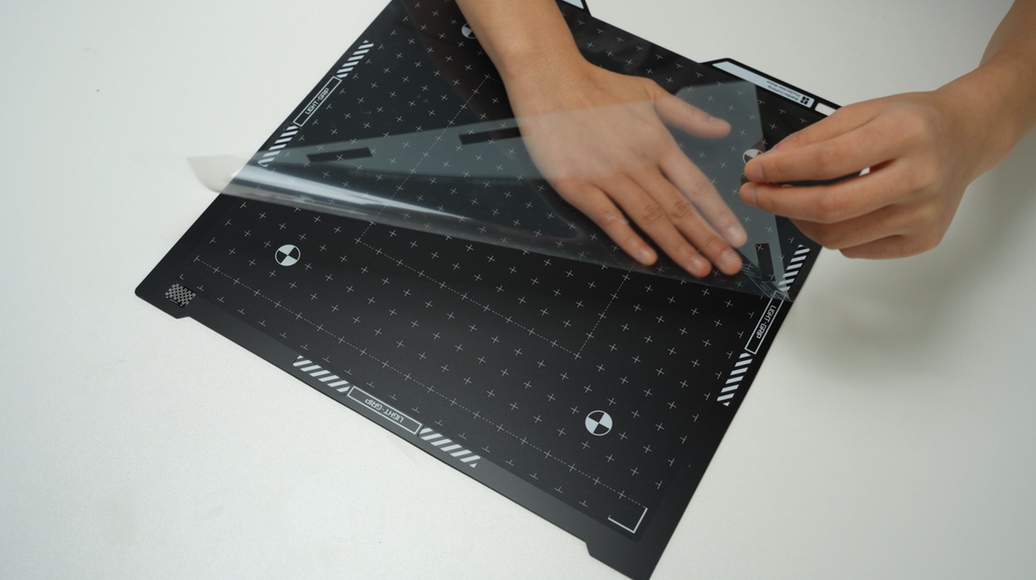
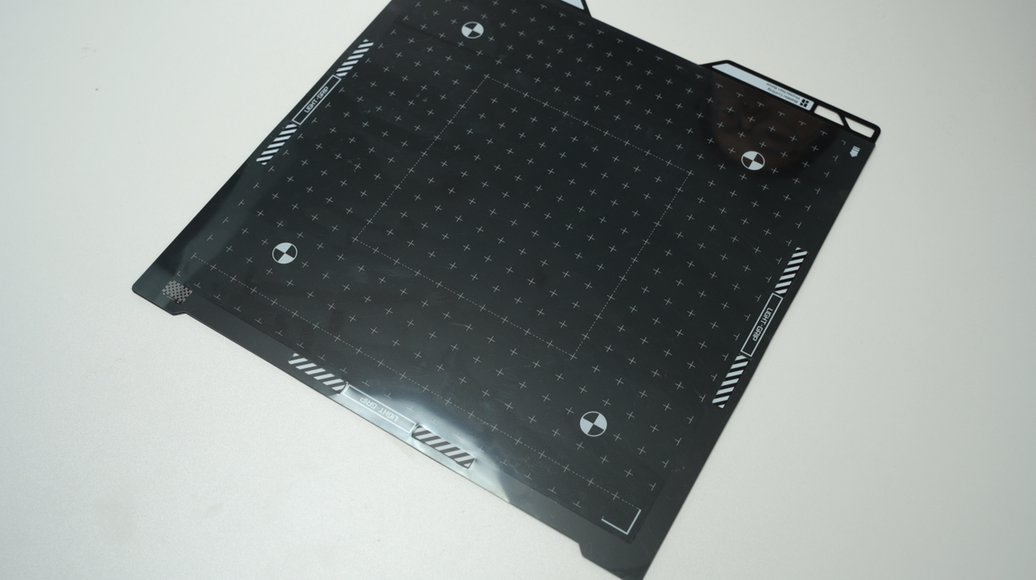
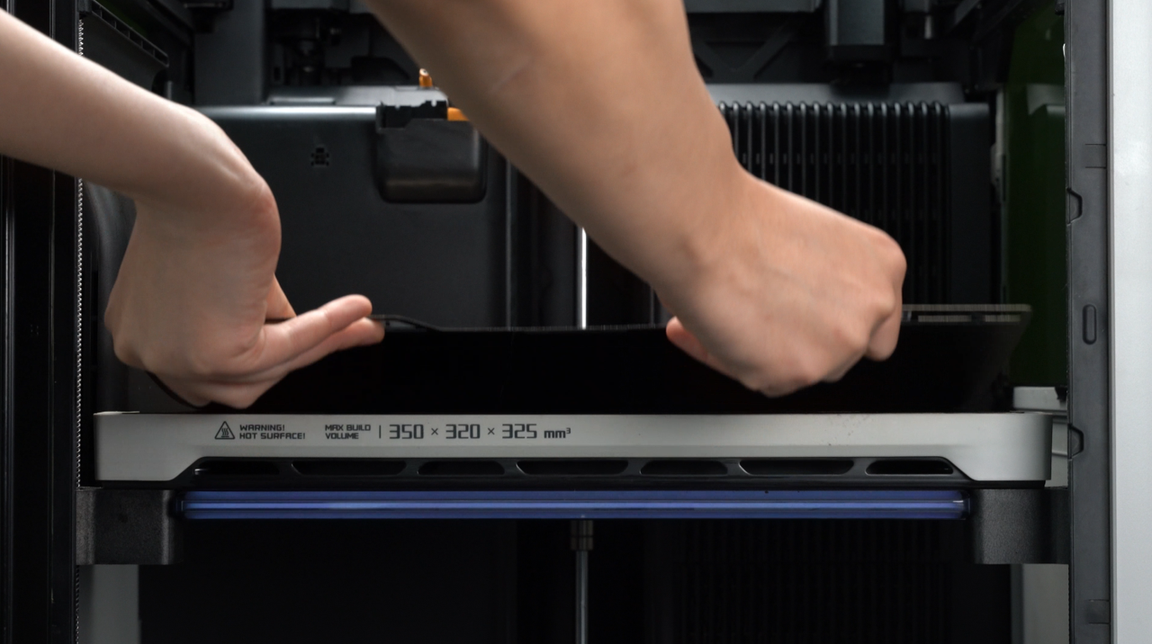
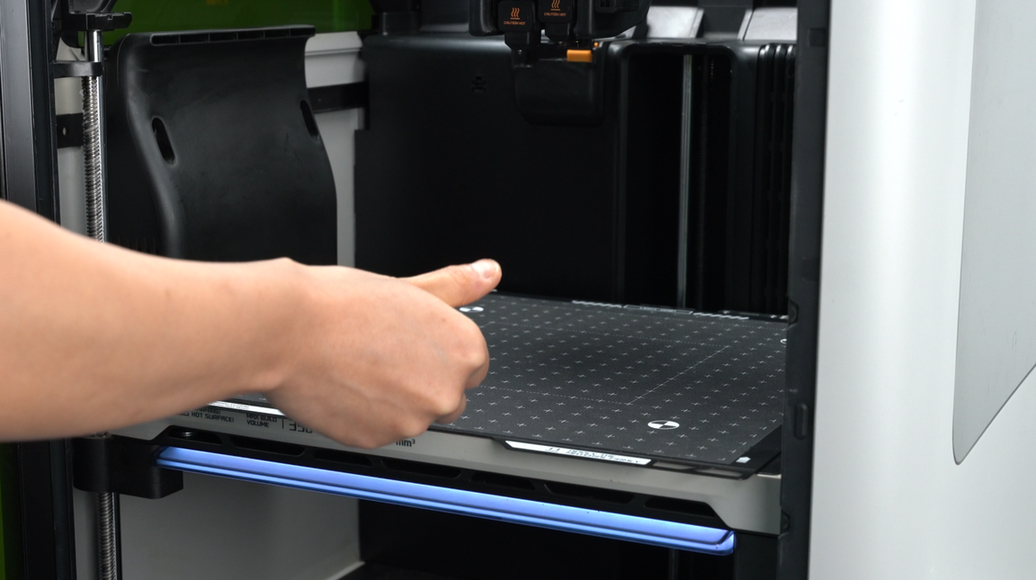
Remove the build plate on the heatbed.
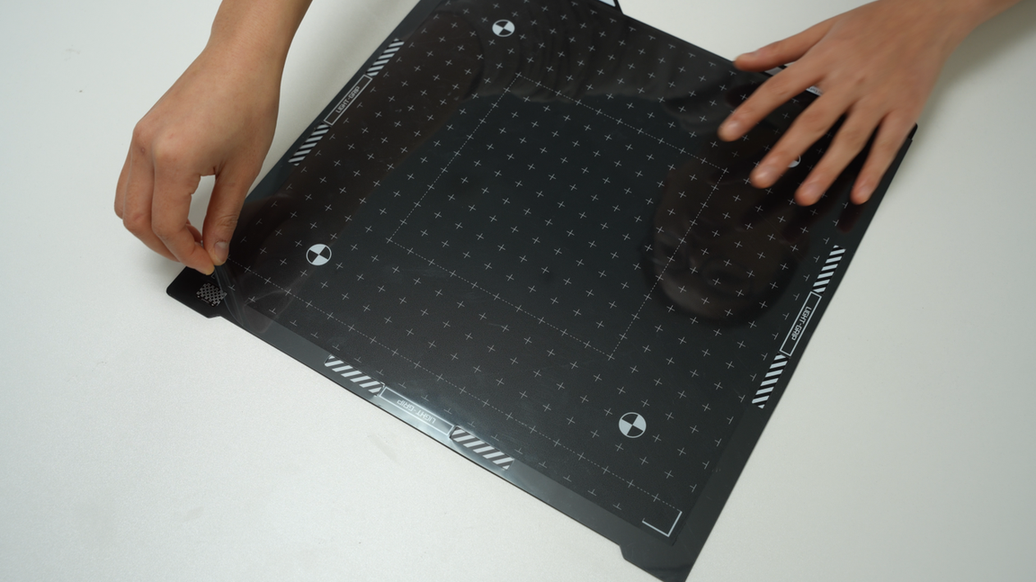
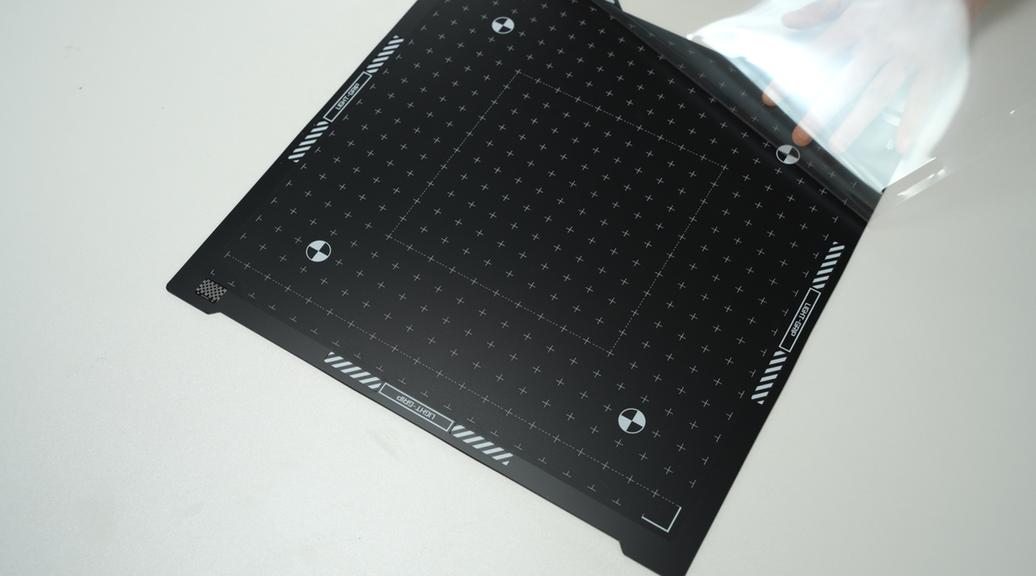
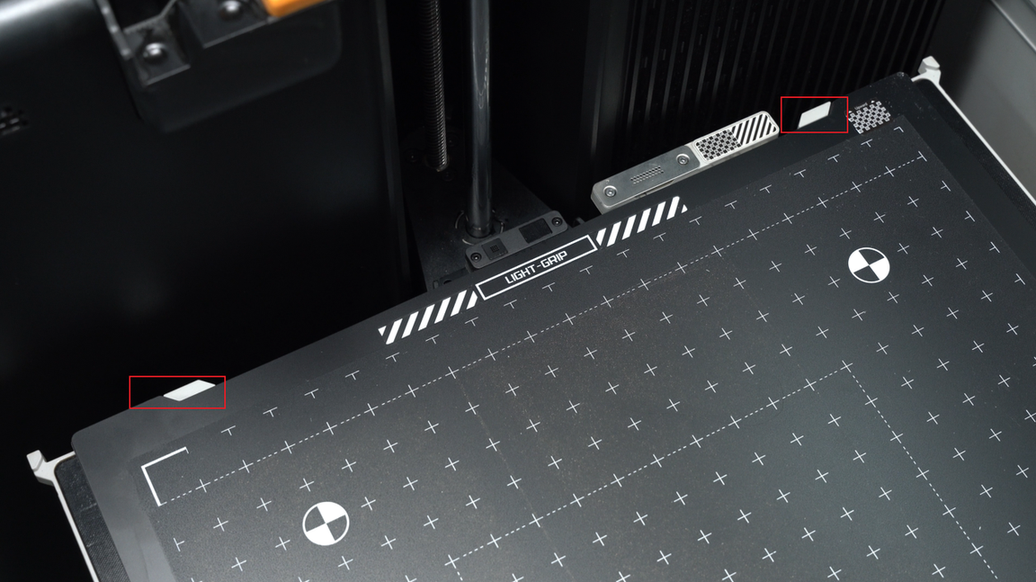
After tearing off the protective film from the side of the cutting platform that faces up, install the cutting mat onto the heated bed (do not remove the protective film on the side that contacts the heatbed), ensuring that the two corners align with the limit blocks on the heatbed.
Note: Please do not discard the removed protective film. When not in use, you can reattach the protective film to the adhesive mat to prevent debris from sticking and to maintain the mat's stickiness.
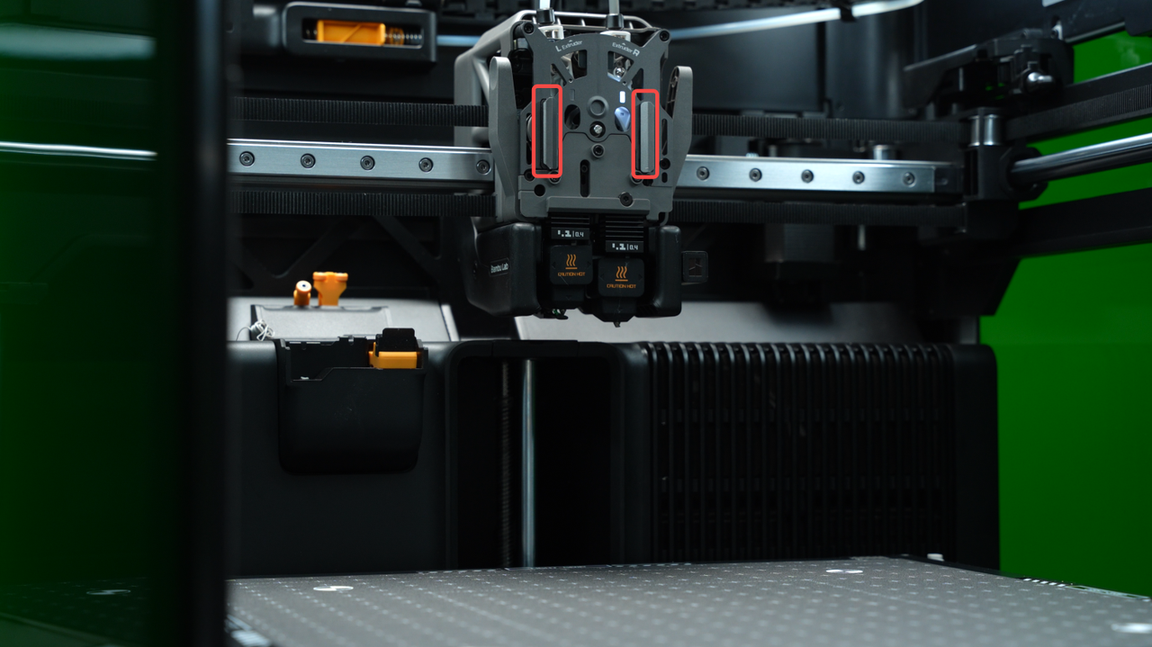
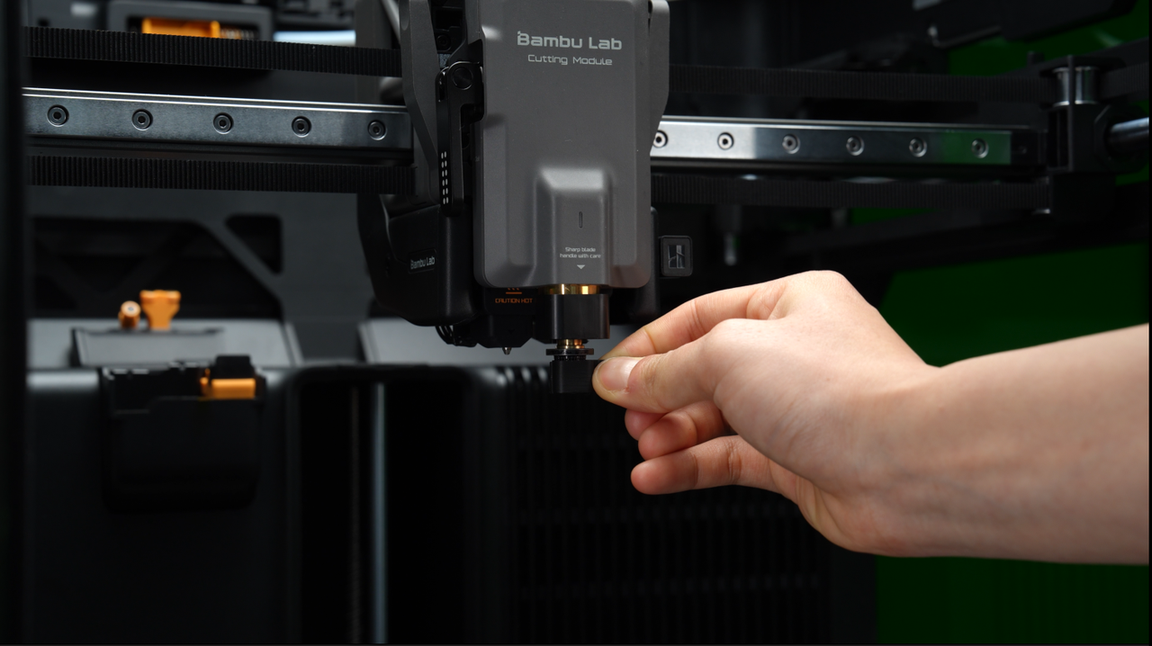
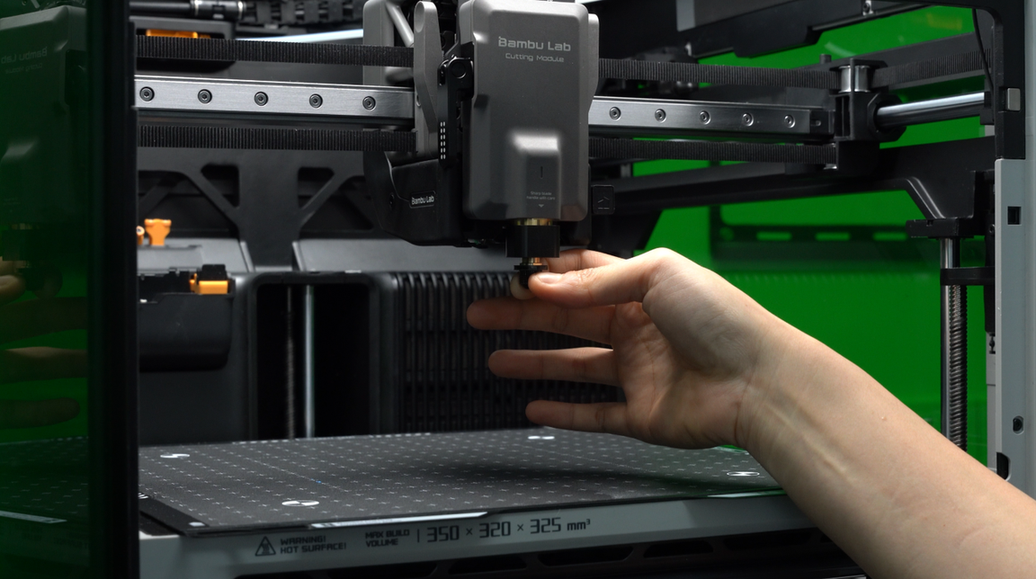
¶ 3. Install Cutting Module
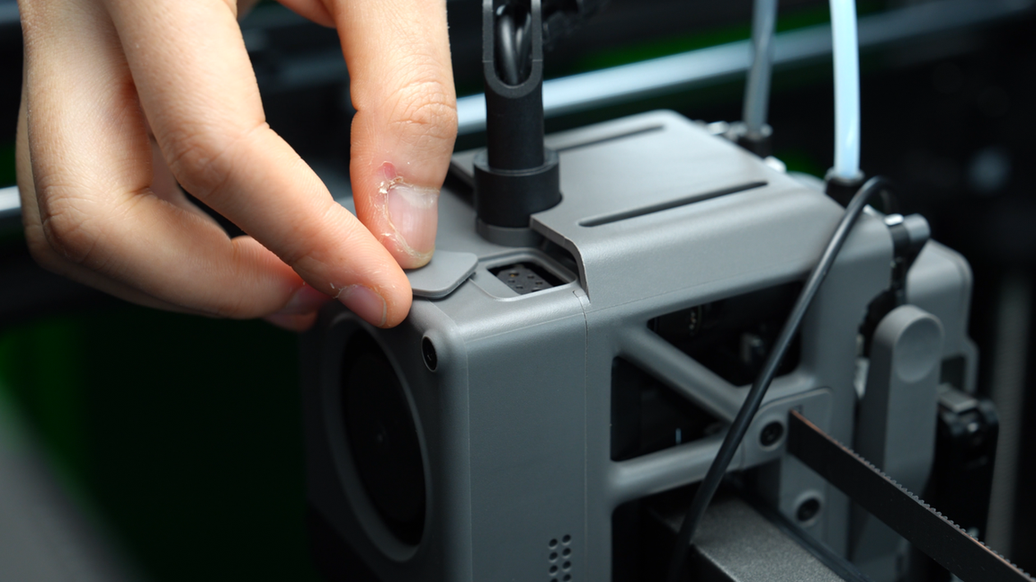
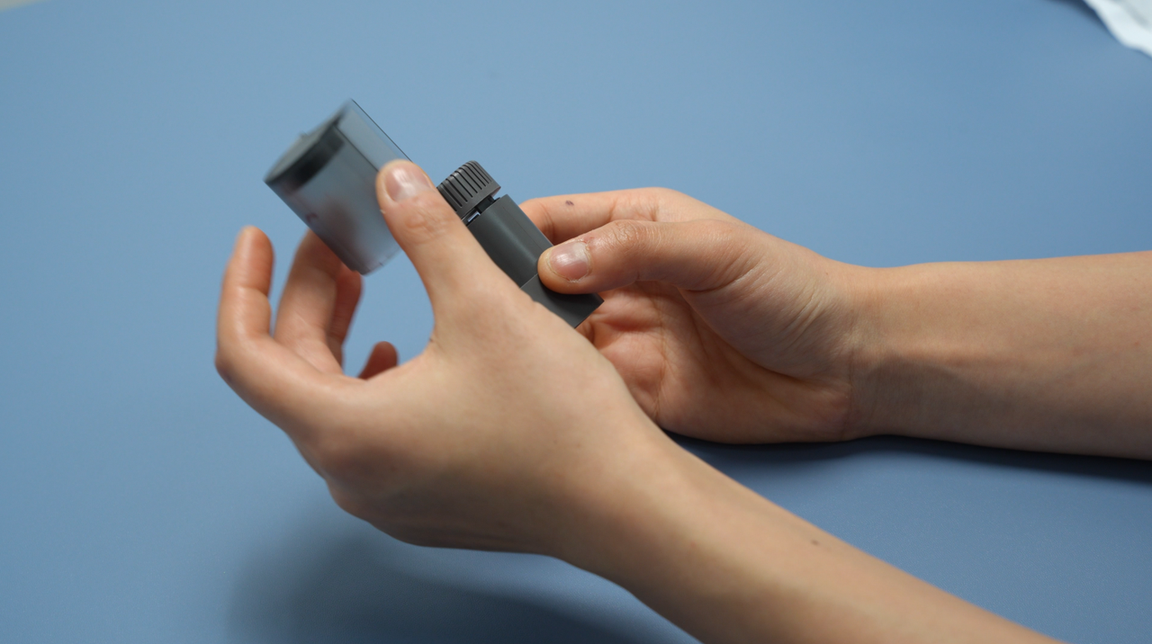
Pinch the top two corners of the toolhead front cover and pull forward to remove the front cover.

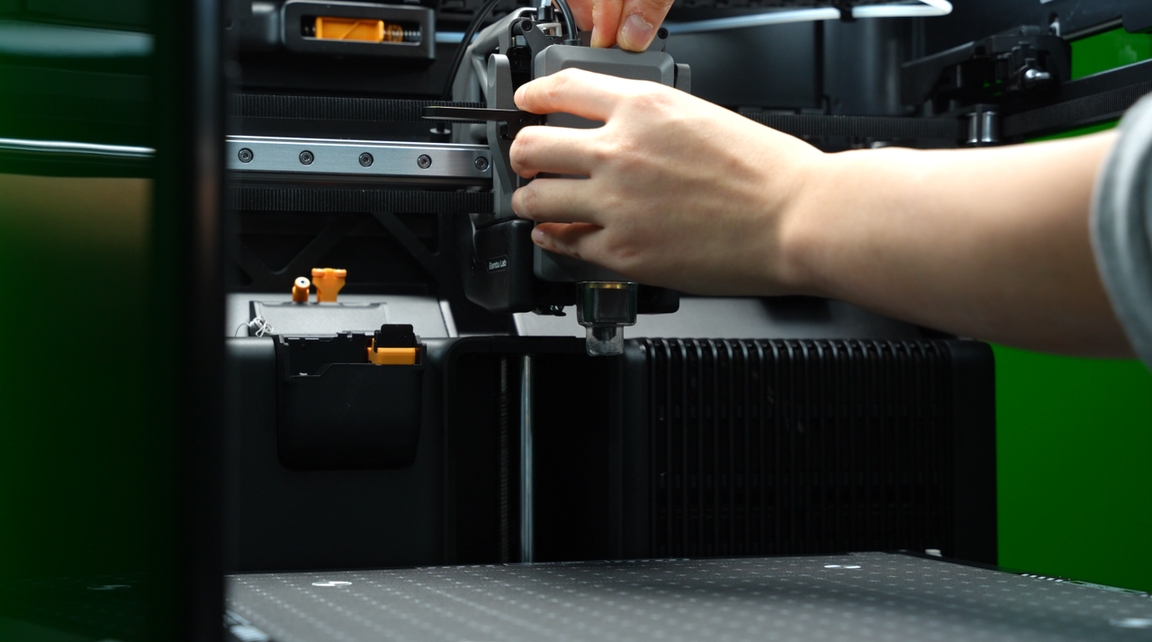
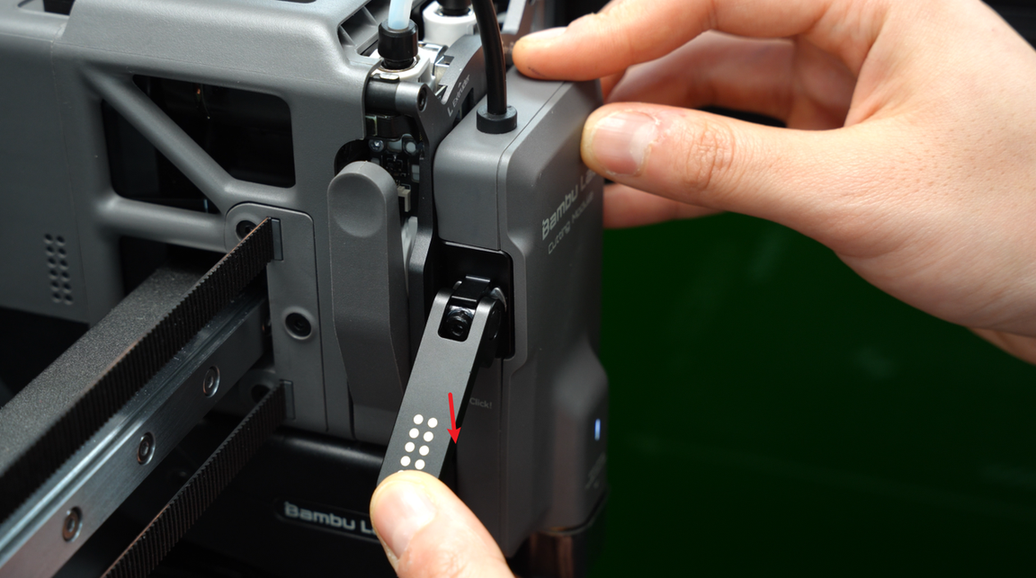
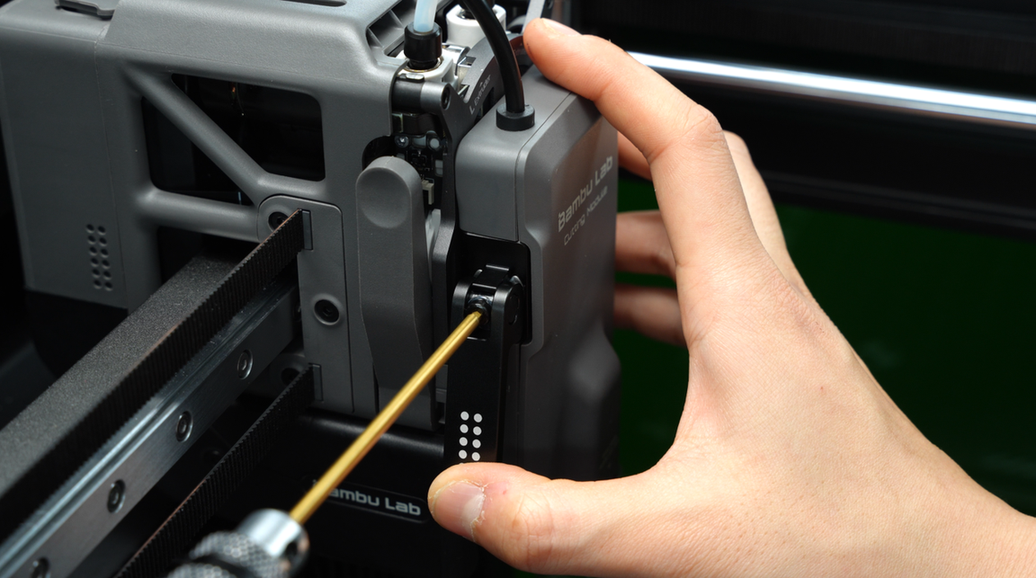
If the lever cannot be pushed down, loosen the H2.0 Allen key half a turn counterclockwise to release the lever. Press down again to confirm. If it’s still too tight, loosen it another half-turn until it locks smoothly.
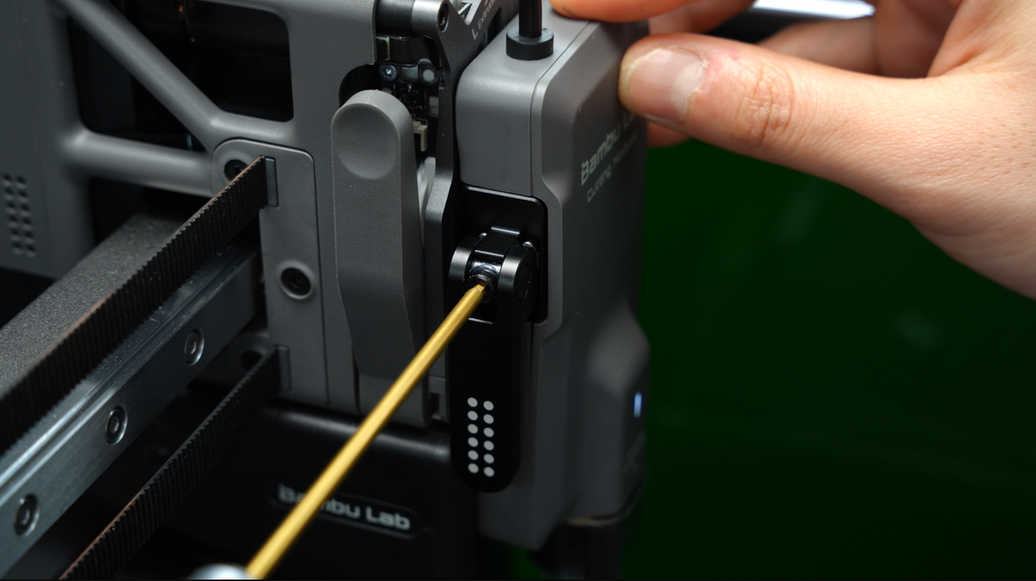
Or if the module can be wobbled by hand after the lever is locked, you need to tighten the H2.0 Allen key half a turn clockwise to secure the latch. Shake it again to confirm; if it’s still too loose, tighten it another half-turn until it no longer wobbles.
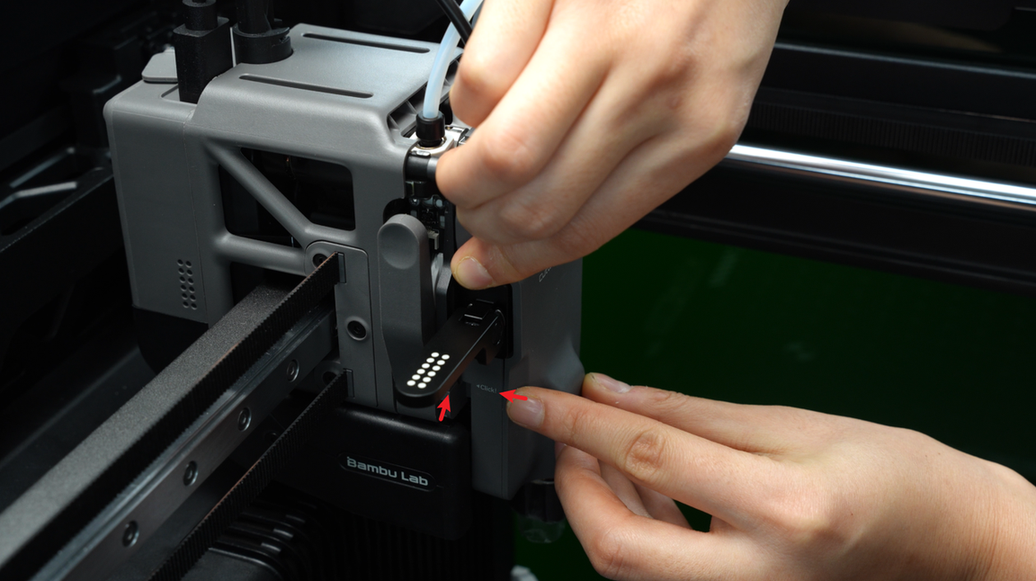
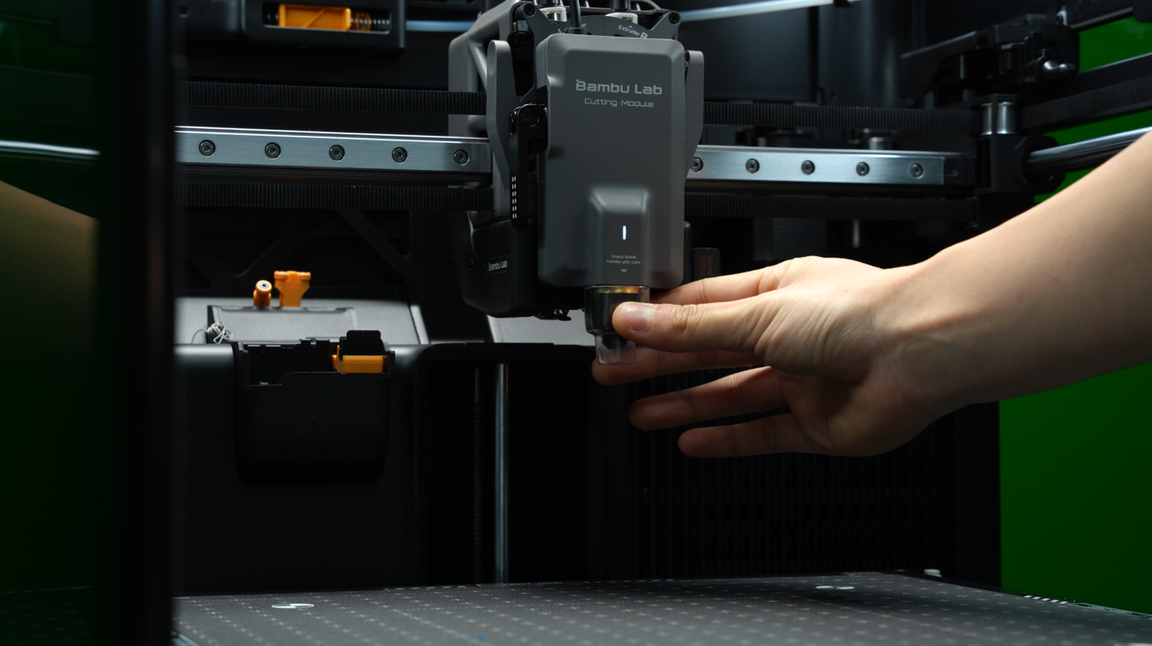
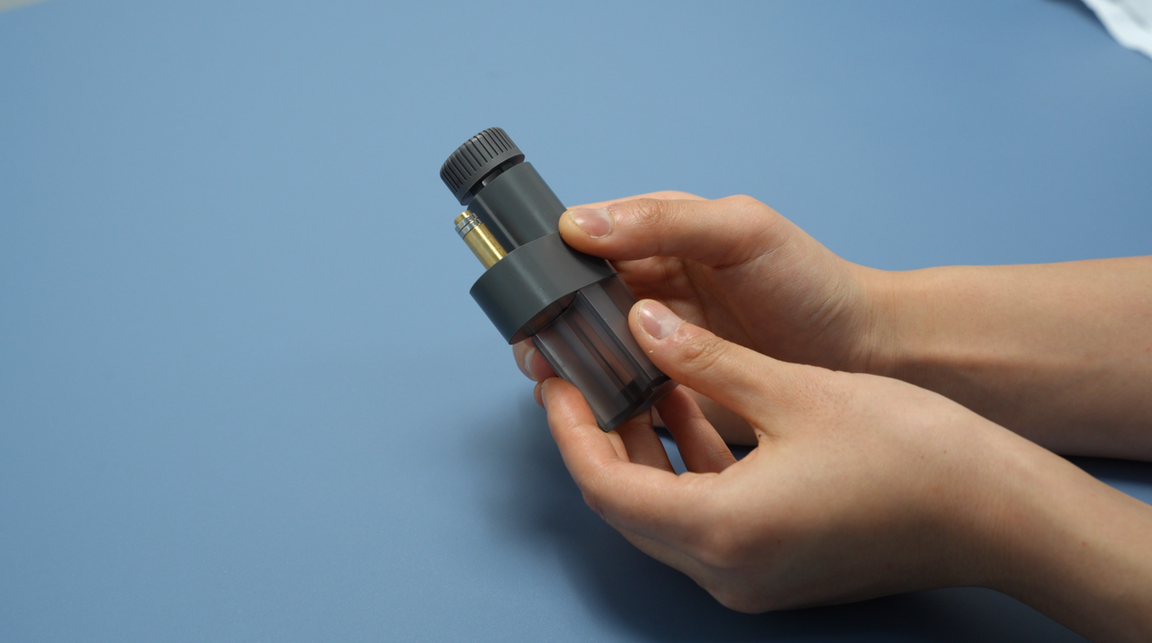
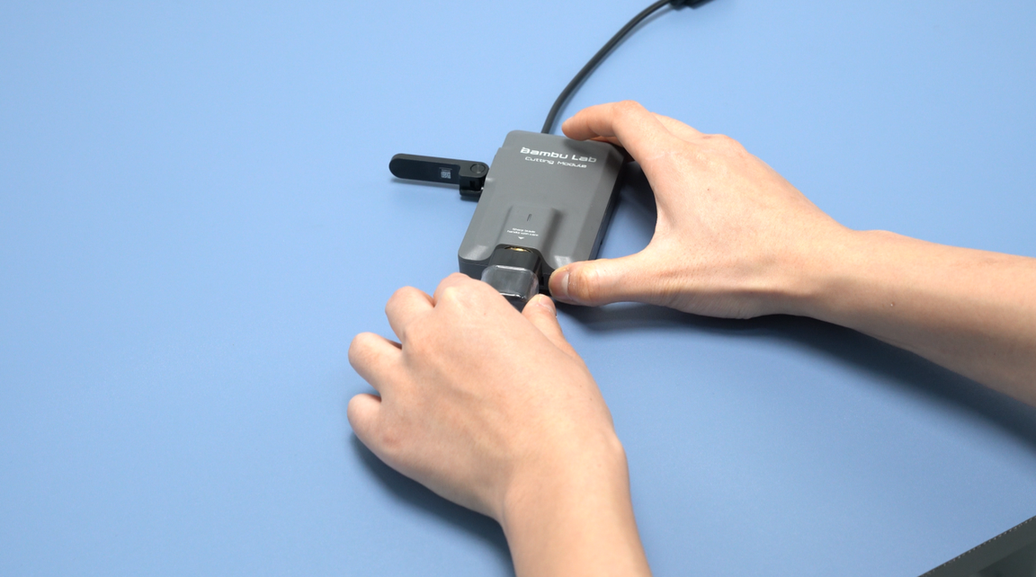
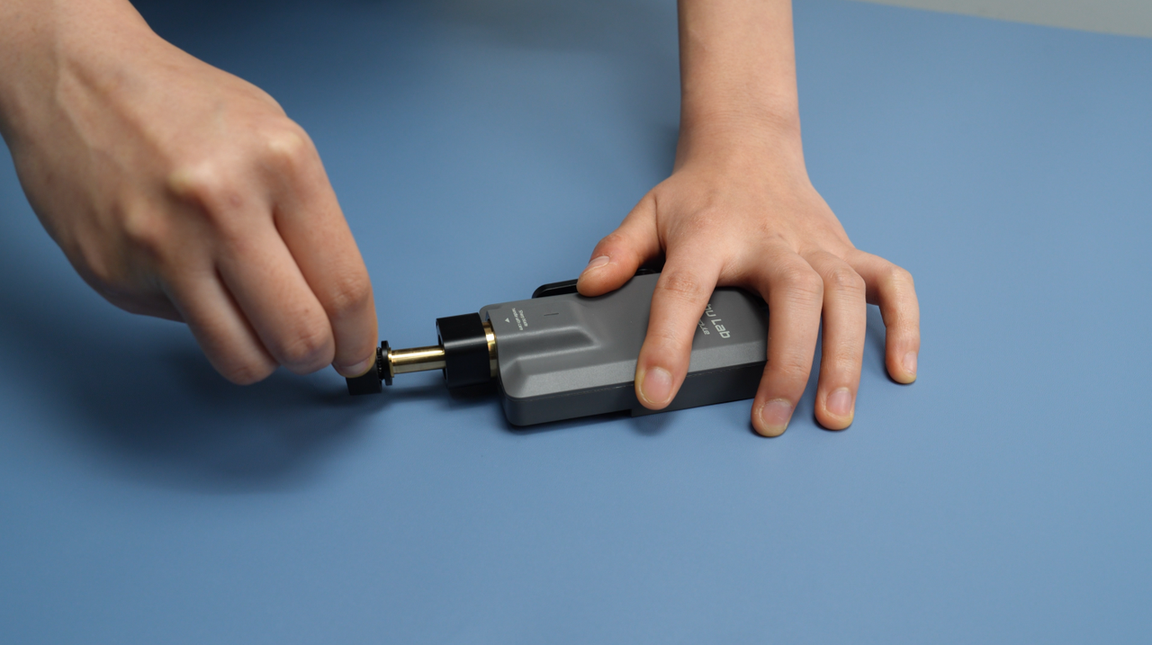
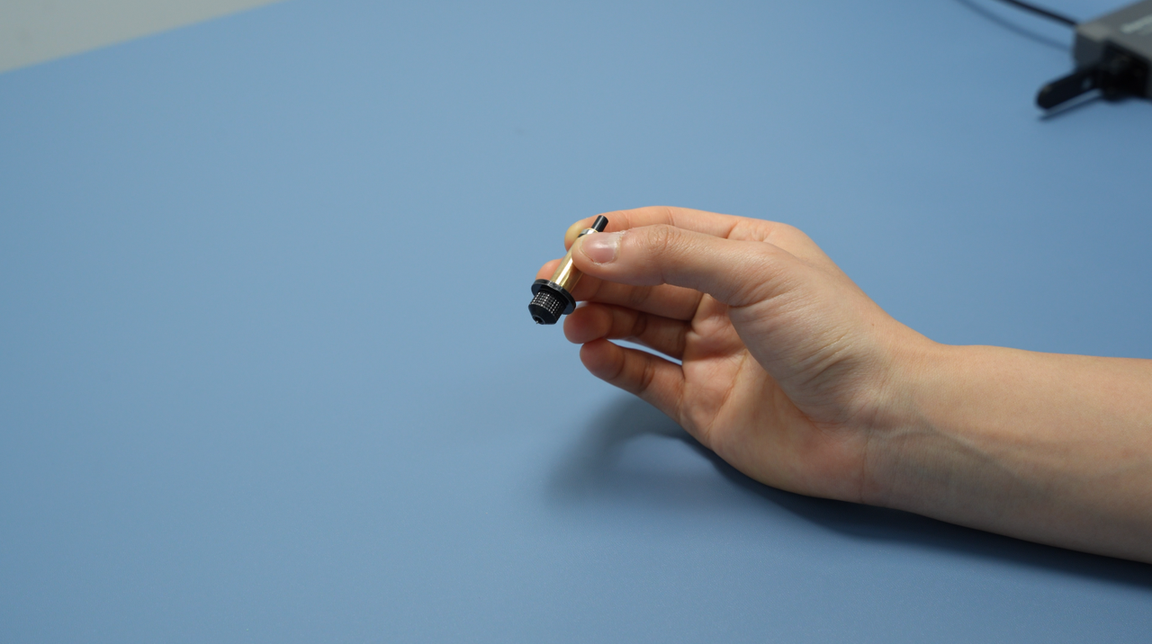
Remove the protective cover on the blade holder. Please operate carefully to avoid injury. Also, please keep the protective cover well for wrapping around the blade holder for subsequent installation and disassembly.
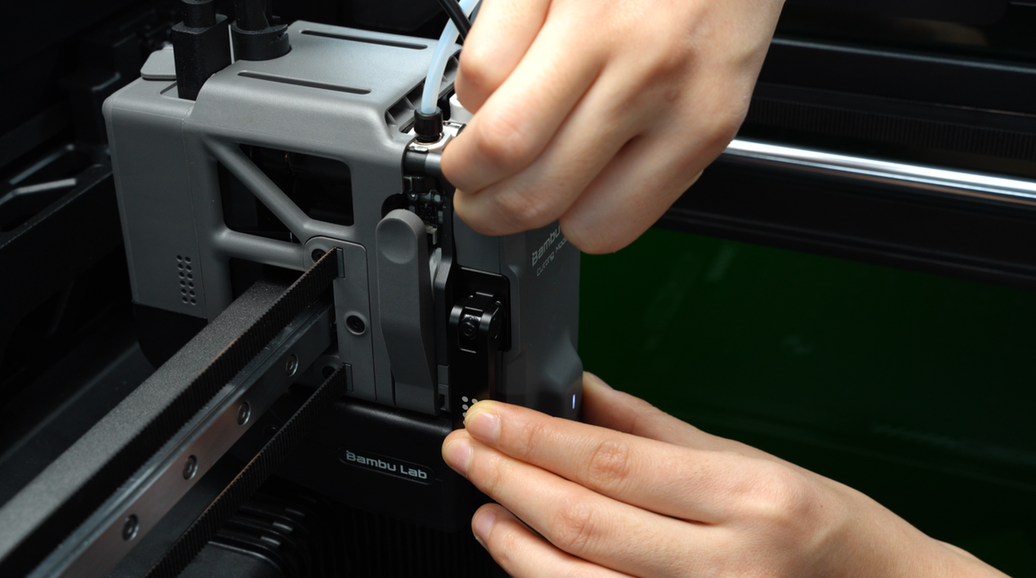
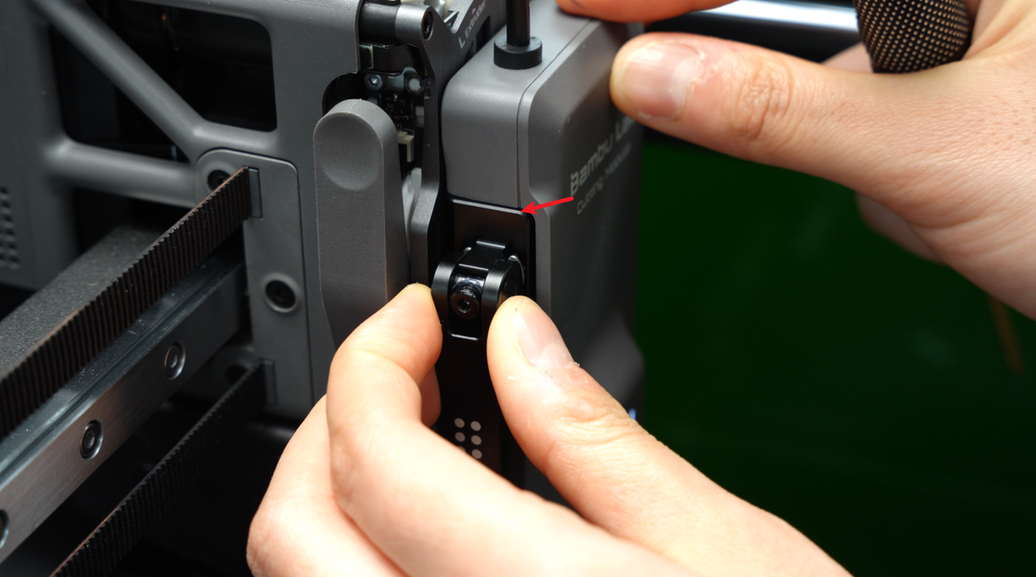
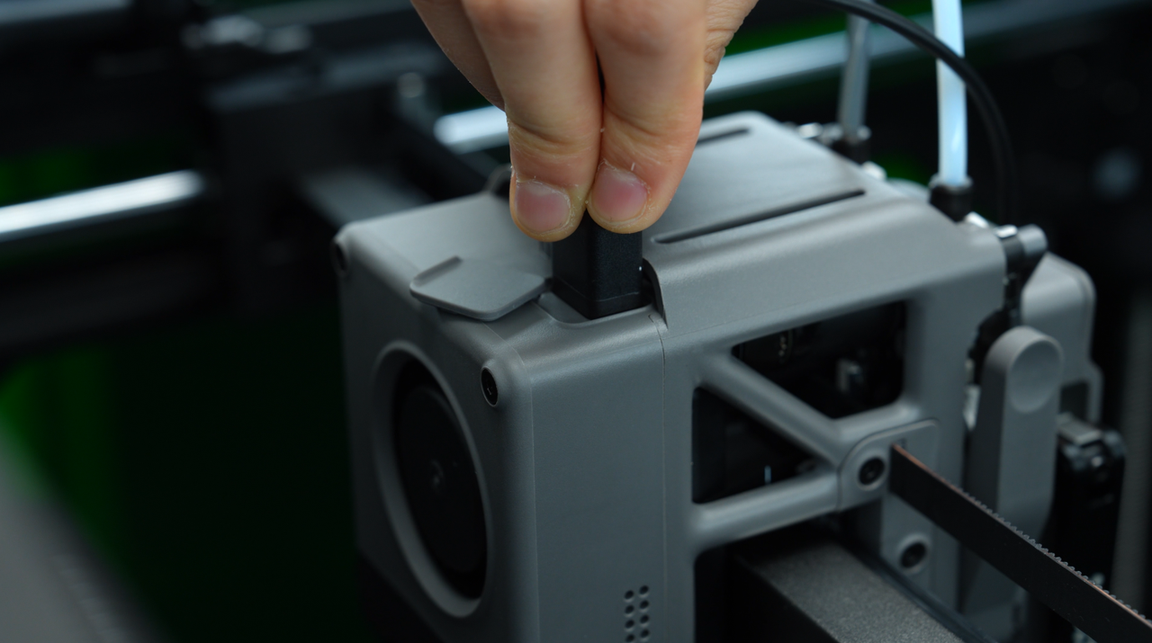
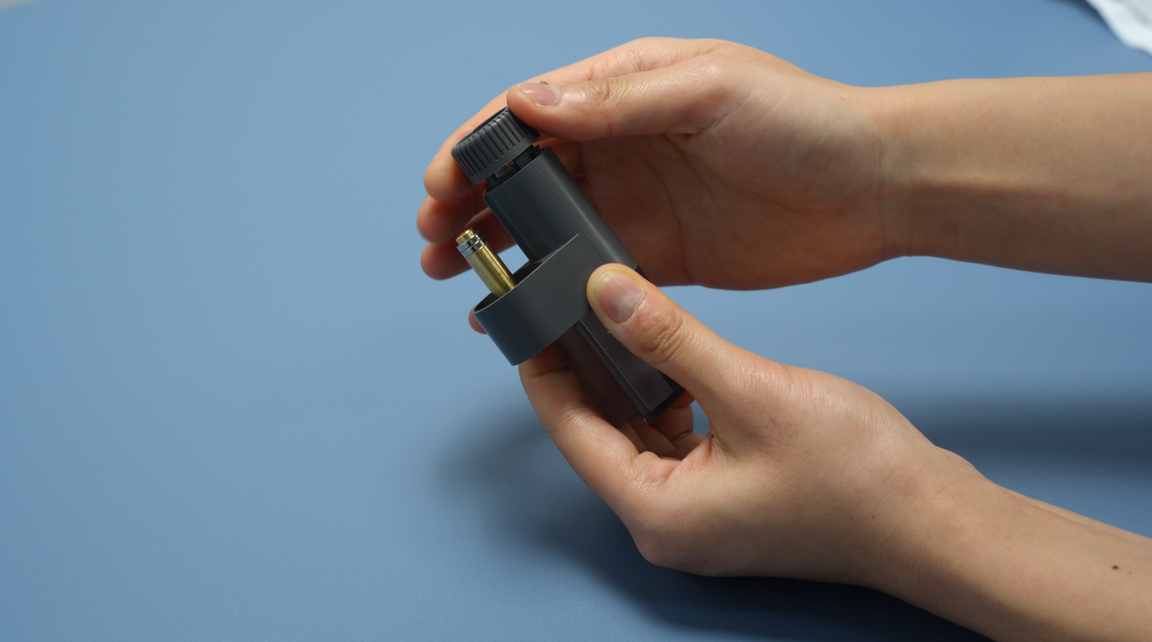
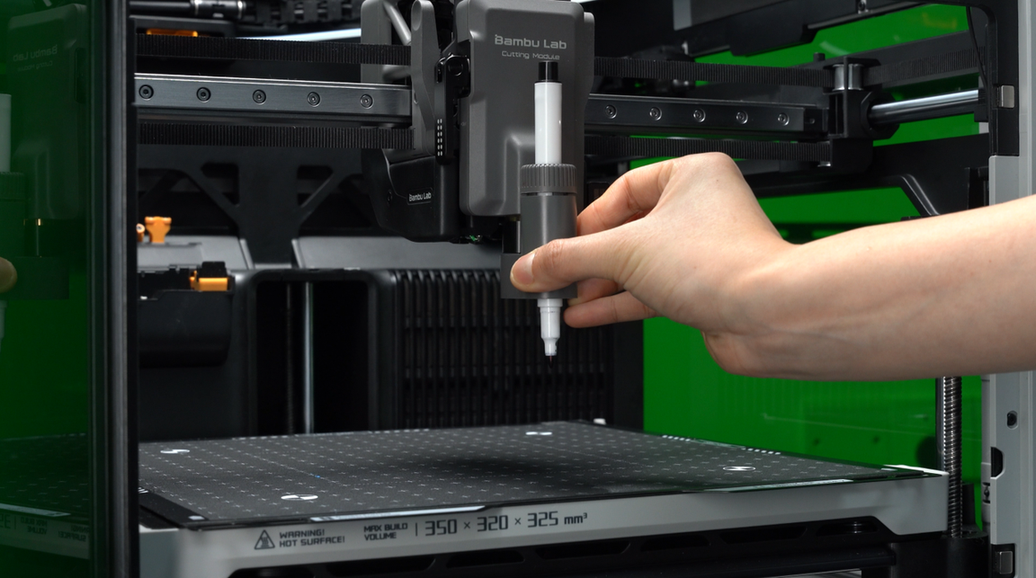
Open the dust-proof cover, and insert the connector into the toolhead interface.
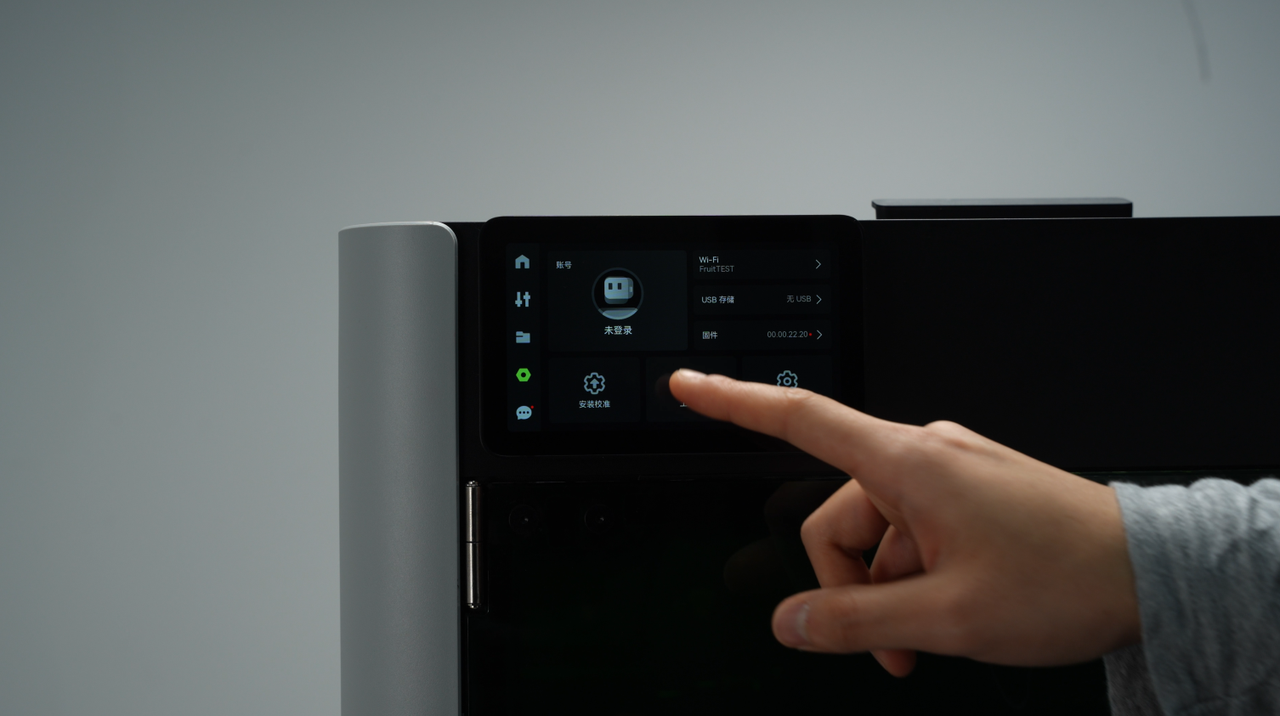
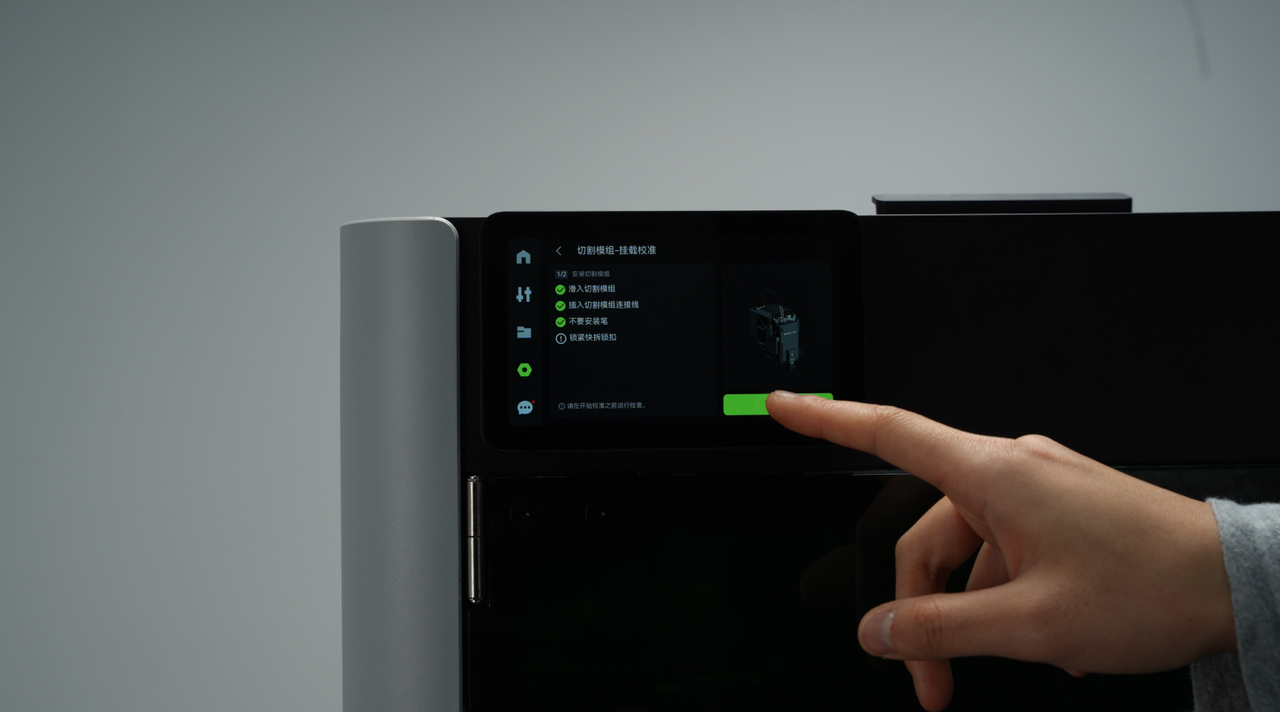
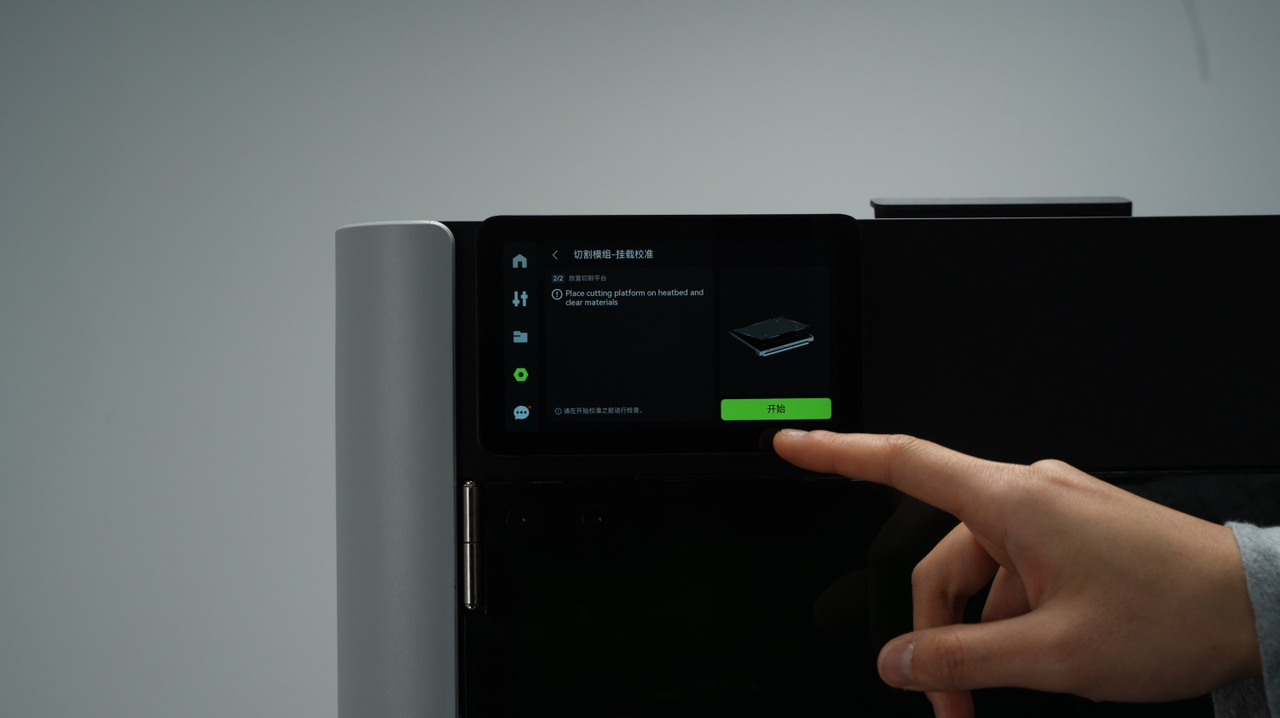
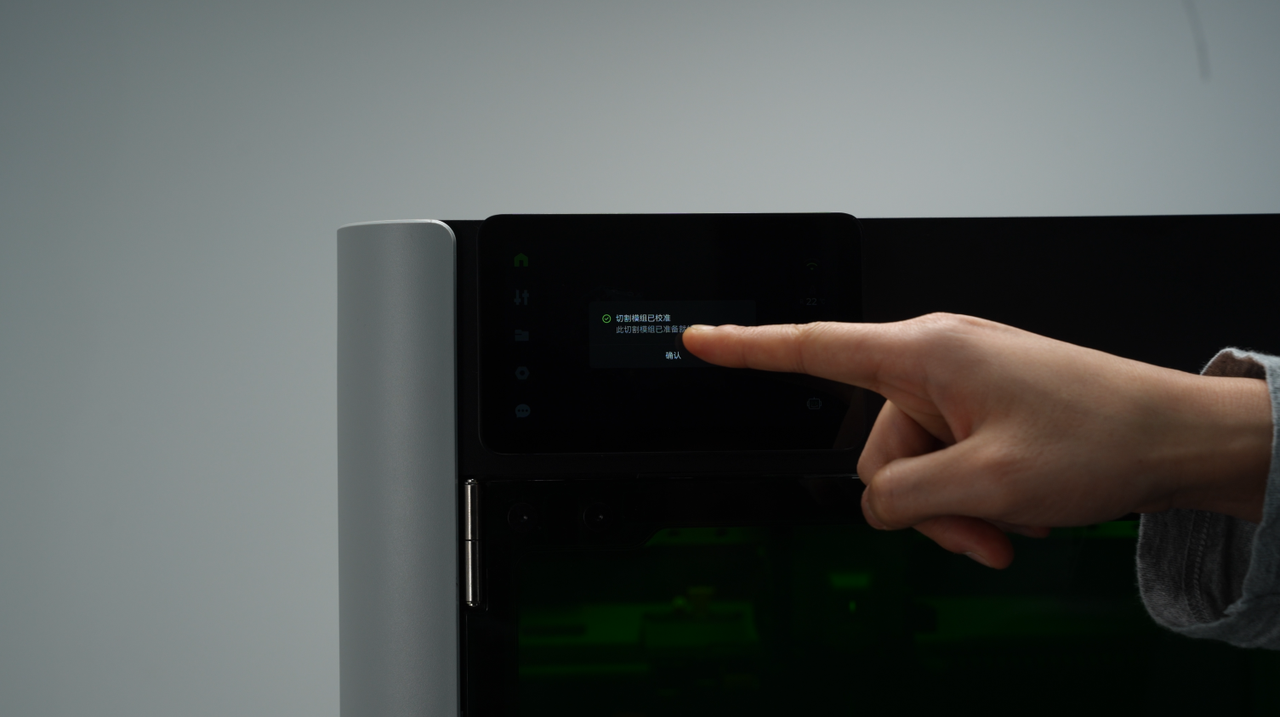
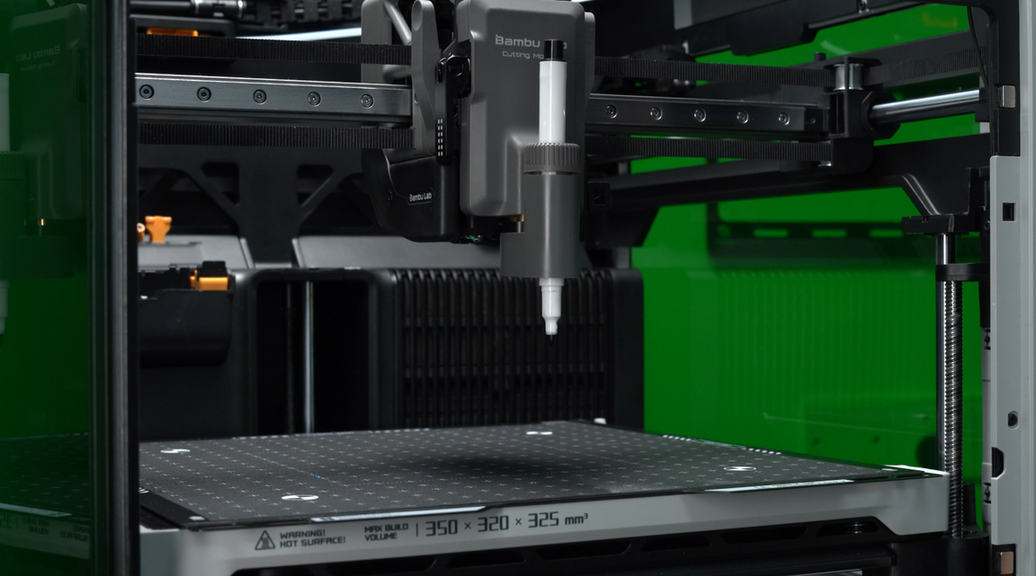
¶ 4. Cutting Module Mount Calibration
Please note that when calibrating the cutting module installation, the blade holder and blade must be installed. Do not install the pen module.
For more detailed unboxing, installation and usage tutorials, please refer to this wiki.
Introduction to the main components and usage process of the cutting&drawing module
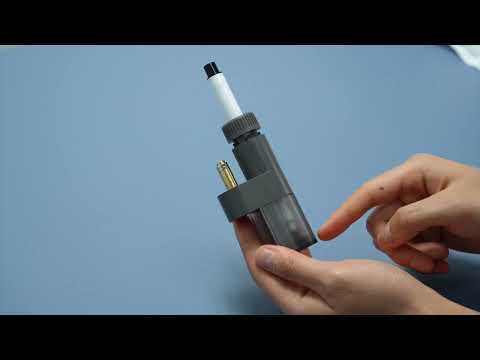
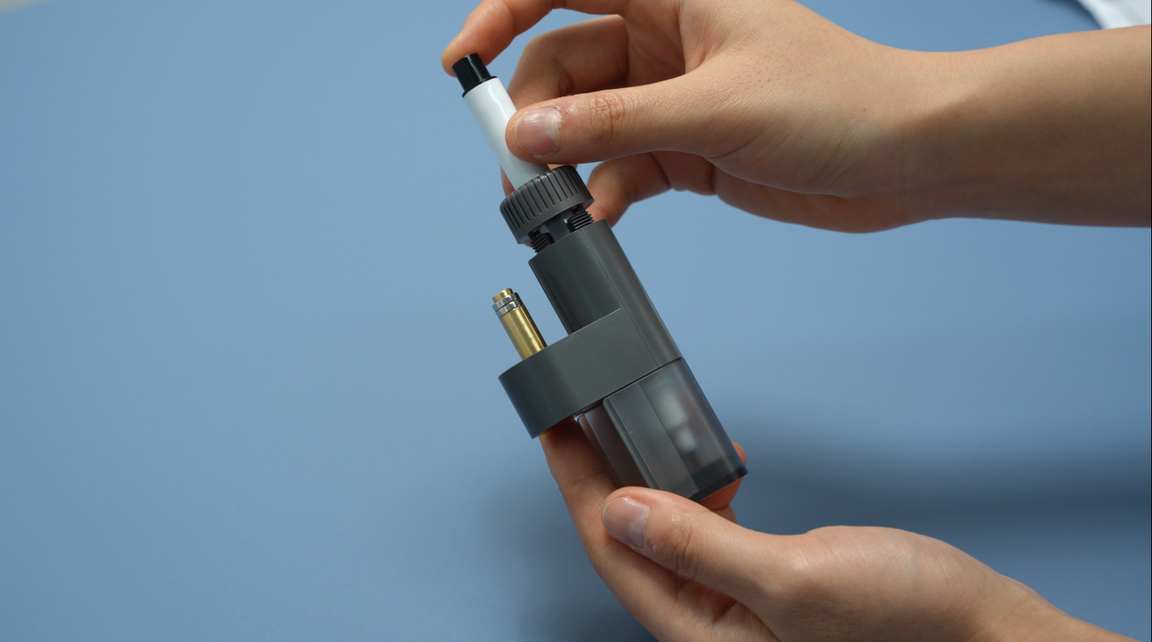
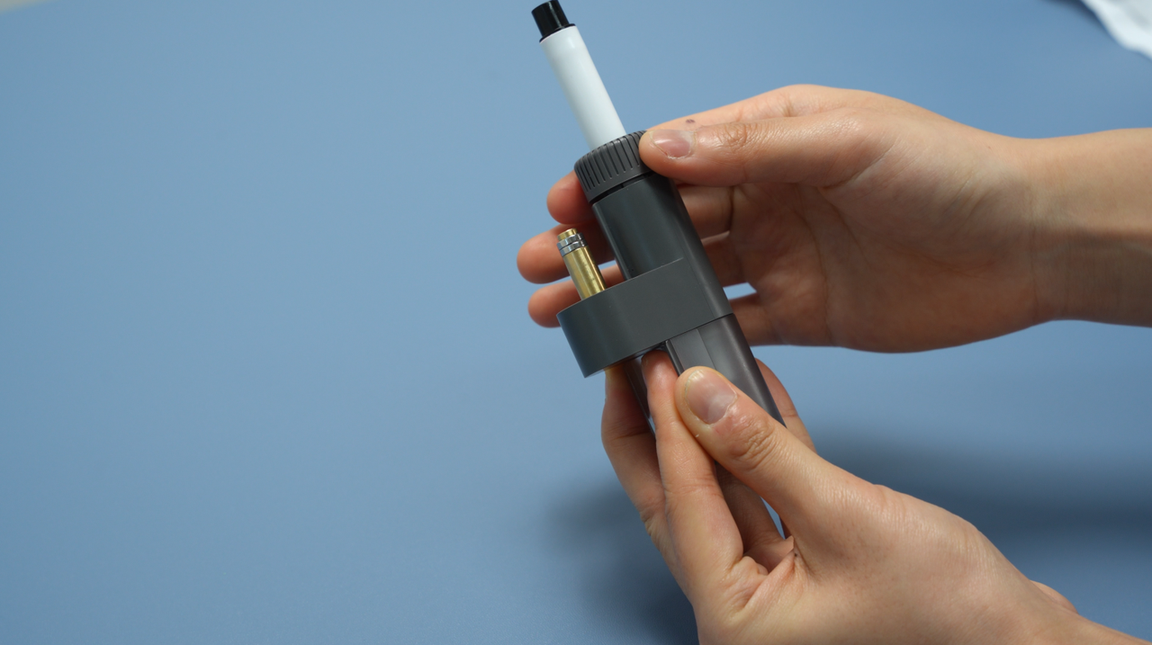
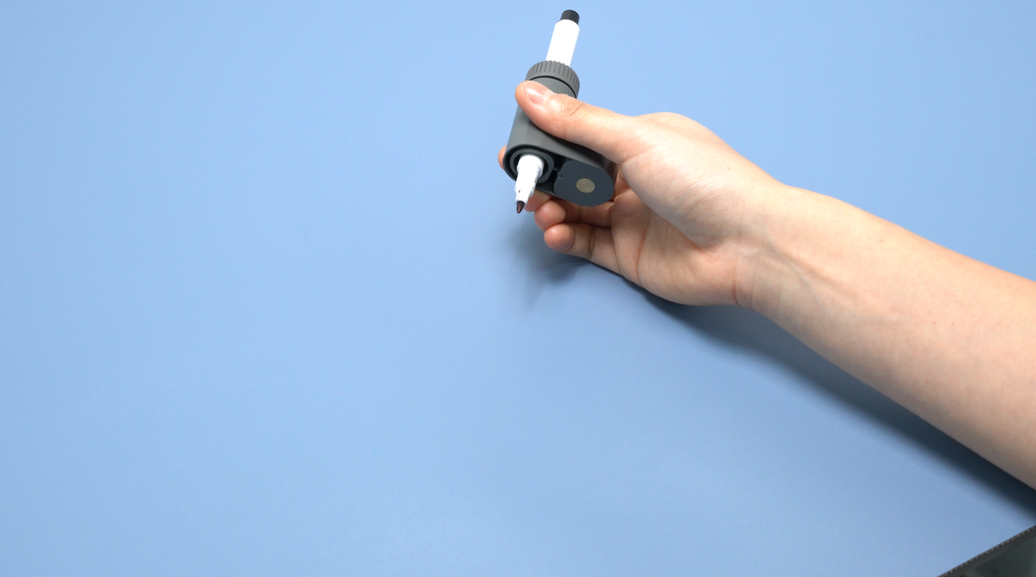
¶ 5. Install the pen module (if you need to use the drawing function).
Remove the height calibrator from the pen holder, and install it on the bottom.
Rotate the pen fixture counter-clockwise to loosen it. Insert a pen to the bottom, and then rotate the fixture clockwise to tighten it.
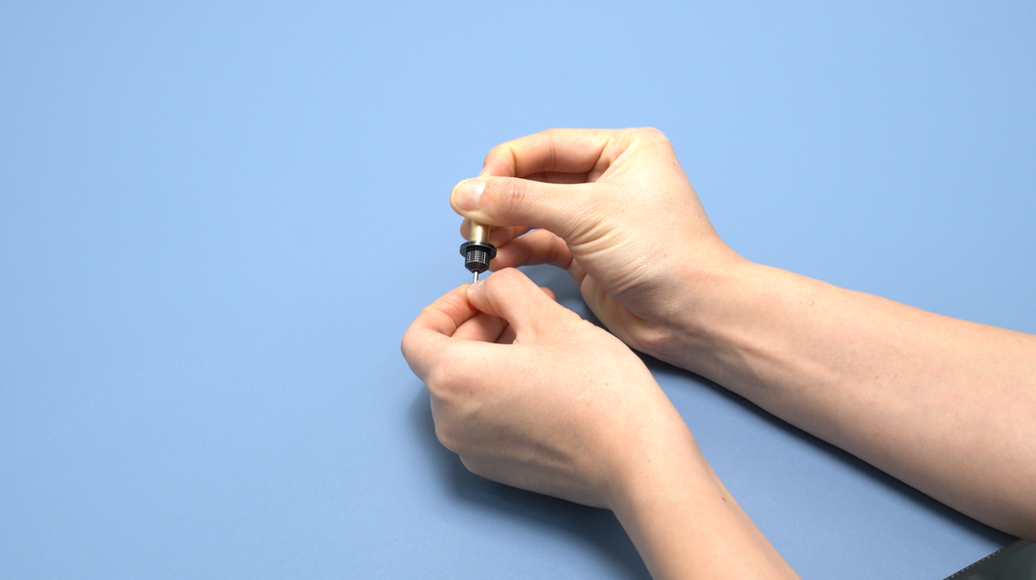
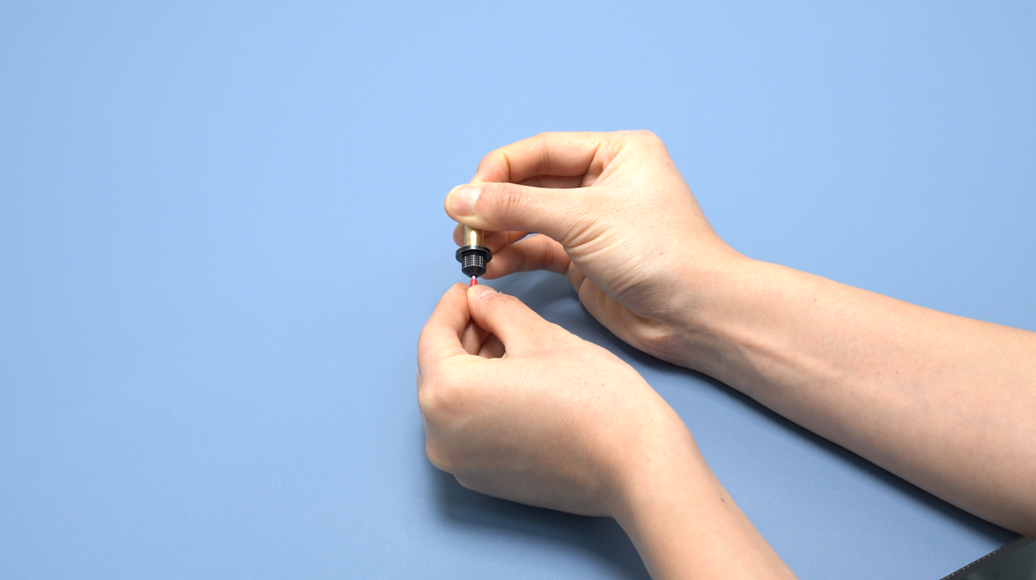
When removing and installing the tool for the blade holder, you can use a 3D-printed blade holder and blade assist tool. If you do not have a printing assist tool, pull the blade holder downward by the round edges to remove it. The blade is sharp. Please operate carefully to avoid injury!
Insert the pen module into the cutting module.
¶ Appendix:
¶ 6. Recommendations for removing the blade holder, blade, and cutting module.
After removing the cutting module, use the protective cover to shield the blade holder with the blade to prevent accidental cuts to your hands.
You can use a 3D-printed blade holder and blade assistance tool.
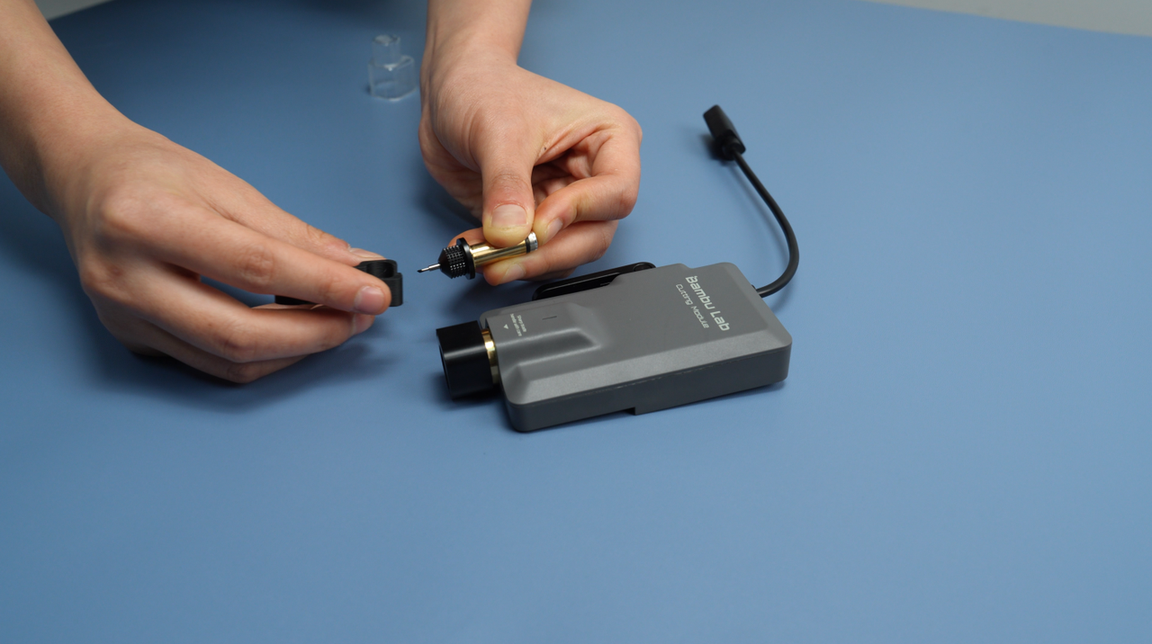
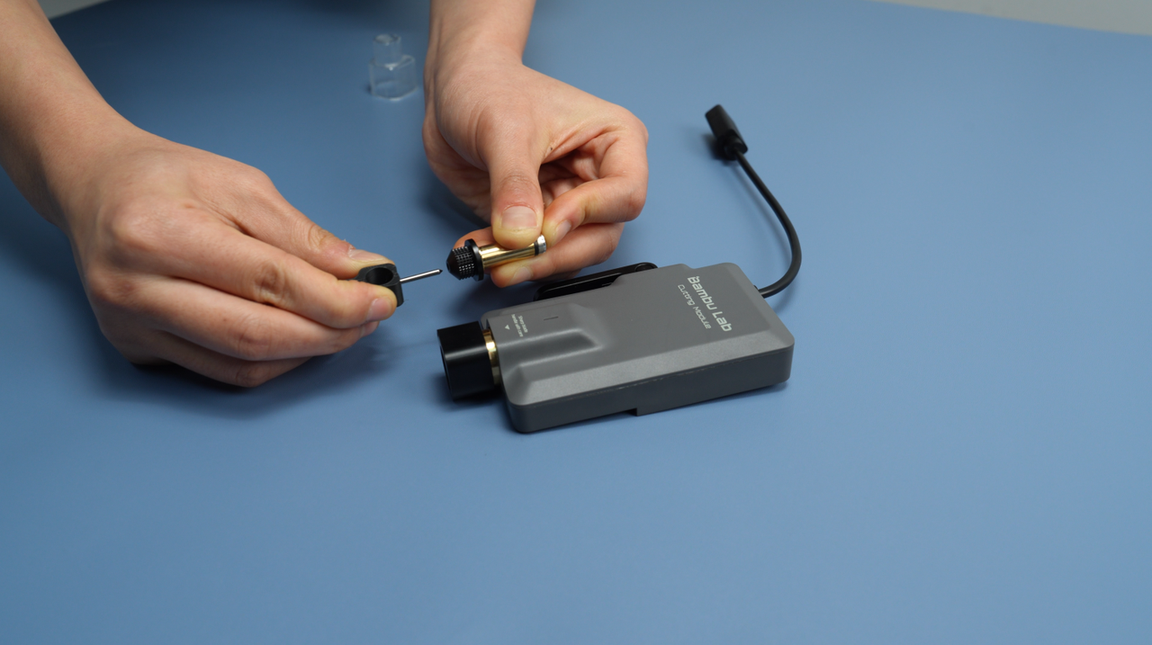
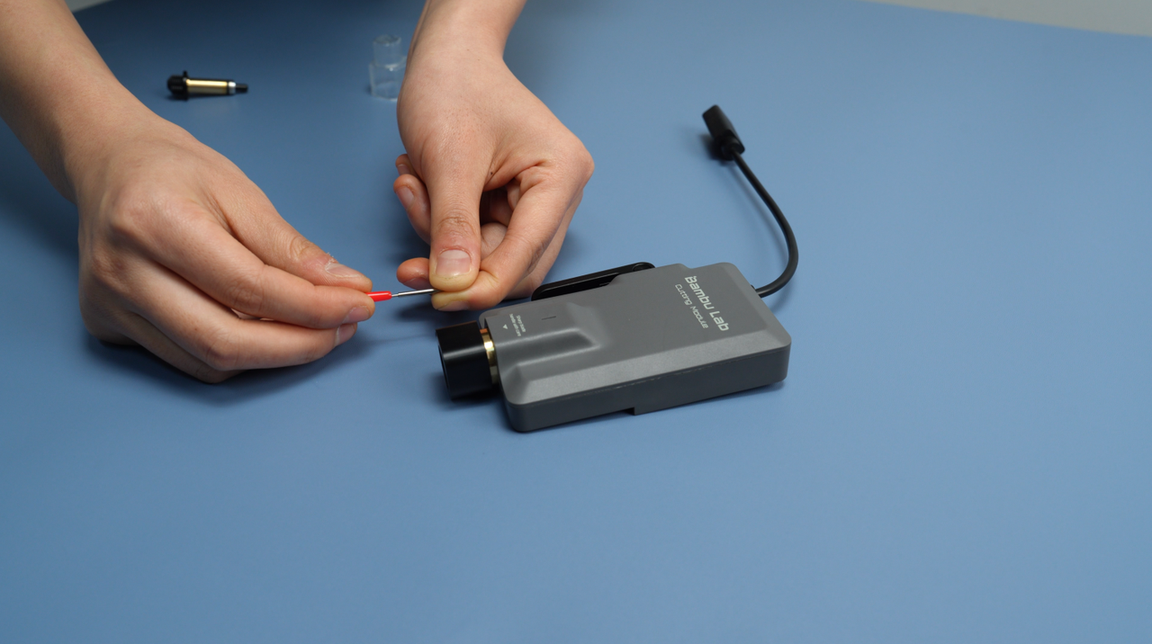
If you don't have a printed tool, you can also use a red silicone sleeve to assist in removing the blade to avoid accidentally cutting your hand.
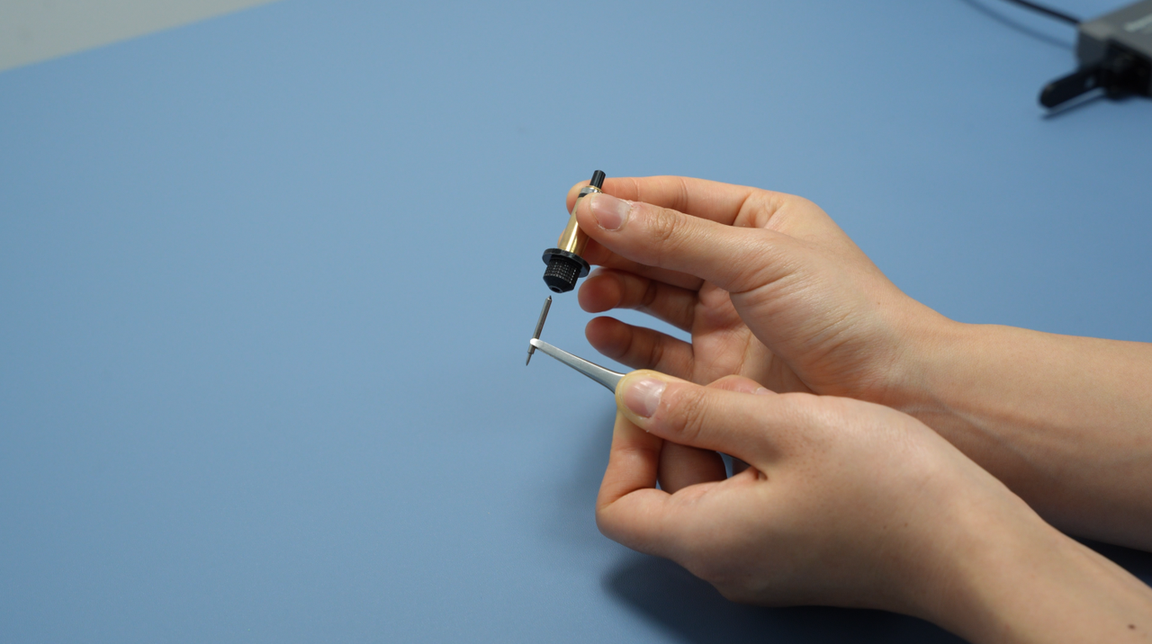
When installing the blade, you can use tweezers to avoid cutting your hand. The blade holder has a magnetic function, so once the blade is pushed into a certain depth, it will automatically snap into place.
¶ 7. Recommendations for storing the cutting platform
Do not discard the protective film on the double-sided adhesive mat. When not in use, you can reapply the protective film to the adhesive mat to prevent debris from sticking and to maintain its stickiness.