Installation VIDEO:
Visit YouTube to watch our full installation video.
- AMS holder
- Auxiliary Part Cooling Fan & Fan Support
- Monitoring chamber camera
- Led Light & Light Shell
¶ AMS Holder
Print AMS holders to place your AMS over Bambu Lab P1P.
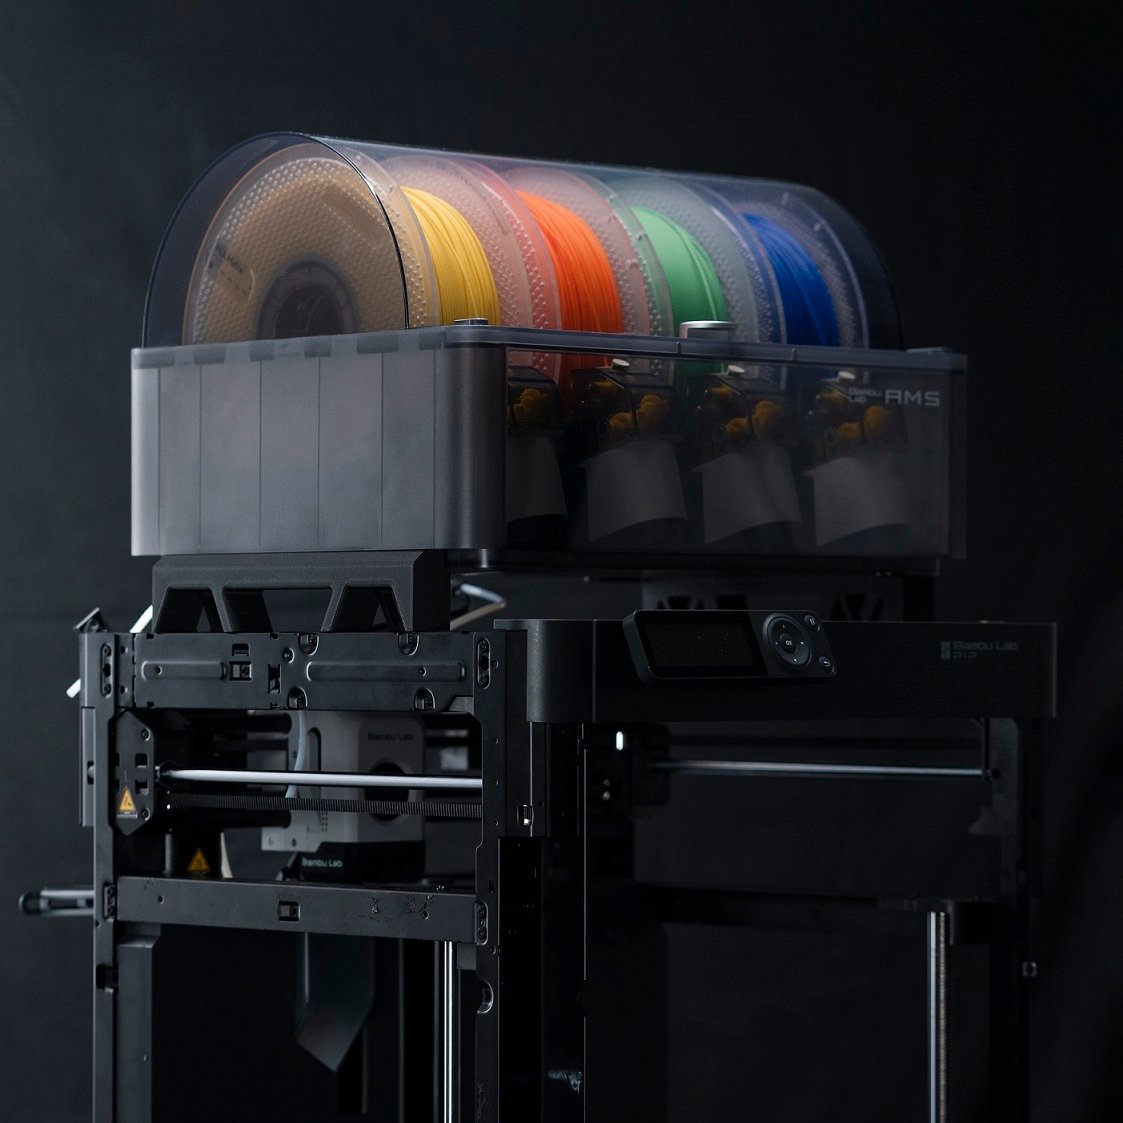
Download AMS Holder 3MF File: P1P AMS Holder by Bambu Lab Support - MakerWorld
¶ Auxiliary Part Cooling Fan & Fan Support
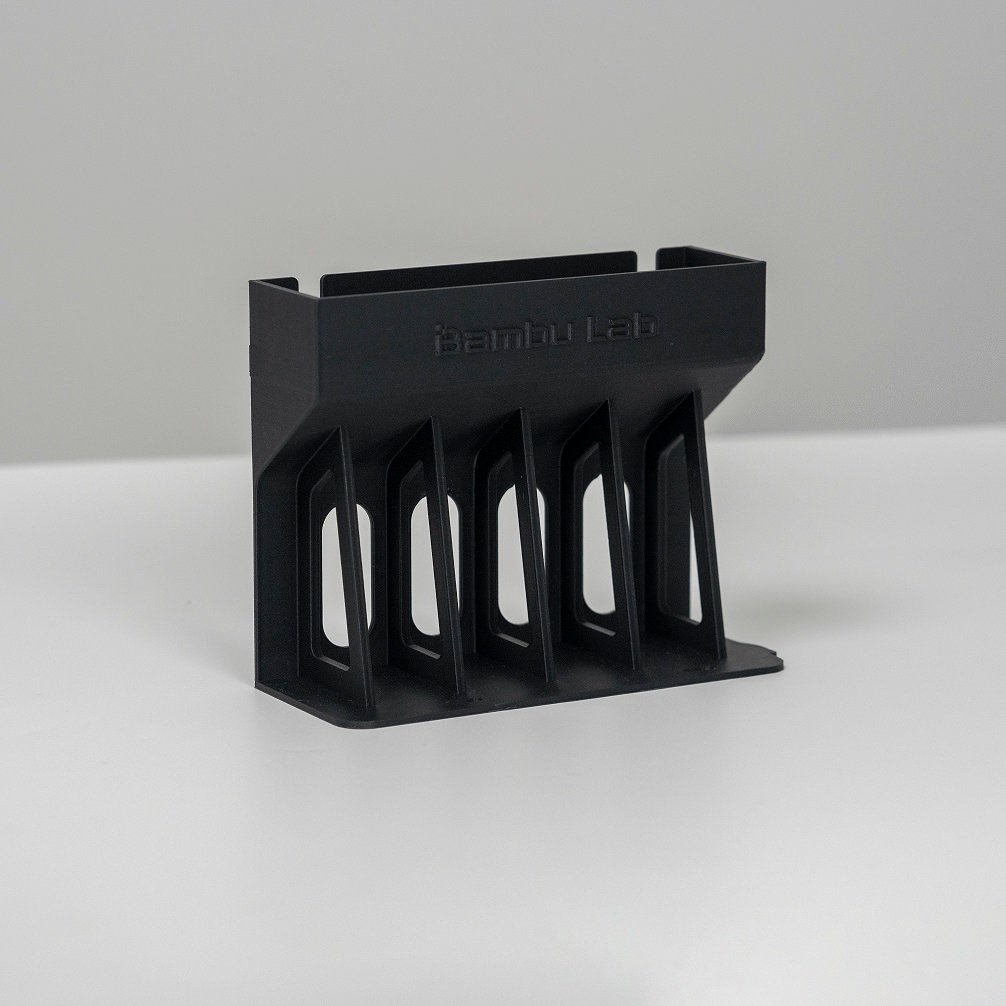
To mount the Aux. fan, print the fan support.
Download Fan Support 3MF File: P1P Auxiliary Part Cooling Fan Support by Bambu Lab Support - MakerWorld
Download Auxiliary Part Cooling Fan Assembly Instructions
How to control the Aux. fan
Bambu Studio: Click the "Device" tab, then "Status." On the control board, click the "Aux Cooling" icon, then "Adjust Parameters."
Bambu Handy App: Click the' Printer' icon; choose the 'Aux.' icon on the bottom; adjust the parameters.
¶ Monitoring chamber camera
You can purchase it at our store here: LED
Please note that the plastic latch on the AP board connector is fragile, and please be careful when opening it. If too much force is used, it can be easily damaged.
 |
 |
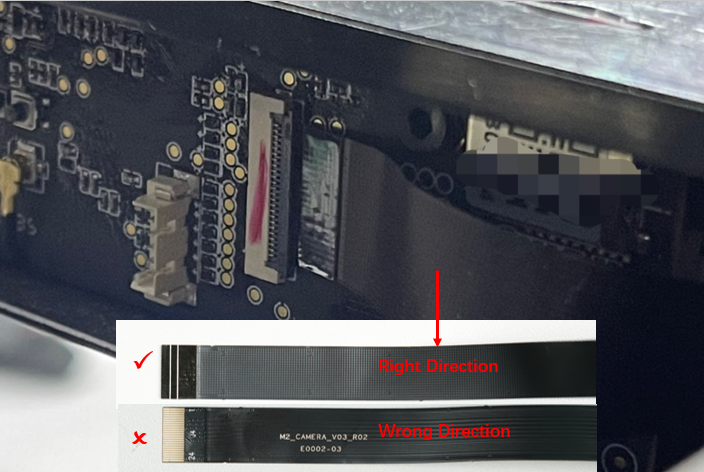
How to control the chamber camera
If you see a 'camera' icon on the printer screen or in the Studio 'Device' tab, it is installed successfully.
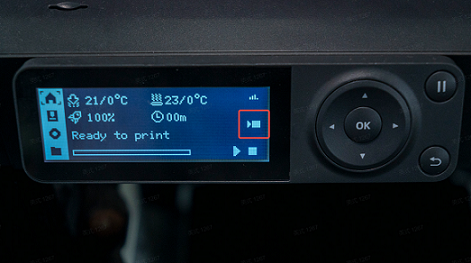
Bambu Studio: Select the "Device" tab, then "Status," and finally "Video" icon. If it is in orange, then the recording is on.
Bambu Handy APP: In the top right corner, click the settings icon and select "Record."
¶ LED Light & Light Shell
You can purchase it at our store here: Chamber Camera
Print the light shell and assemble the chamber LED light.
¶ Kind reminder
We recommend installing the LED on the rail below the carriage if you need to upgrade the tool head cable chain.
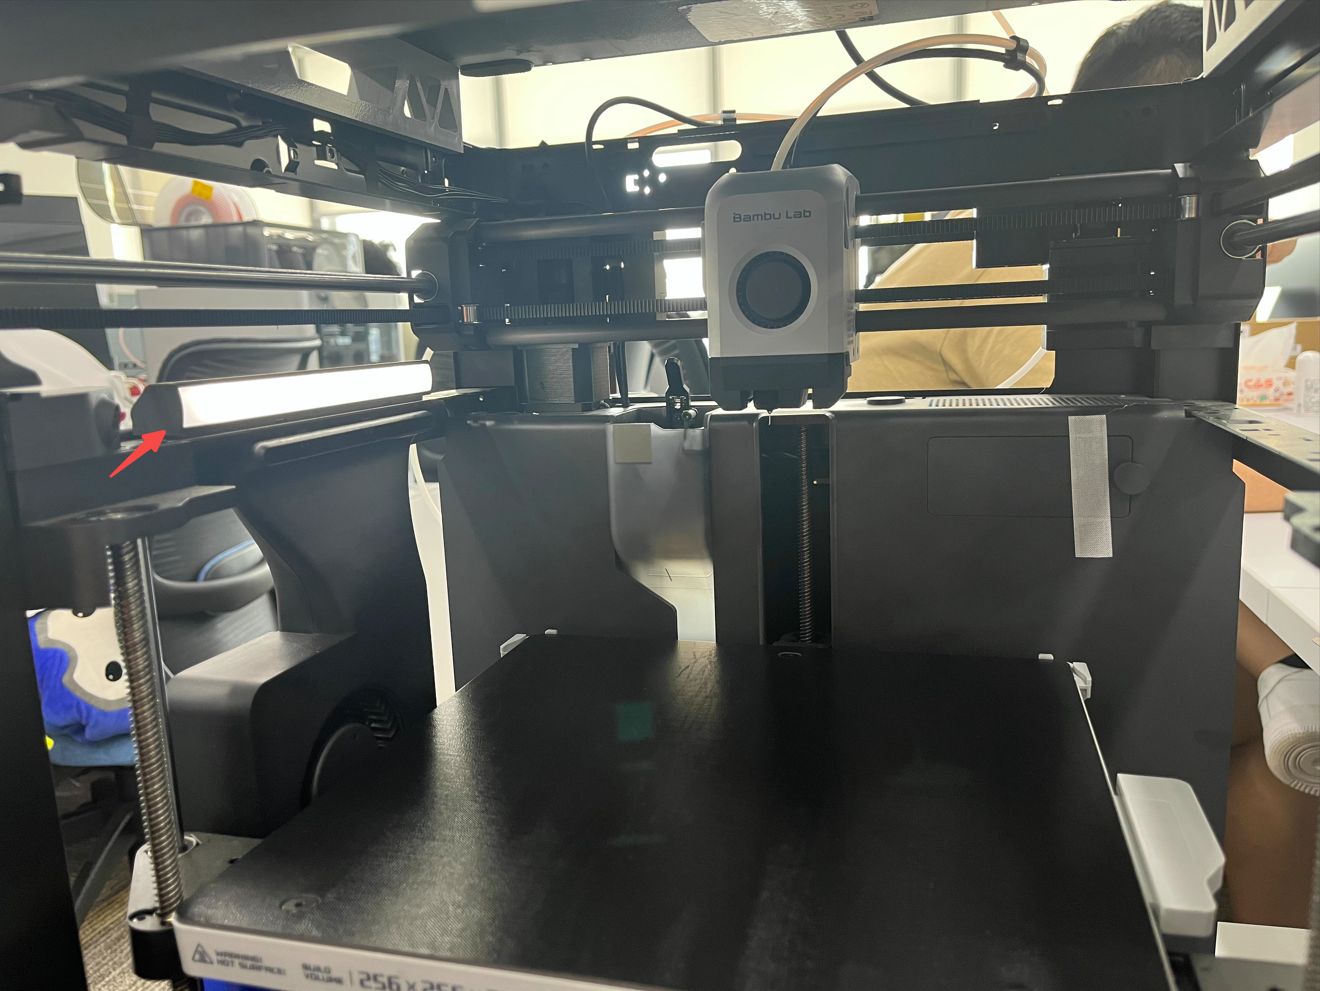
Download Light Shell 3MF File: P1P Chamber LED Light Shell by Bambu Lab Support - MakerWorld
How to control the LED light
Printer: Choose the second tab - Scroll down to the second page - Choose the 'Bulb' icon.
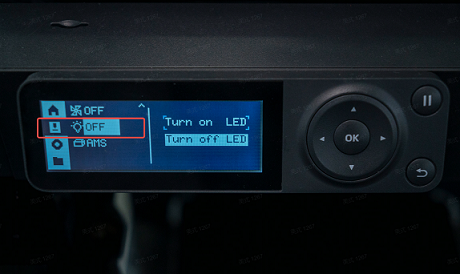
Bambu Studio: Click the 'Device' tab - Status - Click the 'Lamp' icon. If it is in green, then it is on.
Bambu Handy APP: Click the' Printer' icon - Click the 'Light' icon on the bottom. If it is in green, then it is on.