¶ Unboxing the X1C Combo
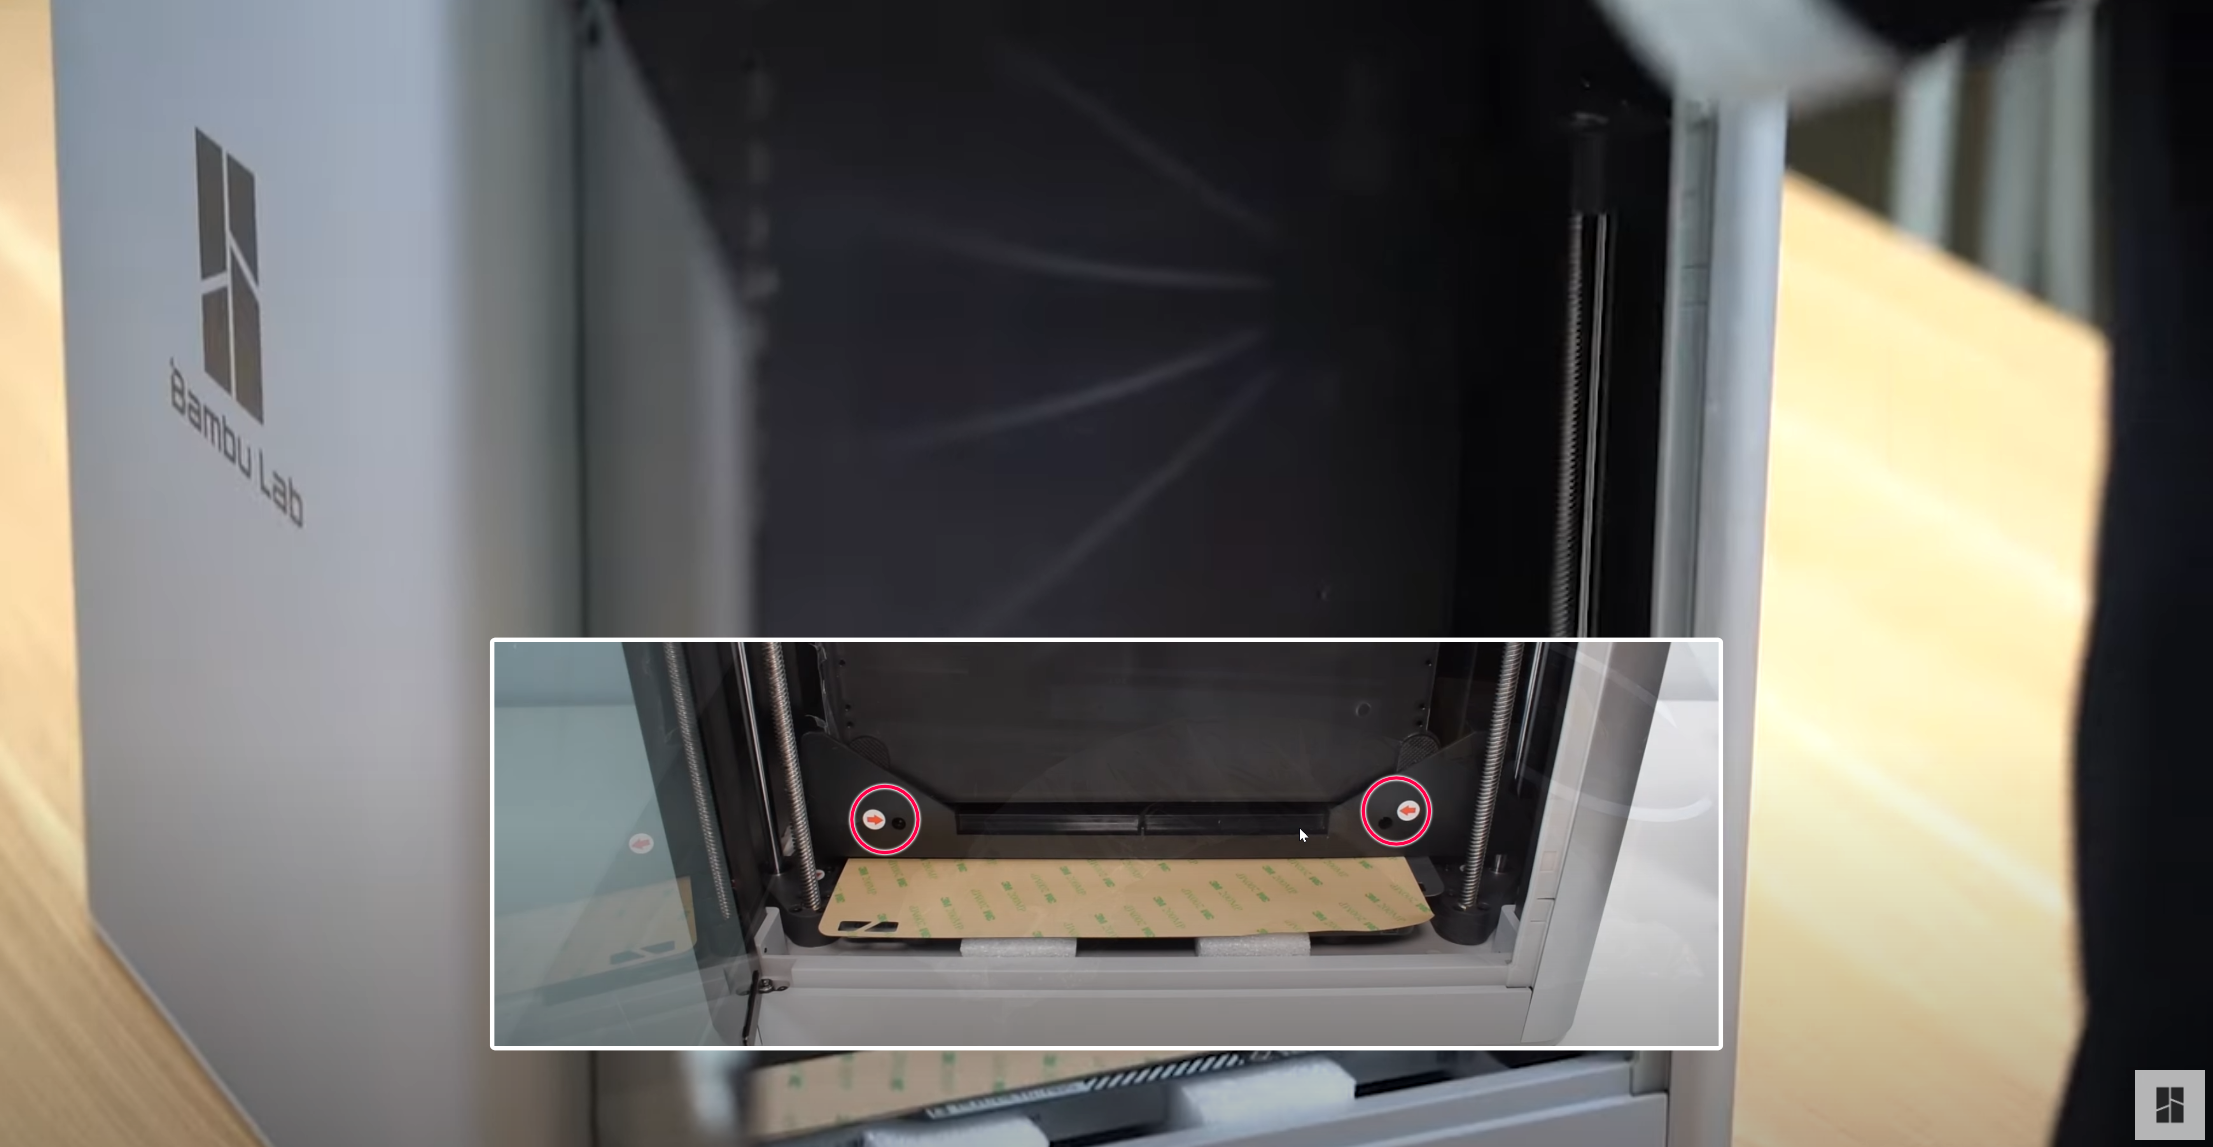
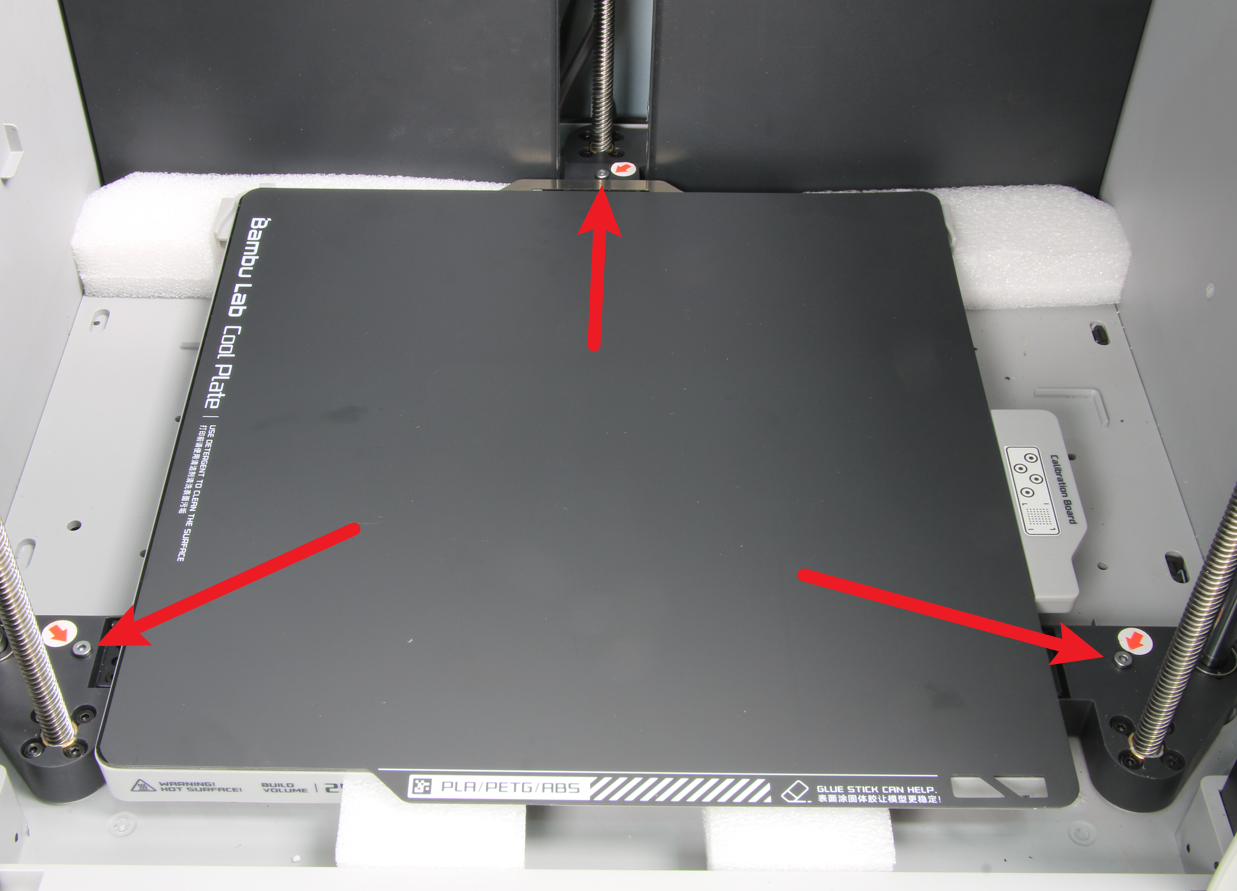
Please Note: Step 8 has been modified. The screws are no longer located as shown in the video, please refer to the image displayed in step 8 of the guide below.
The filament and other accessories in the Combo are given randomly, please refer to the specific goods you receive.
ASSEMBLY VIDEO:
Visit YouTube or Bilibili to watch our full assembly video. Watch the video on bilibili.
¶ Step 1 - Unboxing and Removal
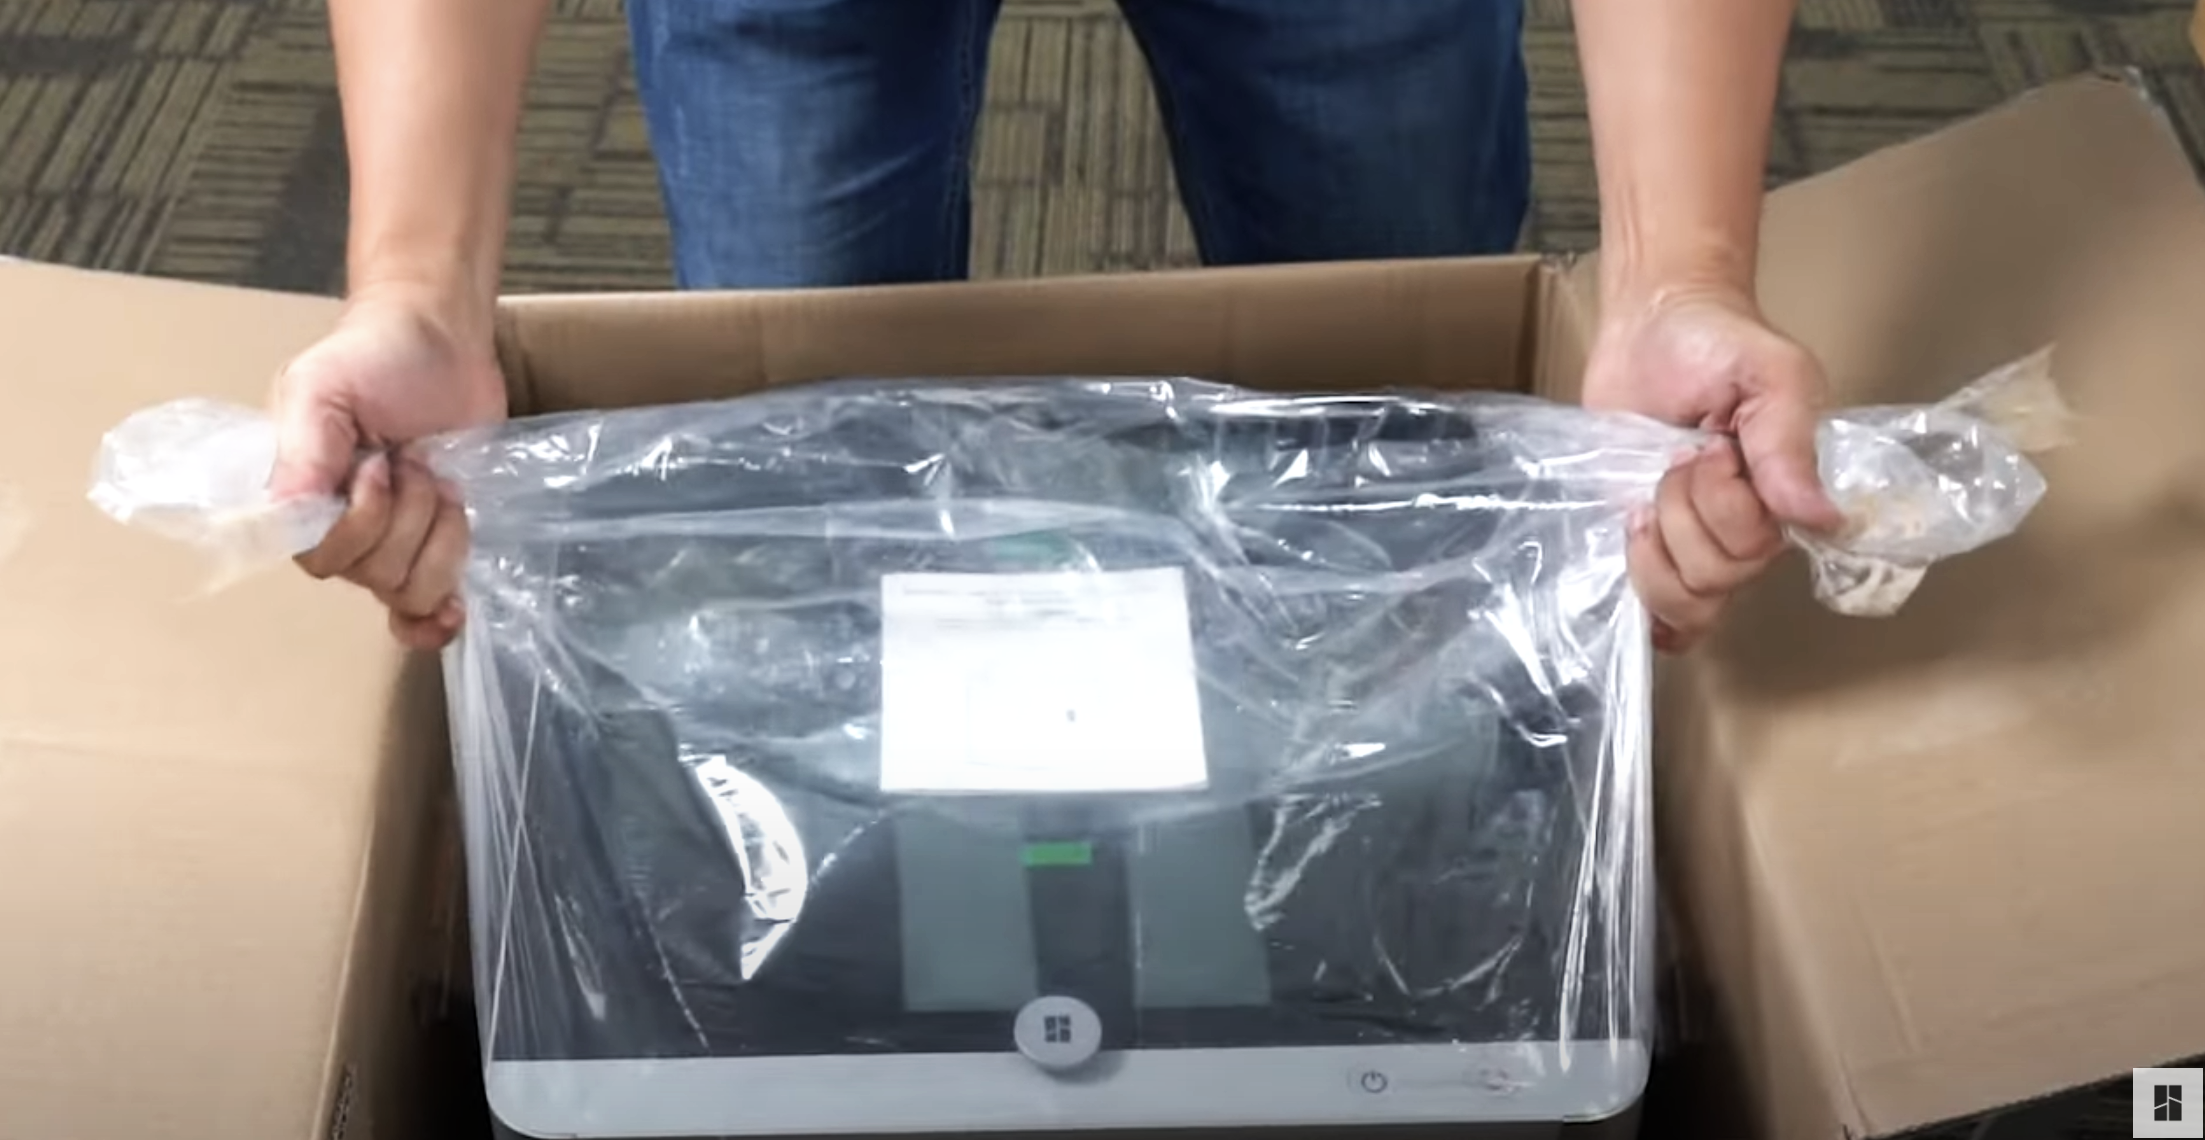
Remove the printer from the box by using the two plastic handles as shown below, and place the printer on a flat surface.
Note: The printer weights approximately 20kg.
¶ Step 2 - Remove Protective Stickers
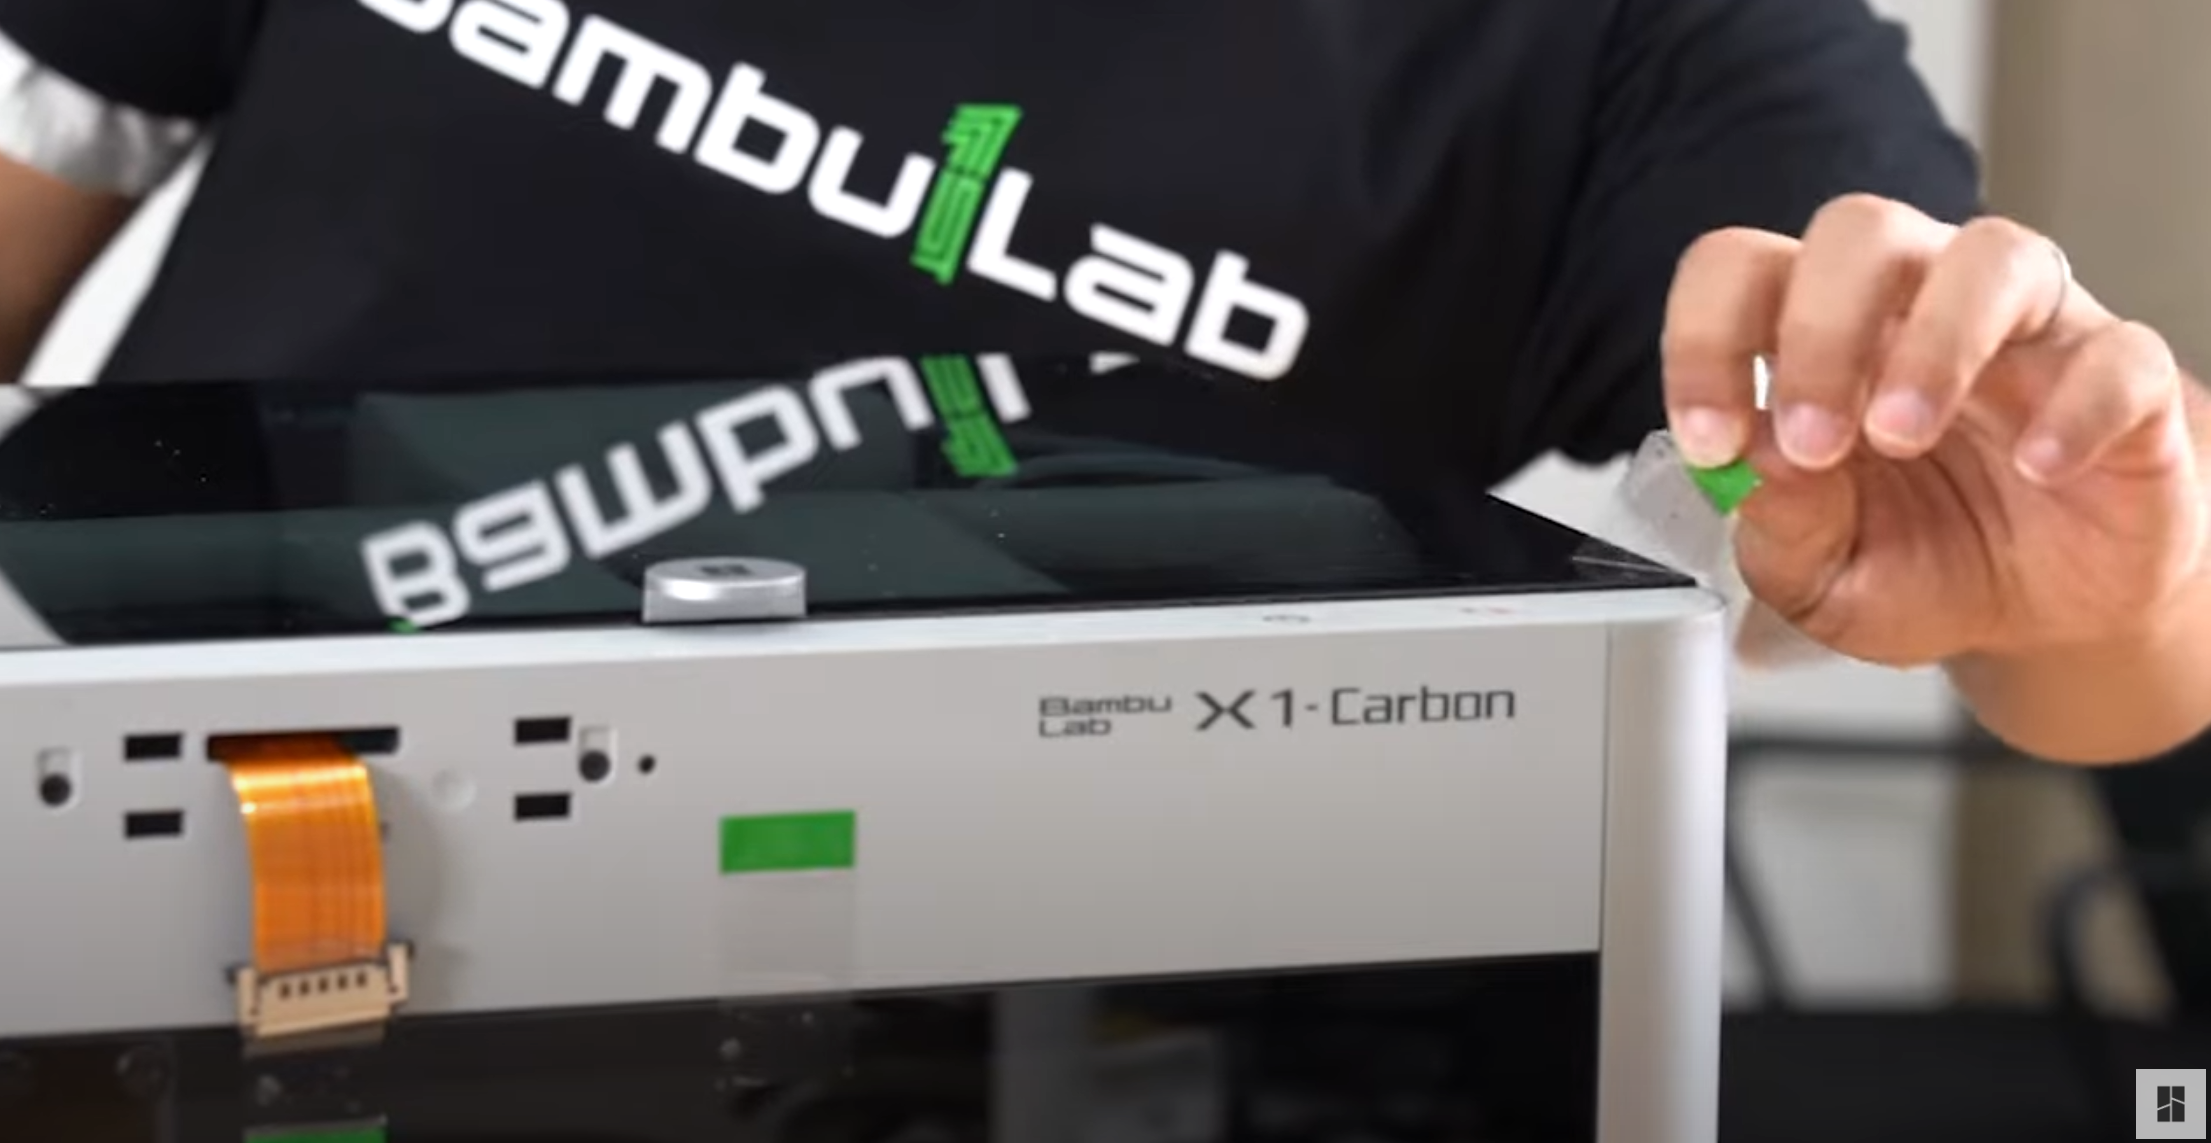
Remove the plastic cover and the green stickers from the printer.
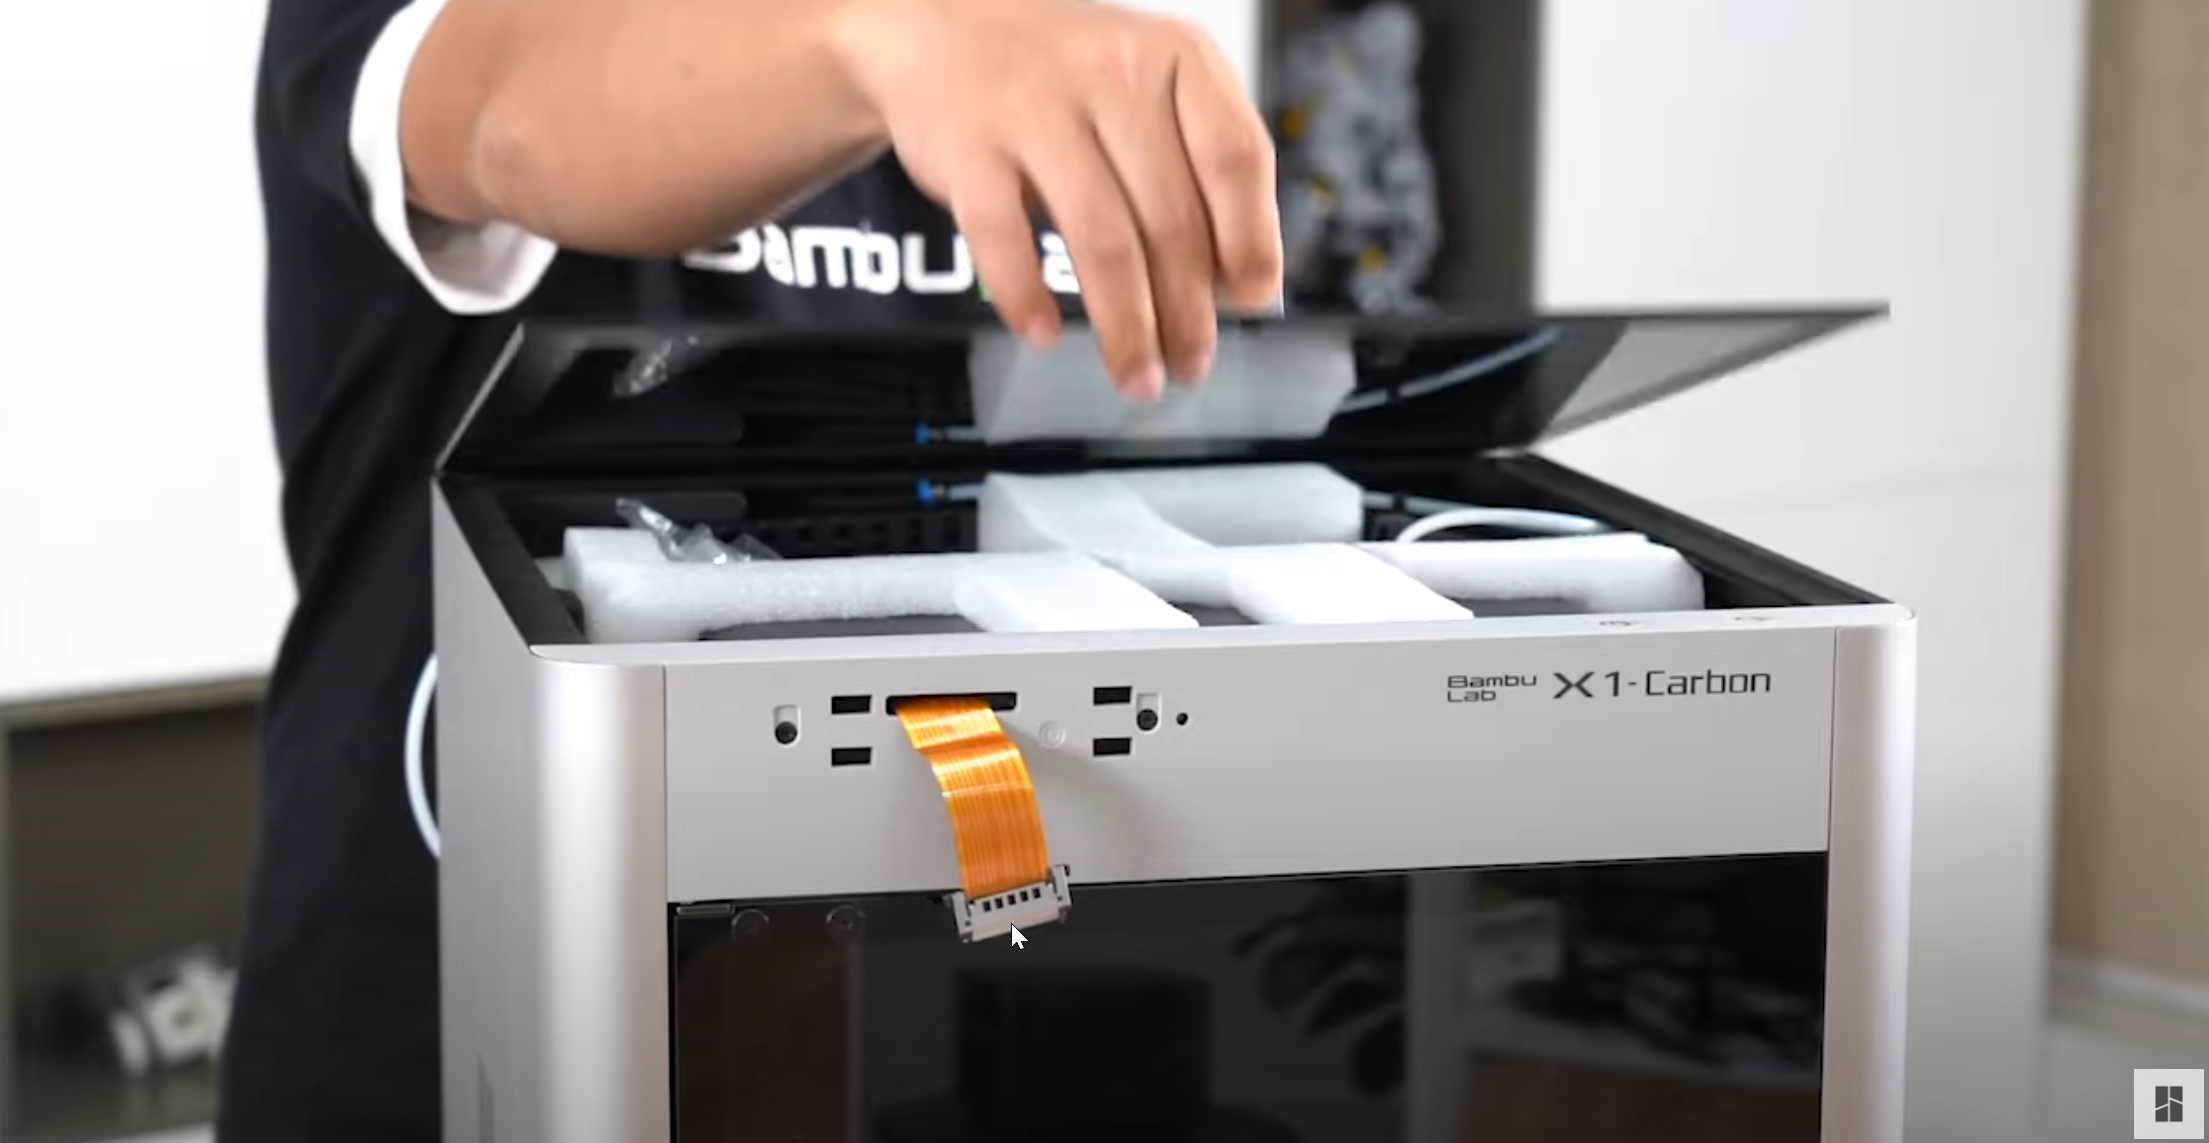
¶ Step 3 - Removal of Protection Foam
Remove the top glass cover to reach the protection foam holding the AMS attachment safe during shipping.
Note: The top lid is fully detachable from the base, please take extra precautions when handling.
¶ Step 4 - Accessory Contents
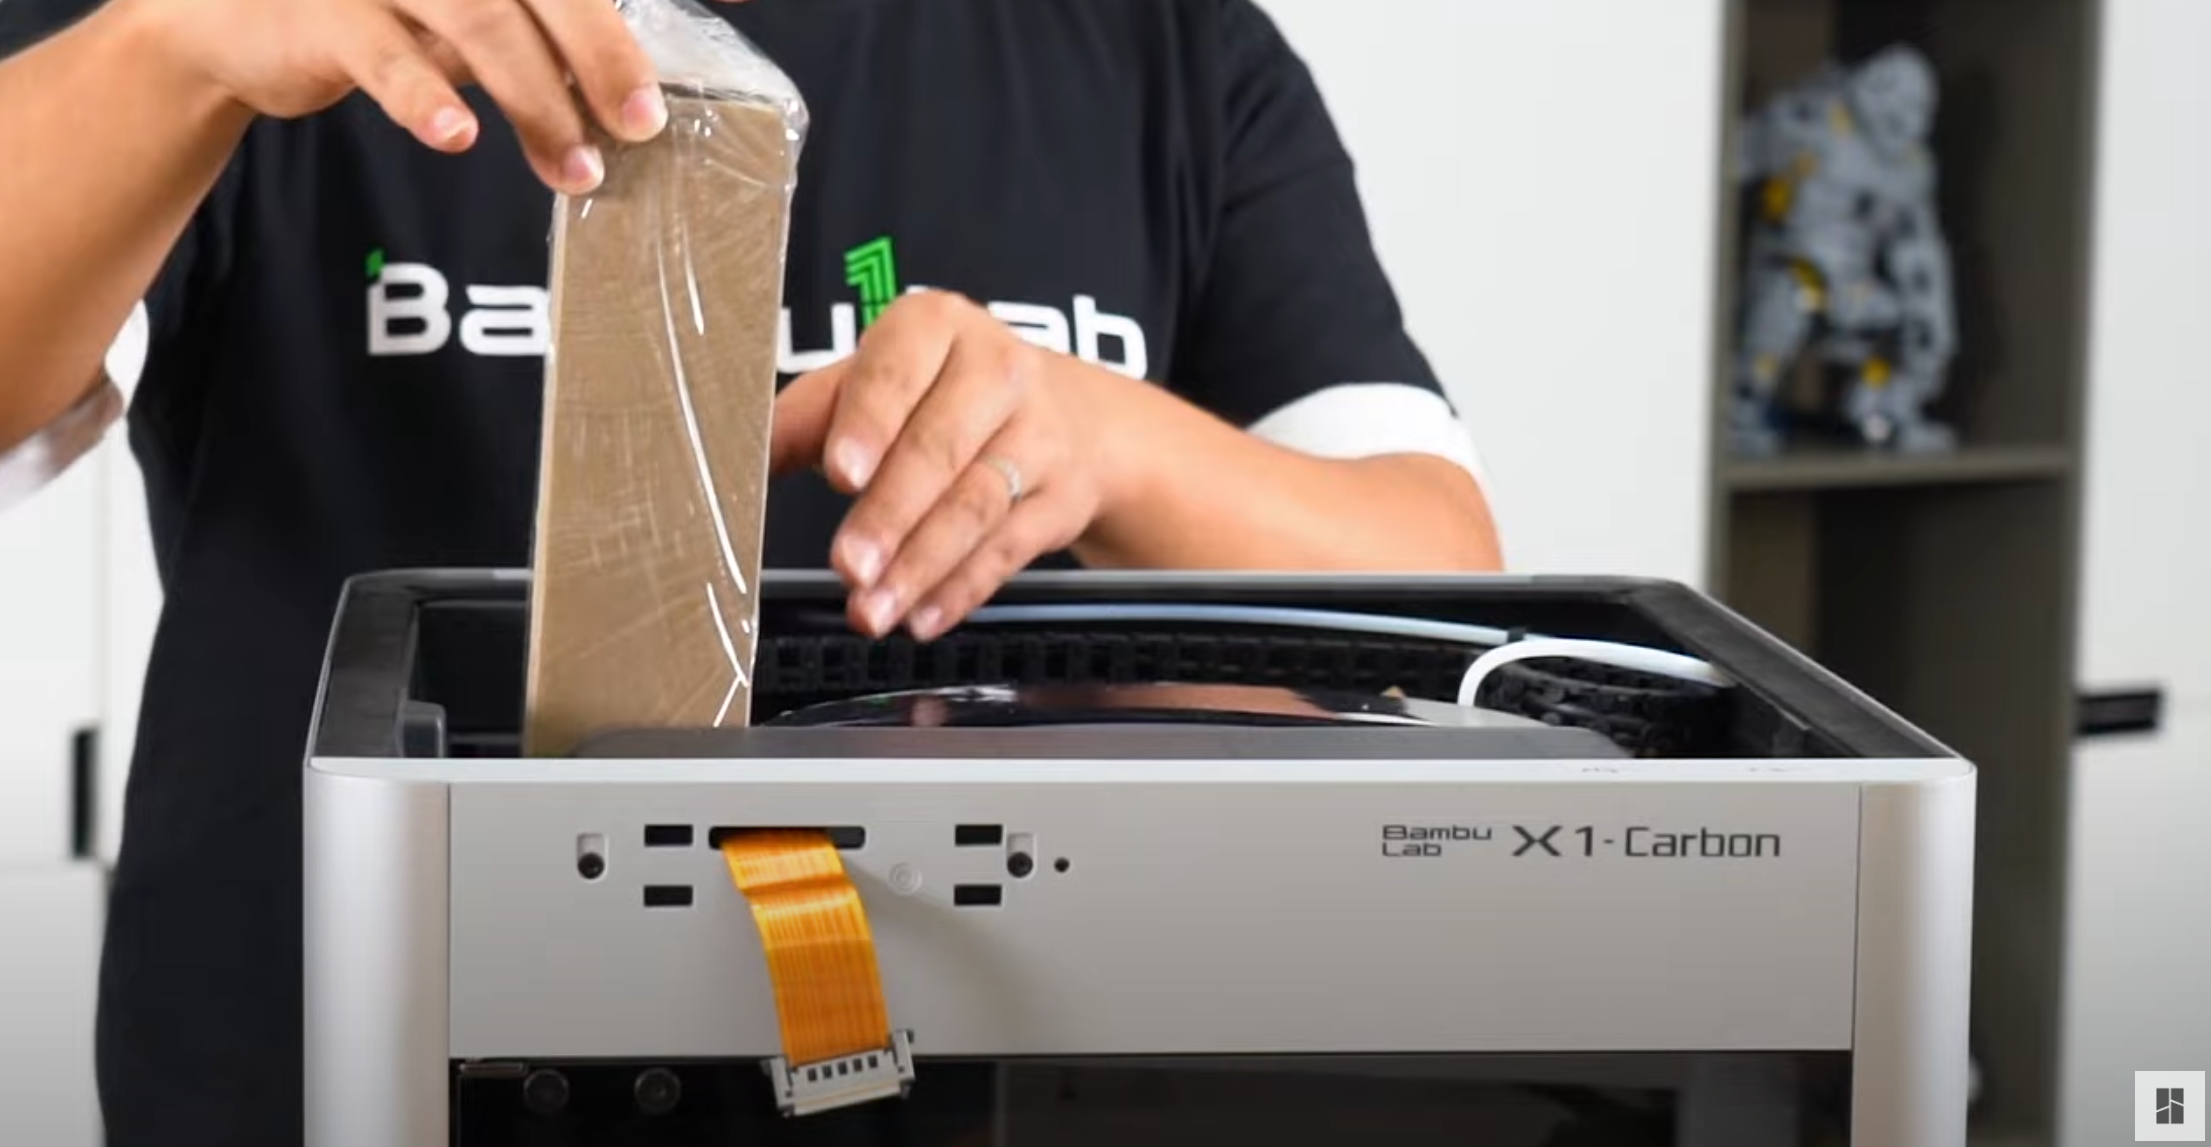
Take out the cardboard box which includes all the accessories for the X1C Combo.
¶ Step 5 - Removal of AMS Screws
Open the front glass door, and using the H2 Allen Key from the accessories box, remove the two screws in the front holding the AMS in place during shipping.
¶ Step 6 - Removal of AMS Unit
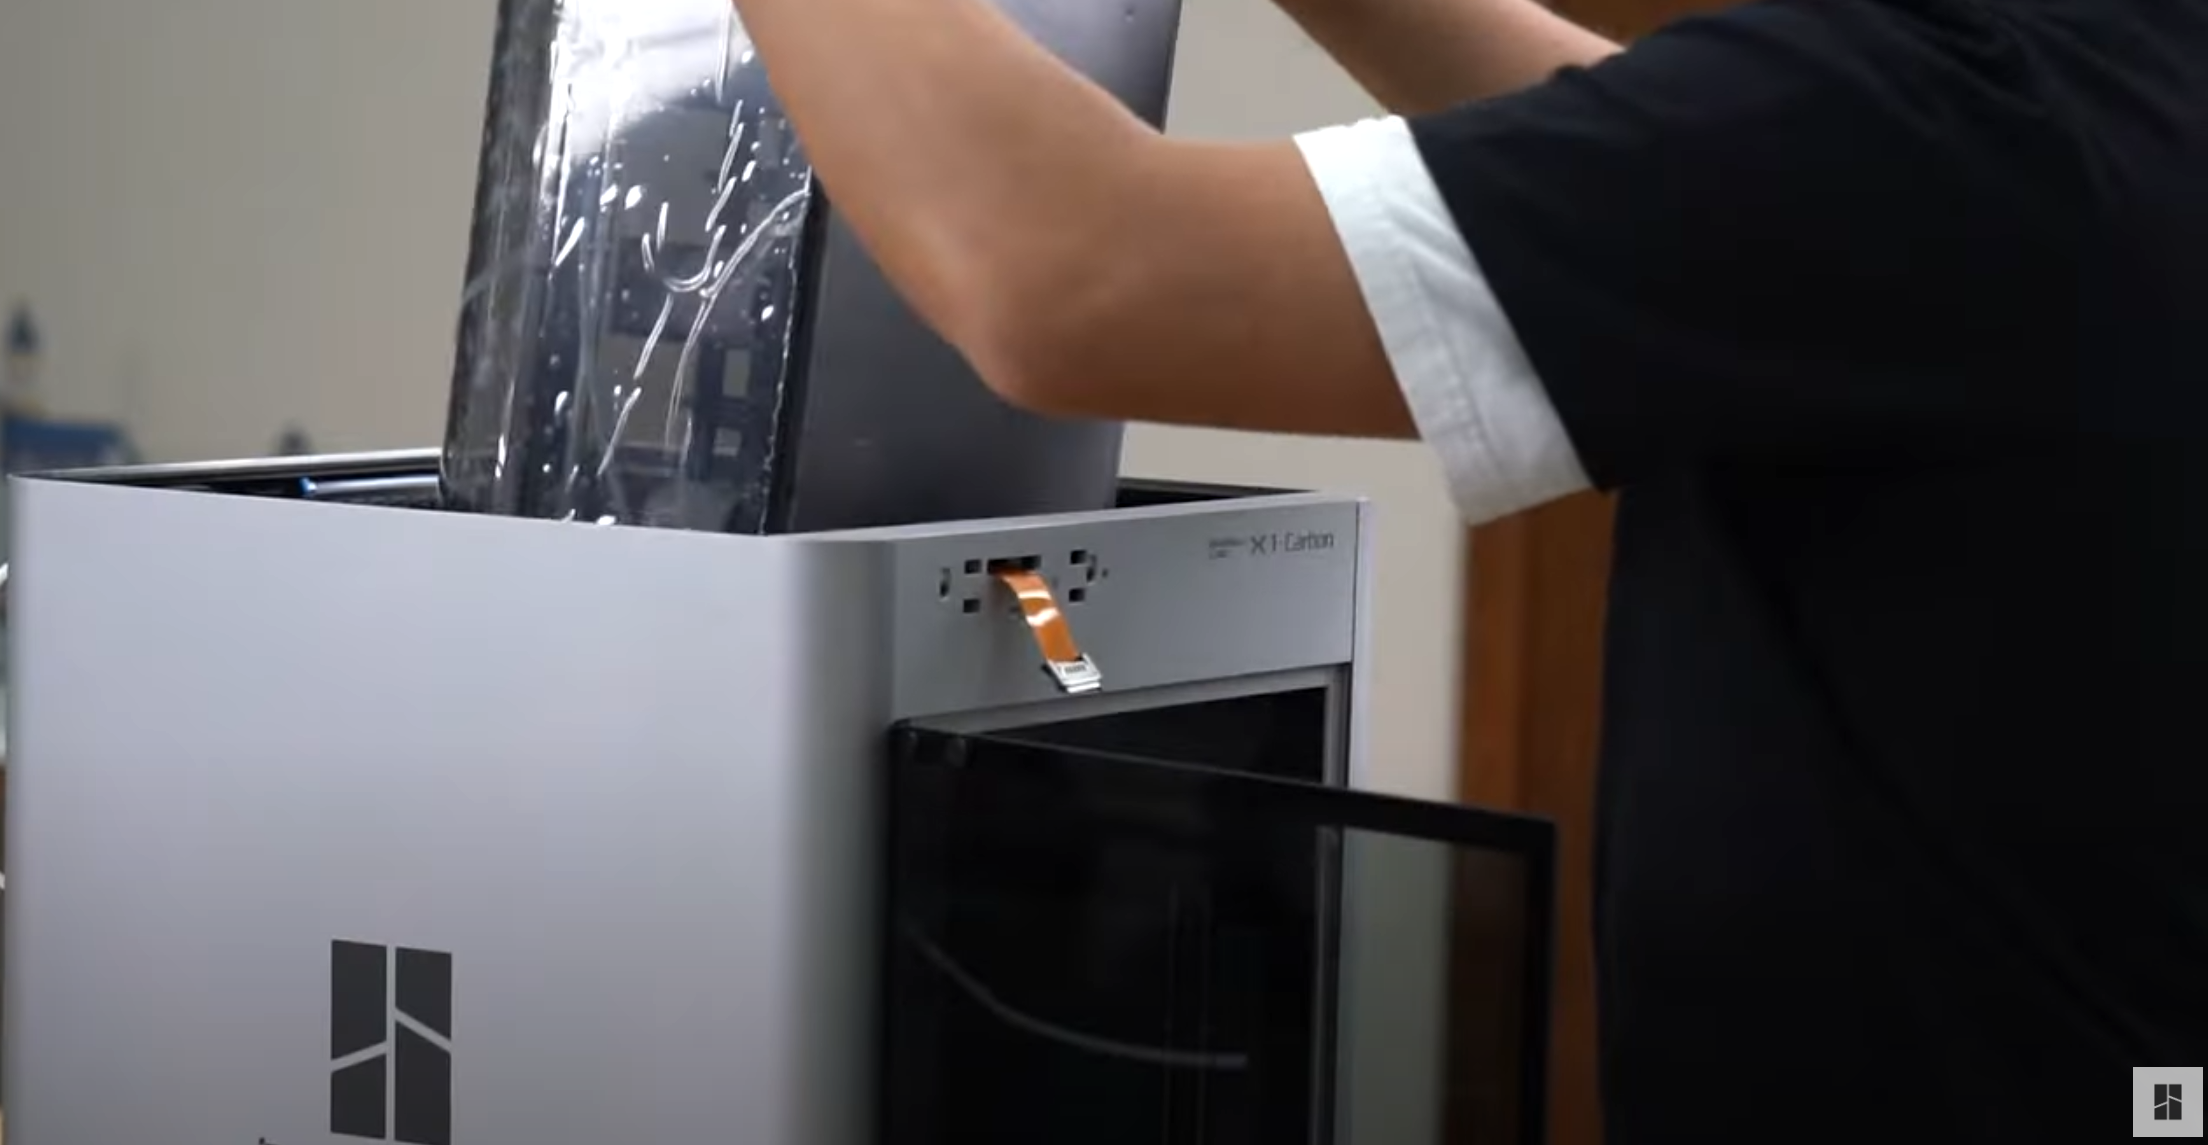
Carefully lift the AMS from the printer. You might need to pull a bit harder to get it out from the plastic holder. Don't worry, you won't break it if you removed the screws in the previous step.
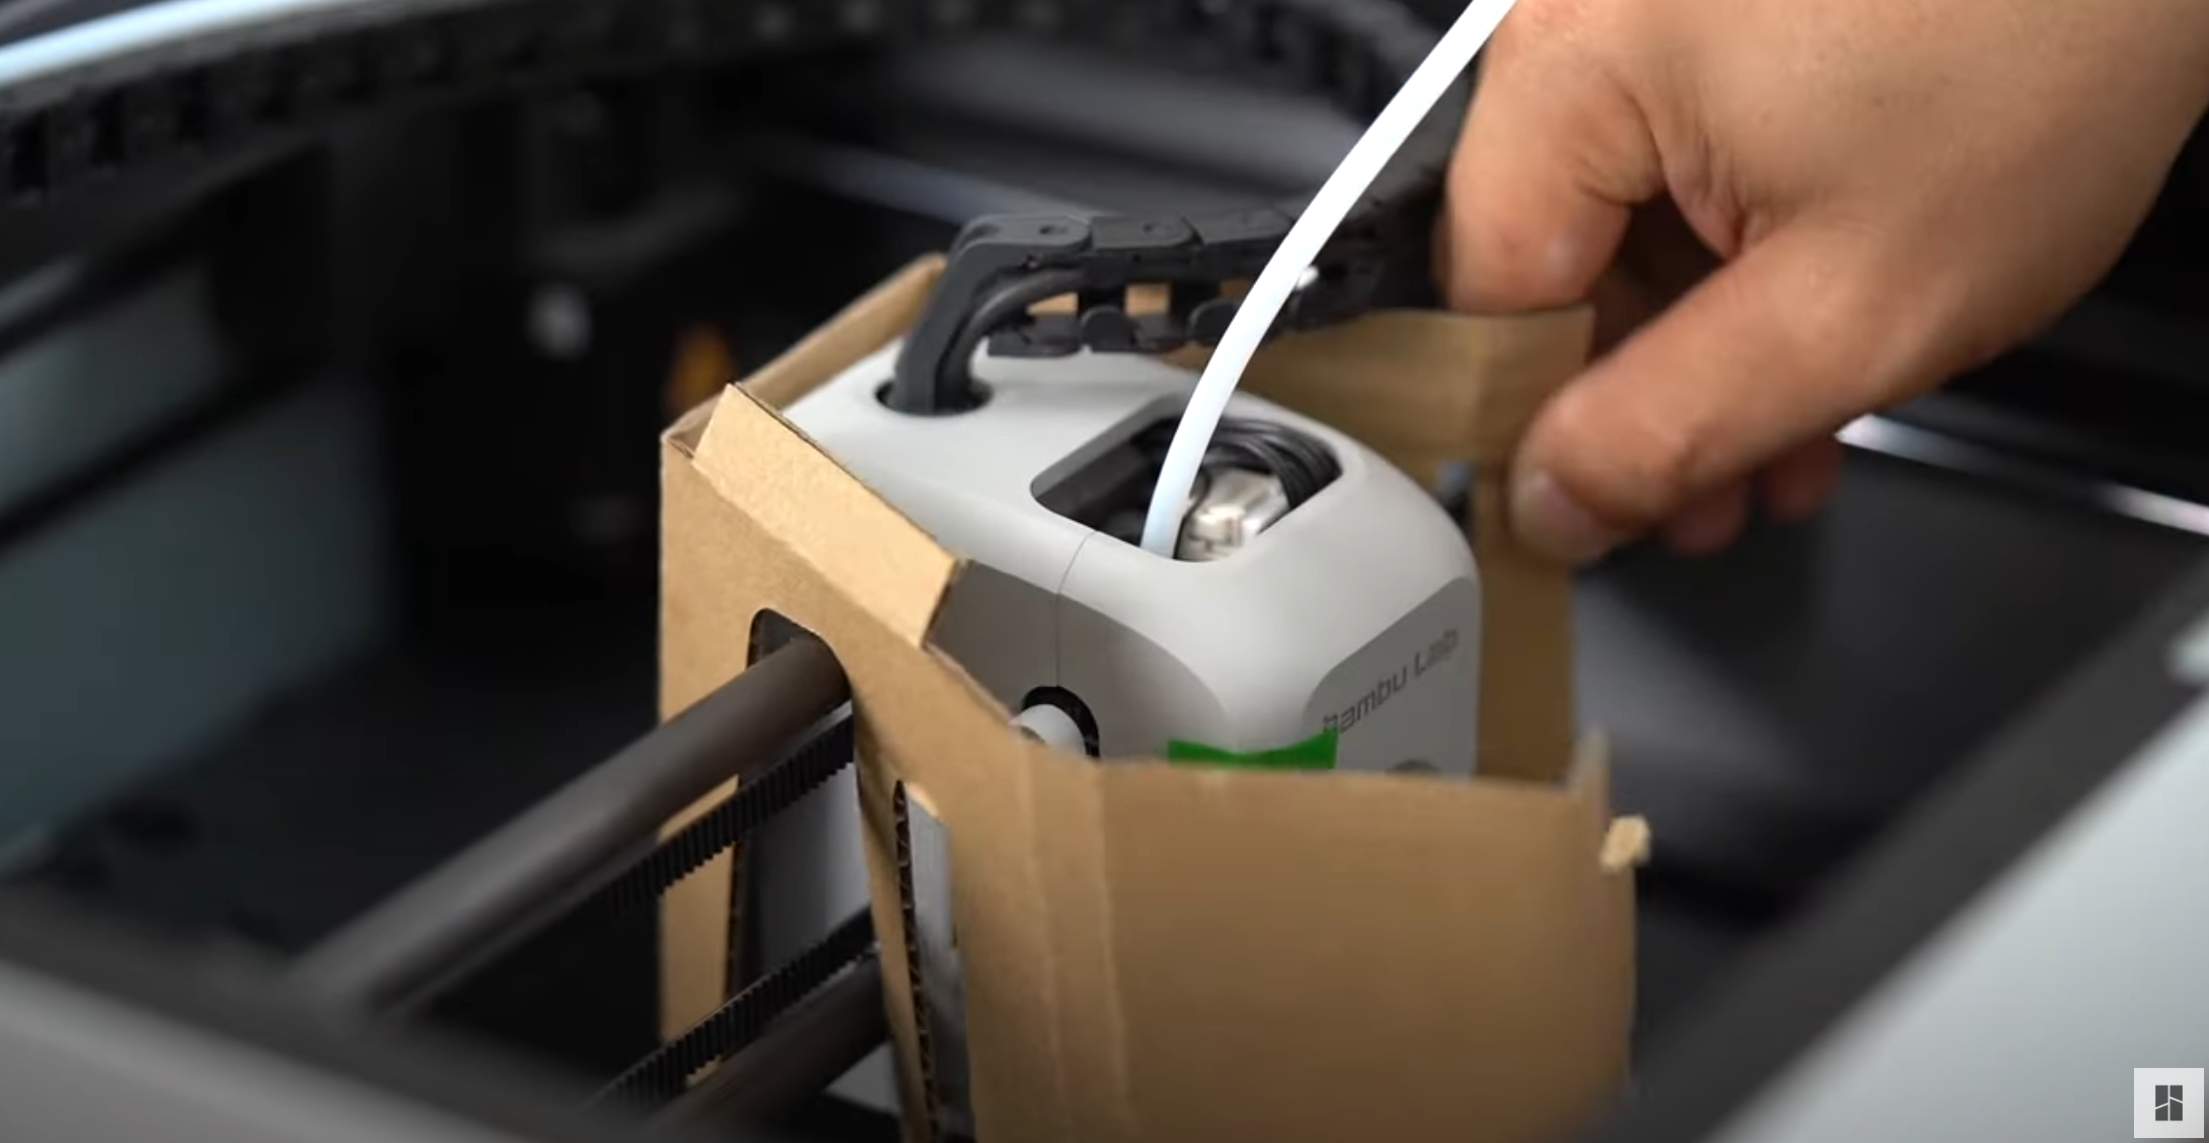
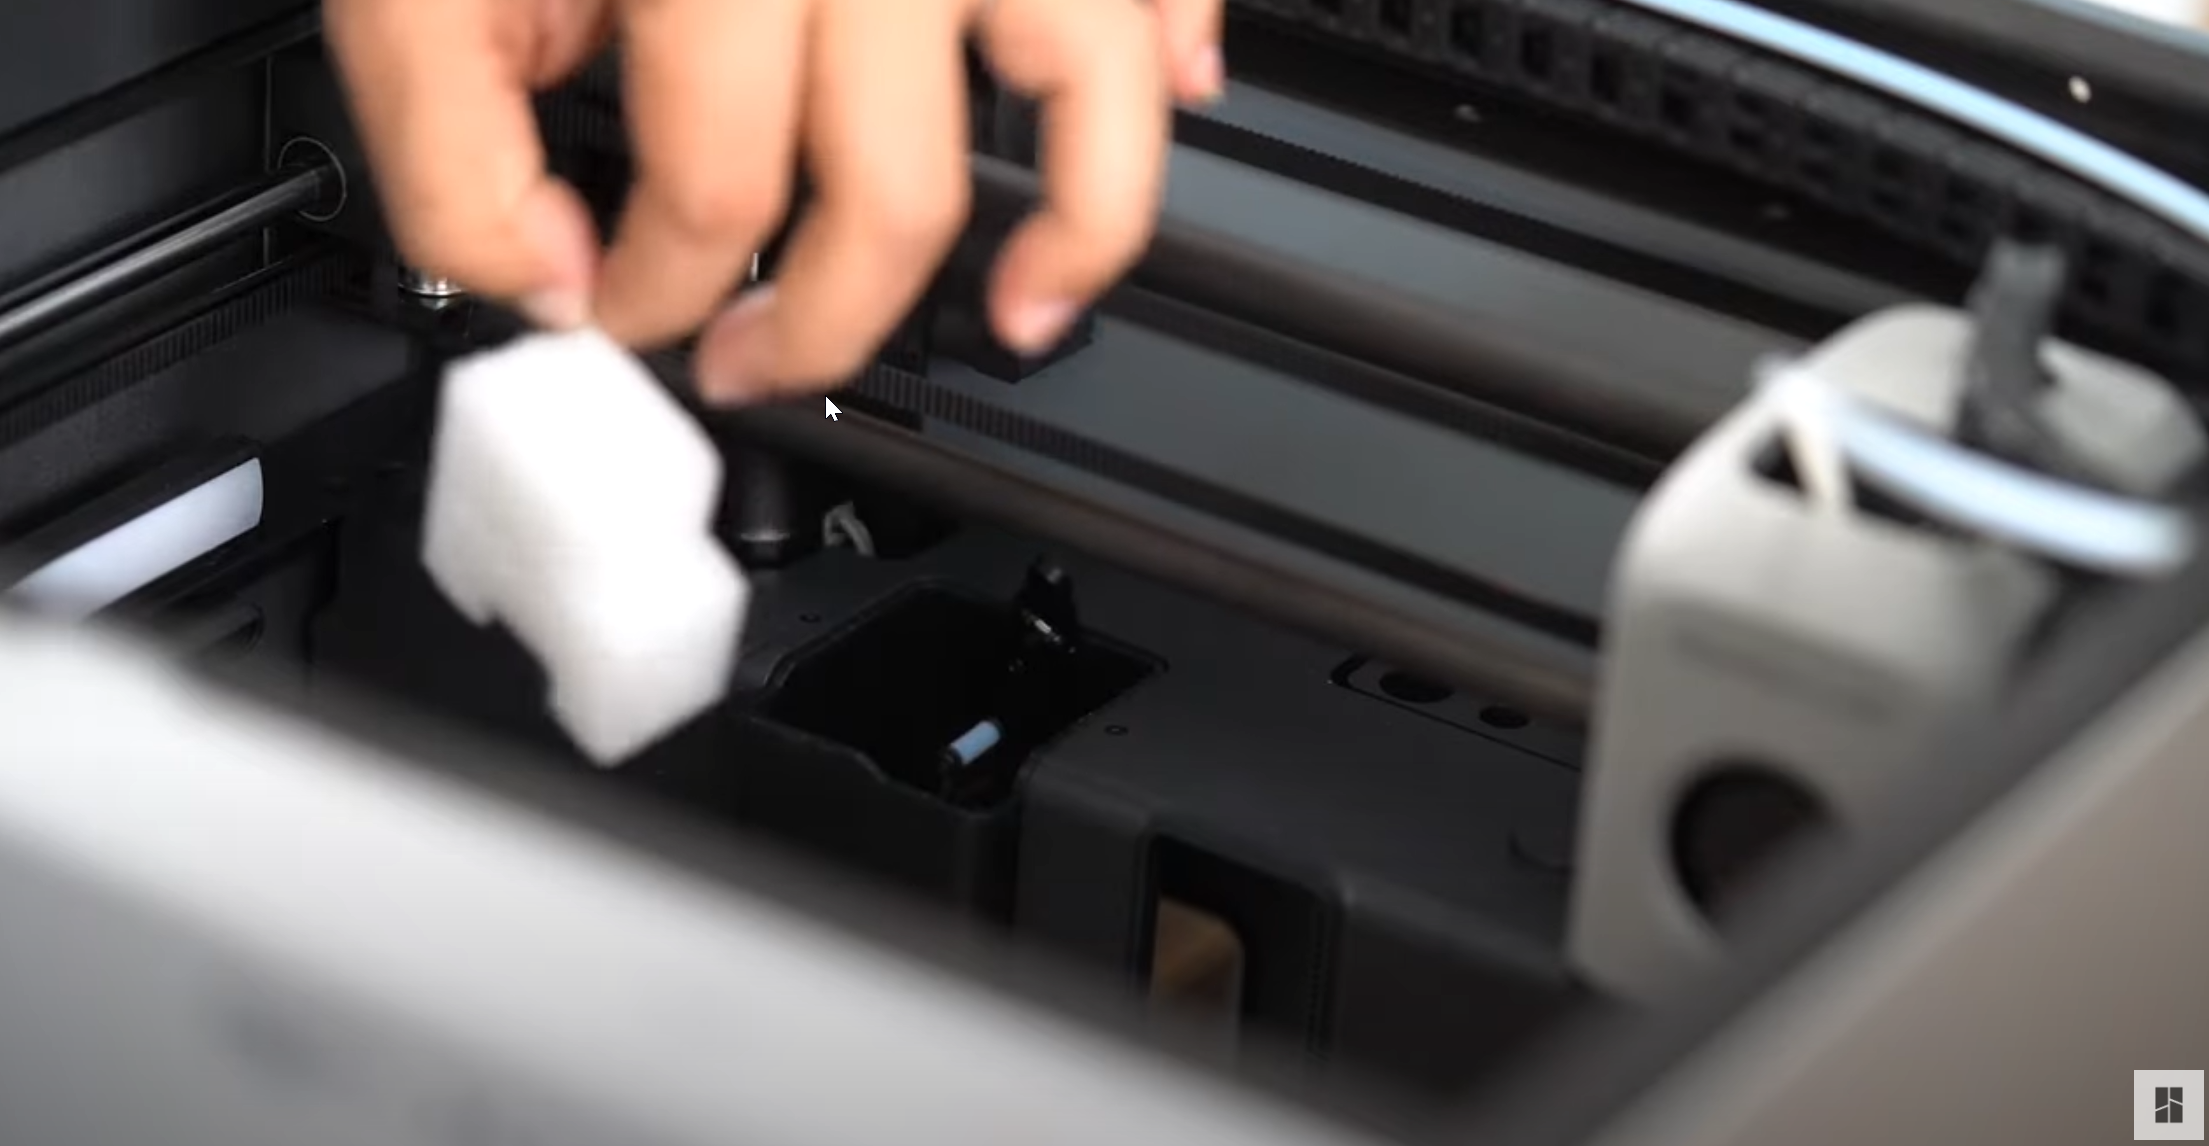
¶ Step 7 - Removal of Extruder's Cardboard Protection and Foam from Purge Box
Remove the cardboard protection around the extruder, then remove the white foam inside the purge bucket.
Note: Gently position the extruder head to the center.
¶ Step 8 - Remove Bed Screws
Open the front glass door and remove the three screws that hold the bed in place. Please note that in the video, the screws are underneath the printer this has now been changed. These screws have now been relocated for easy access, please find the three red arrows located inside the printer and NOT underneath, remove these screws.
¶ Step 9 - Connect the Touchscreen
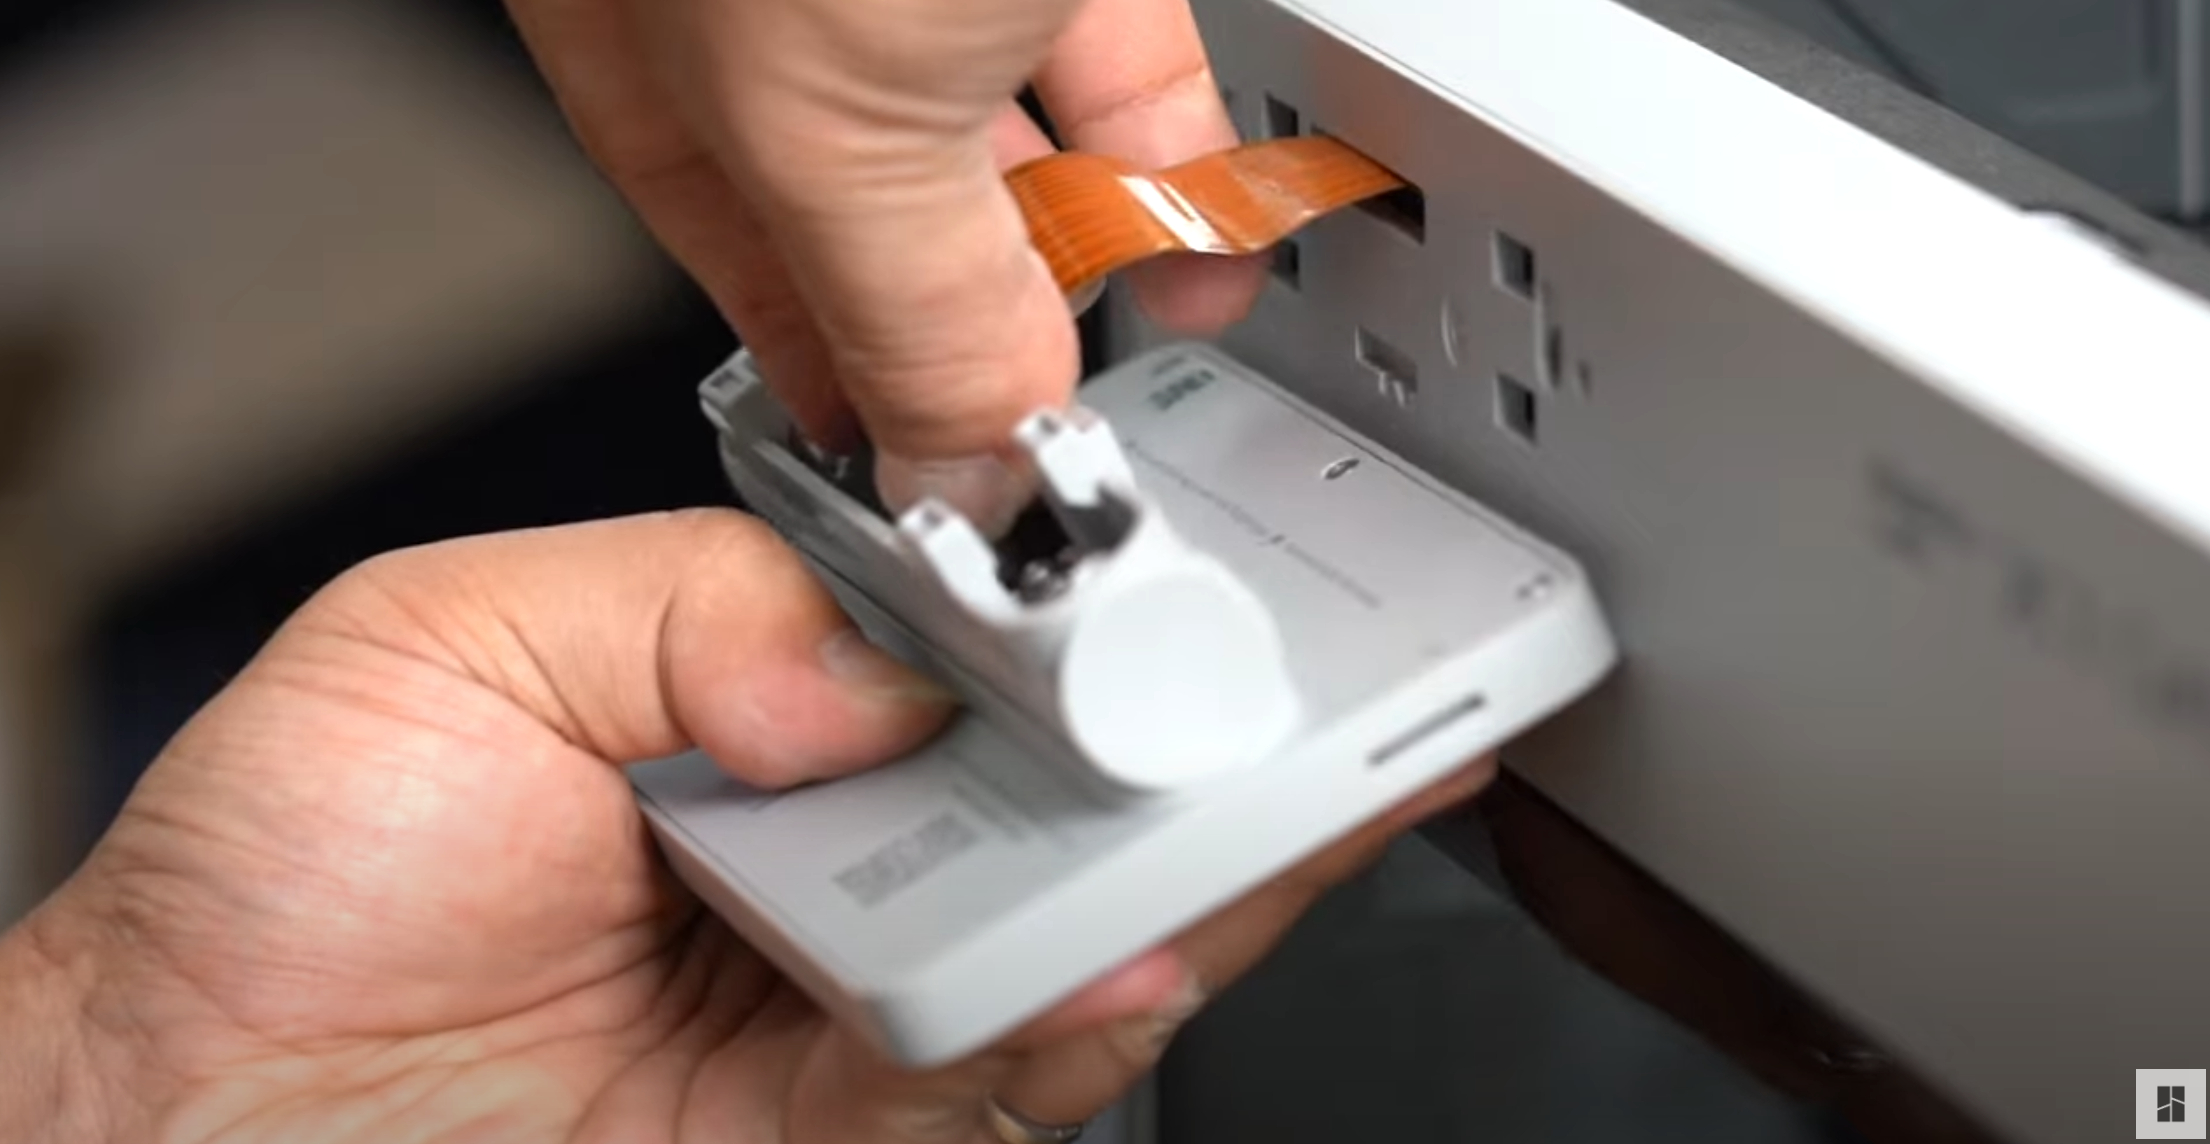
Carefully connect the ribbon cable to the touchscreen. You might need to pull the cable a bit, so do it carefully, so as not to damage it. When inserting the cable, try to keep it straight. If you ever need to remove it, ensure you push on the side buttons to release the metallic latches.
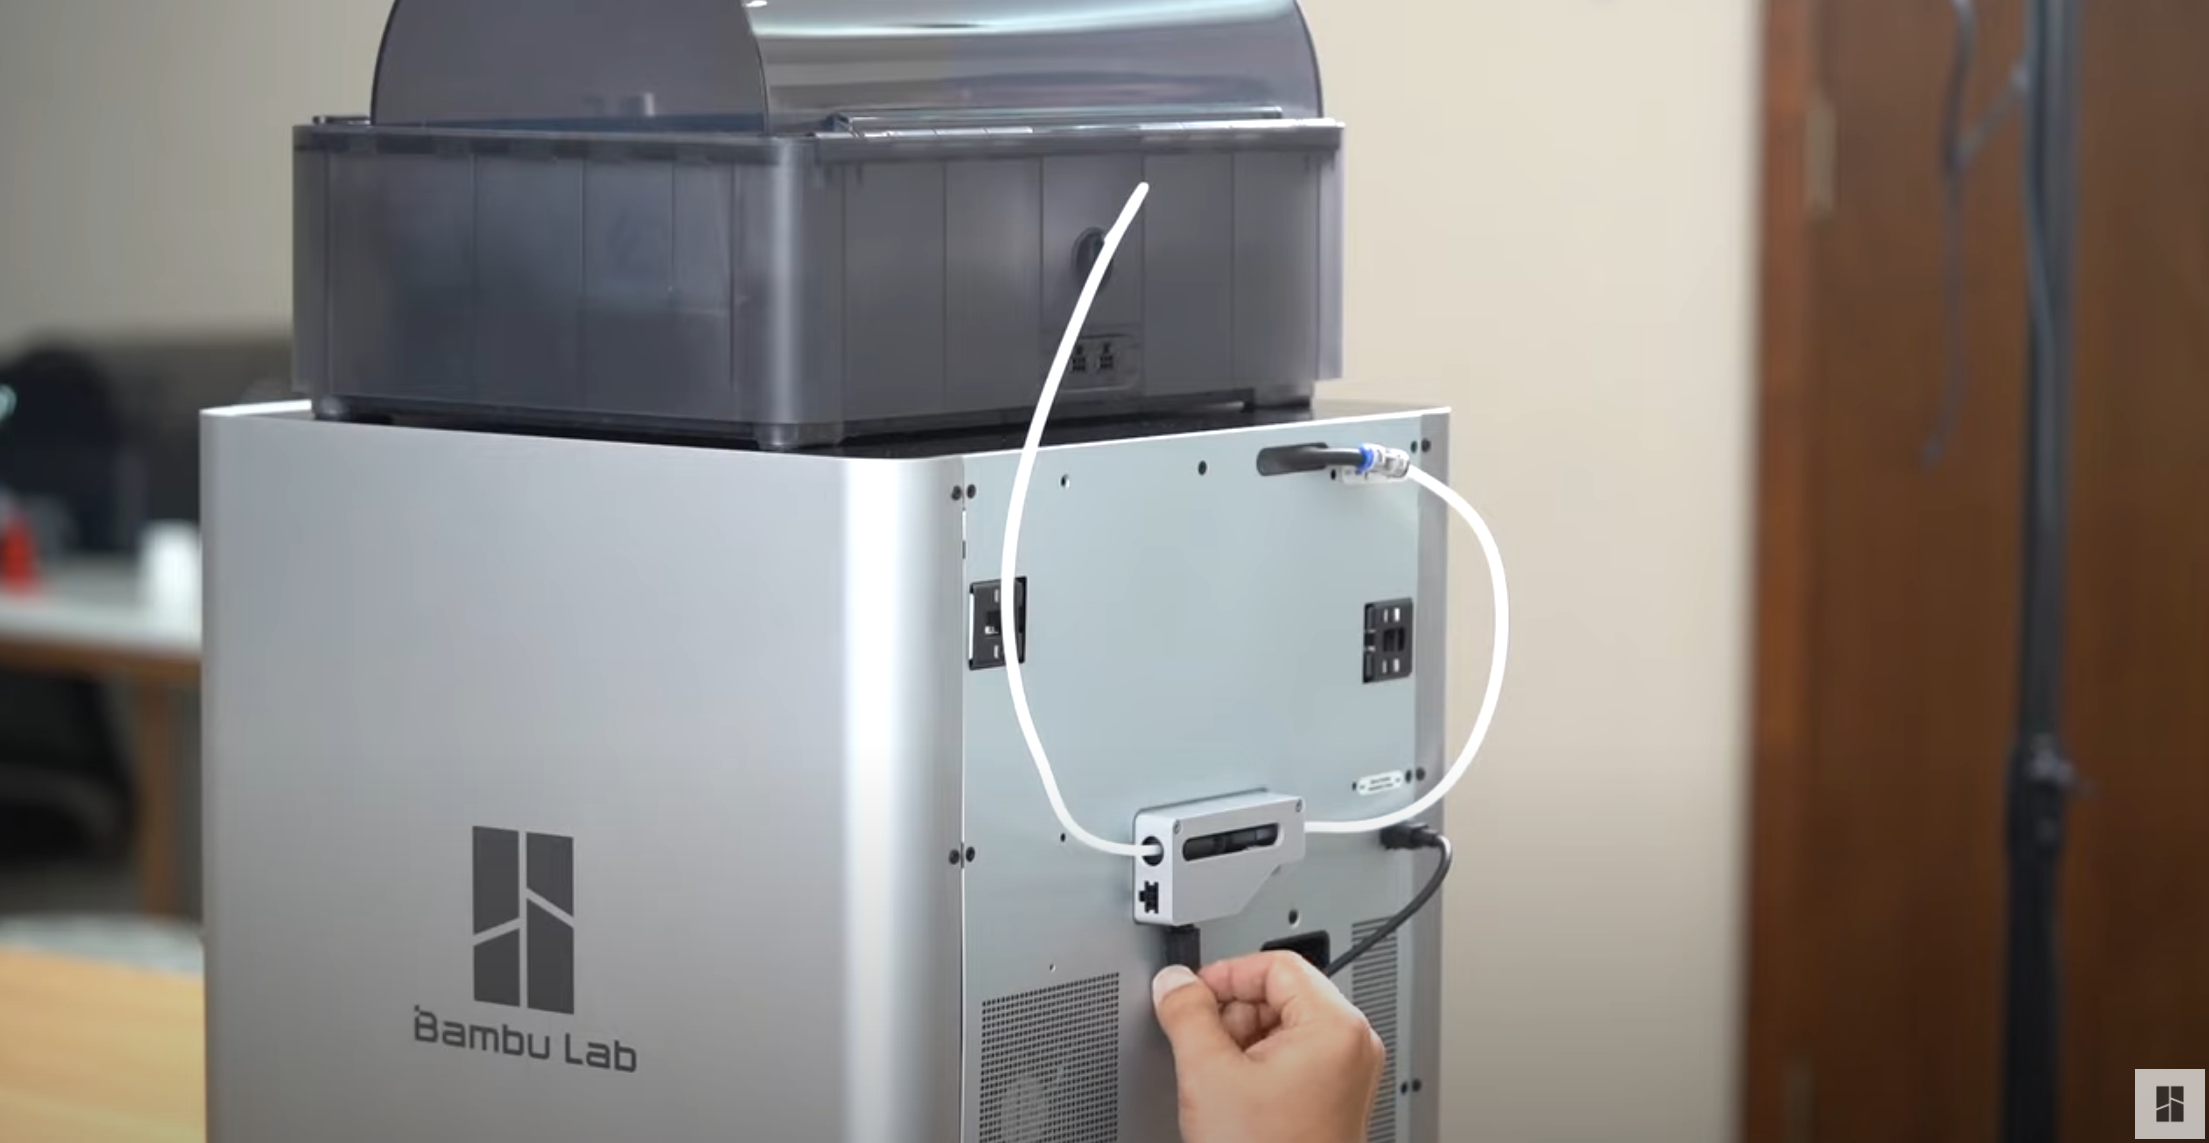
¶ Step 10 - Attach PTFE Tubes and Cables
Connect the PTFE tubes and the cables to the machine. Then you can start the printer and begin the initial automated calibration process.
Note: Please remove the desiccant bag from the sealed transparent plastic bag.
Please follow this guide.
¶ Step 11 - Complete Initialization
Once the printer is turned on, follow the on-screen guide to complete the initialization of the printer. Please follow this guide.
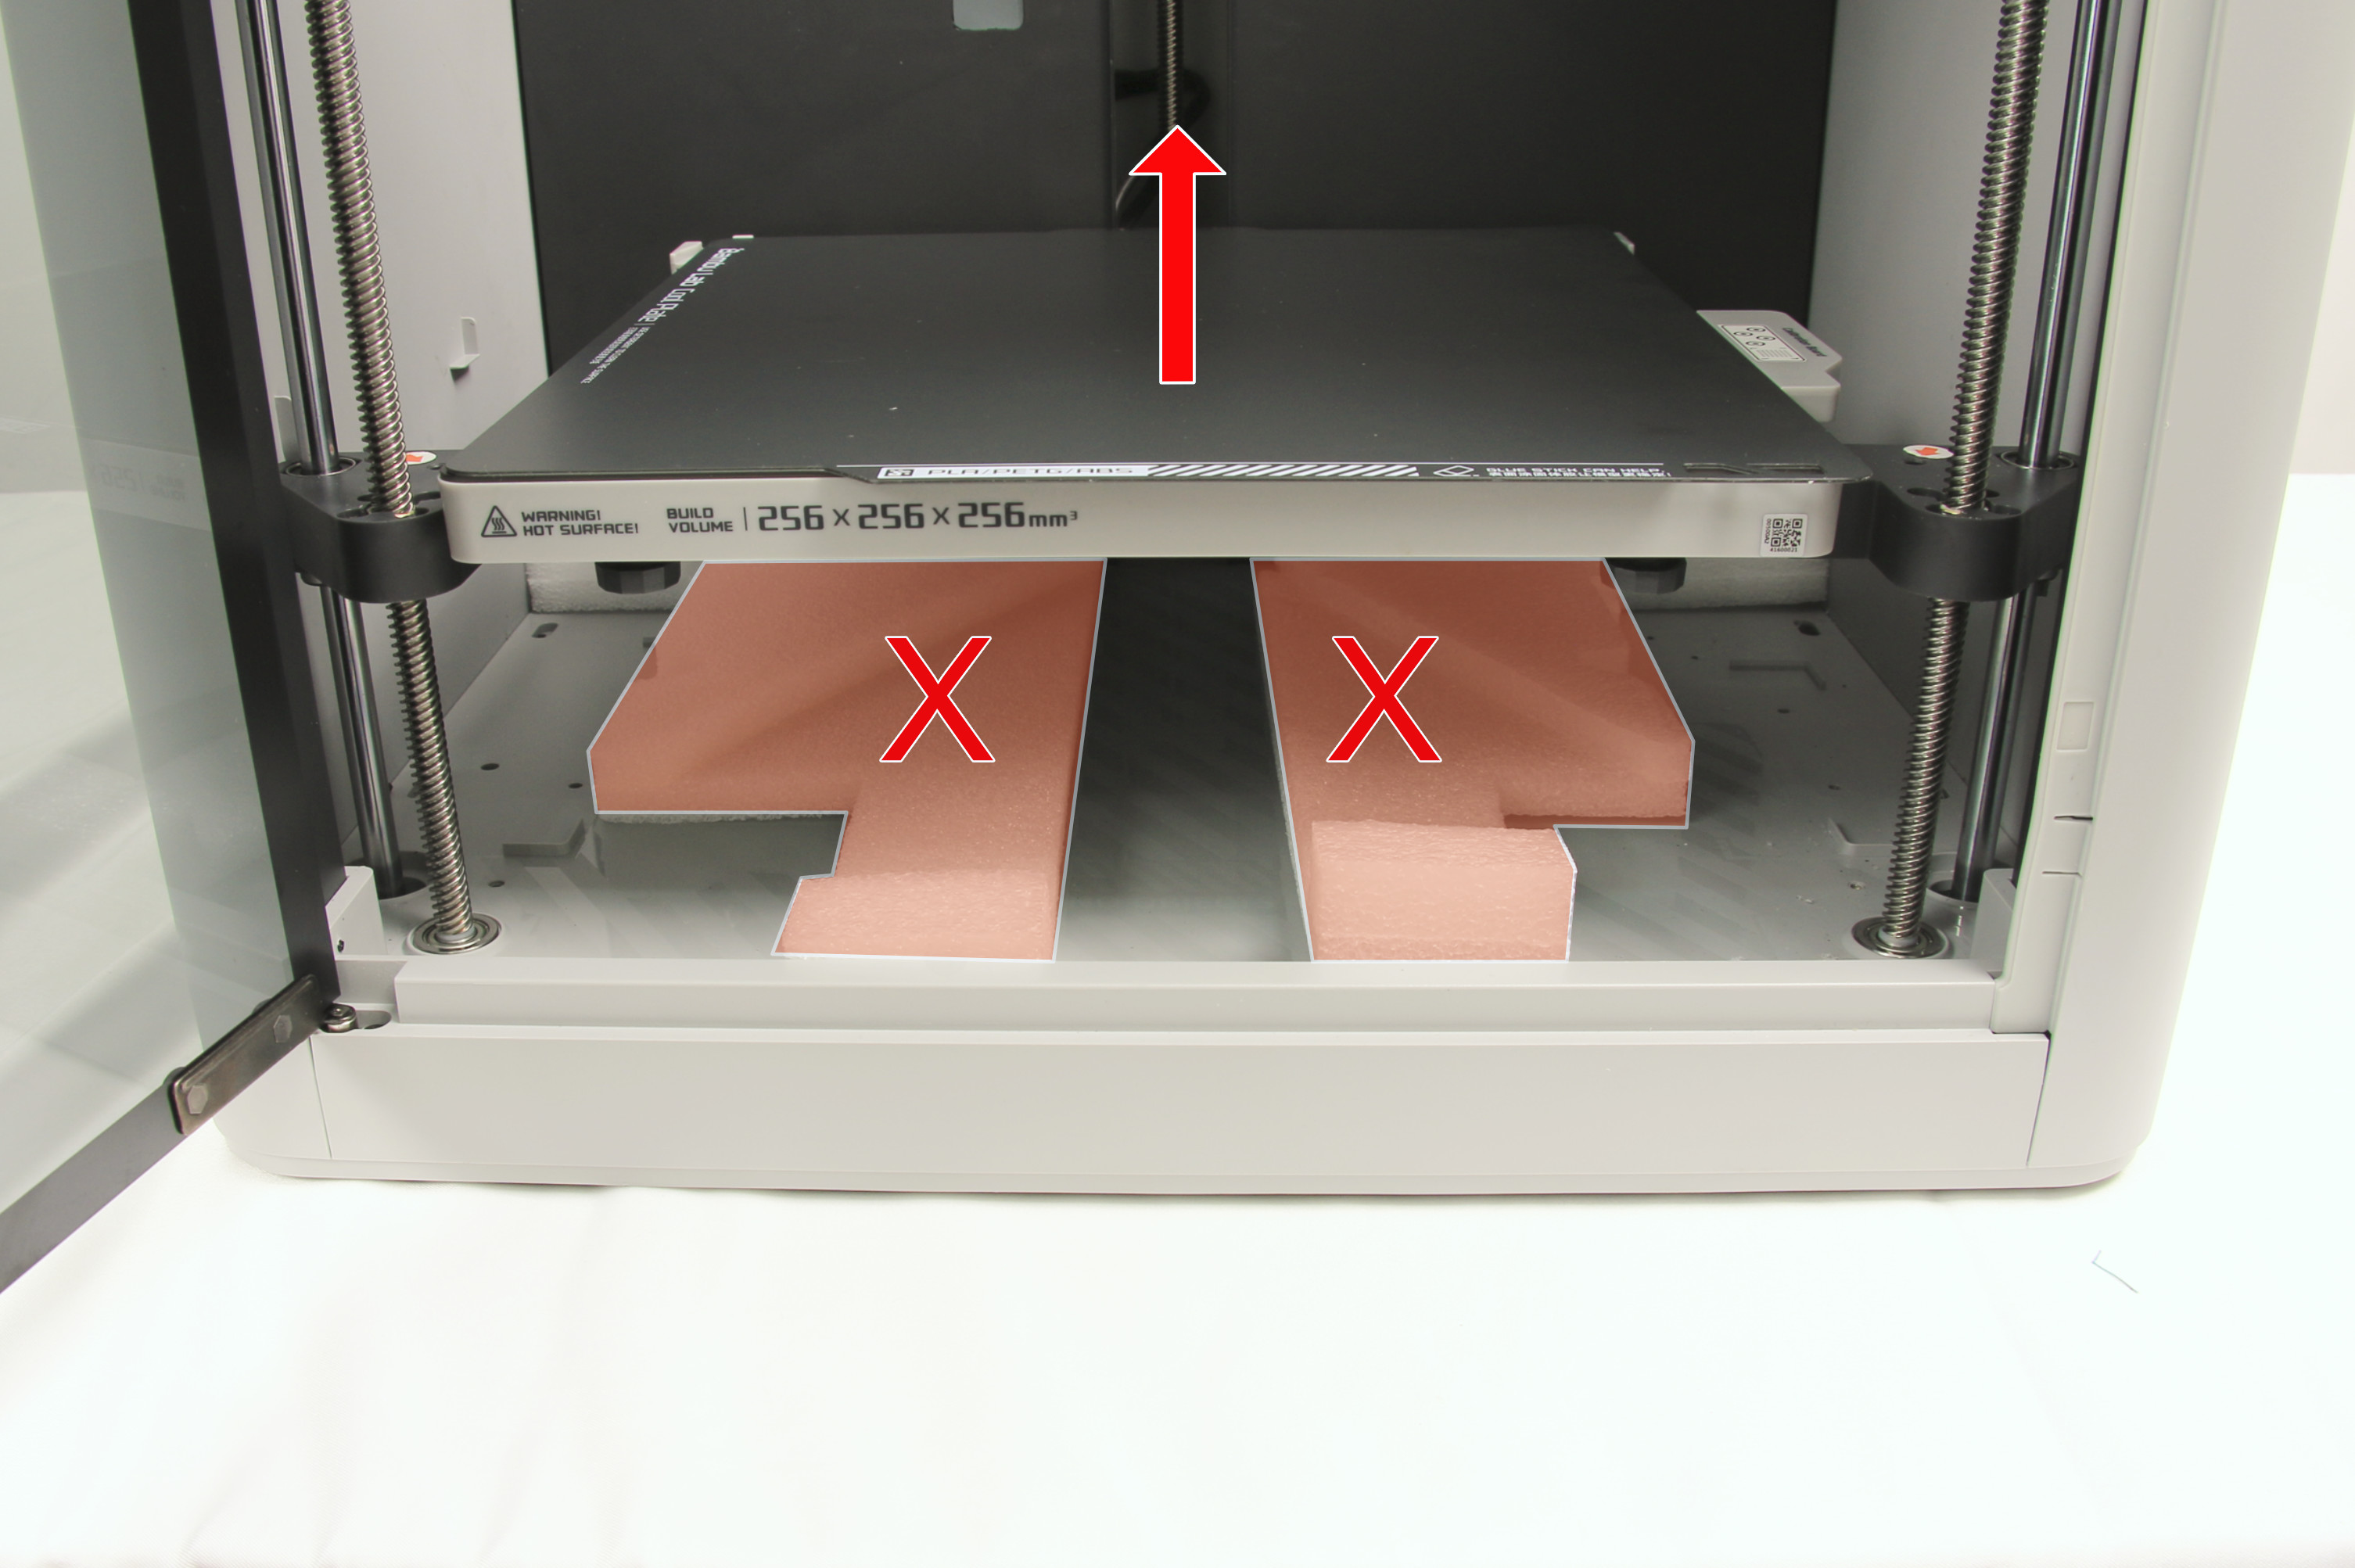
Note: Don't forget to remove the fixed foam from under the hot bed which should be done during the calibration process.
