Due to the packaging differences between the X1/X1C and the X1C combo, we have prepared this unpacking guide for the X1/X1C without AMS.

One page printable guide: /x1/manual/unboxing-x1/unboxing_x1-x1c-no-ams-unboxing-1.pdf
¶ Unboxing
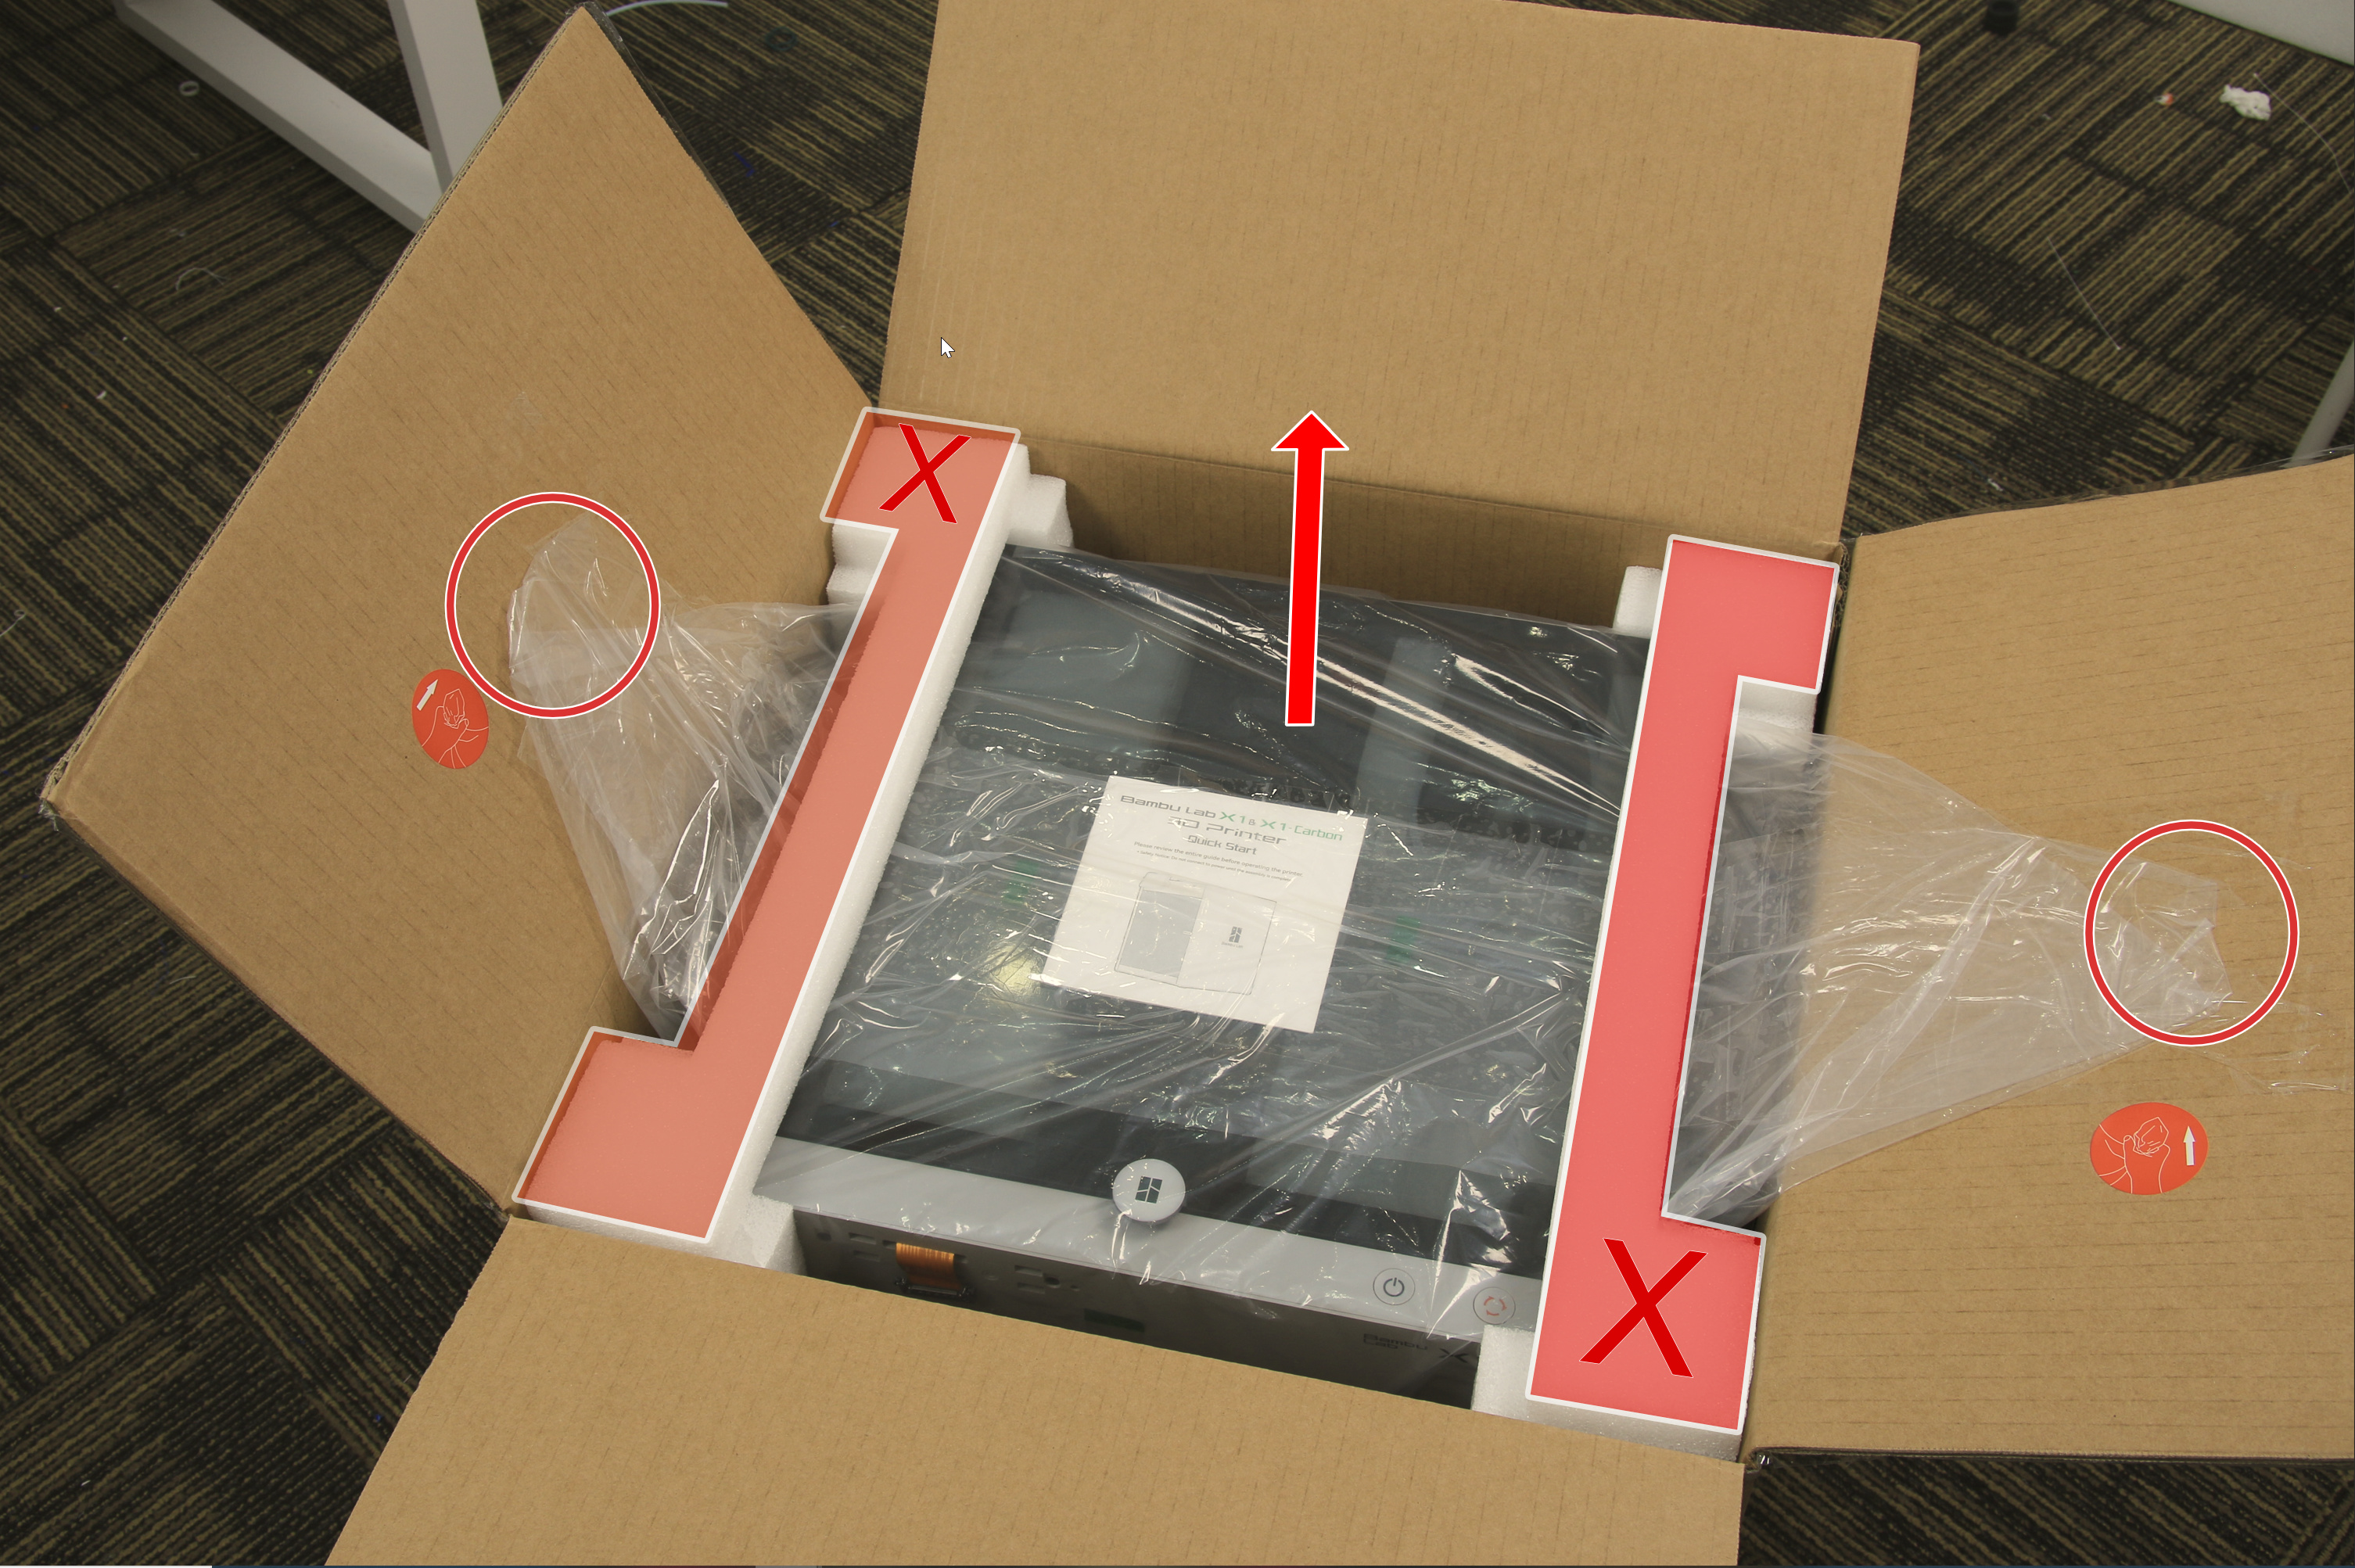
1. Remove the foam and take the printer out of the box by pulling on the two ends of the plastic bag handles which are attached to the box covers, and put the printer on a stable surface.
Note: The printer is heavy, so take caution
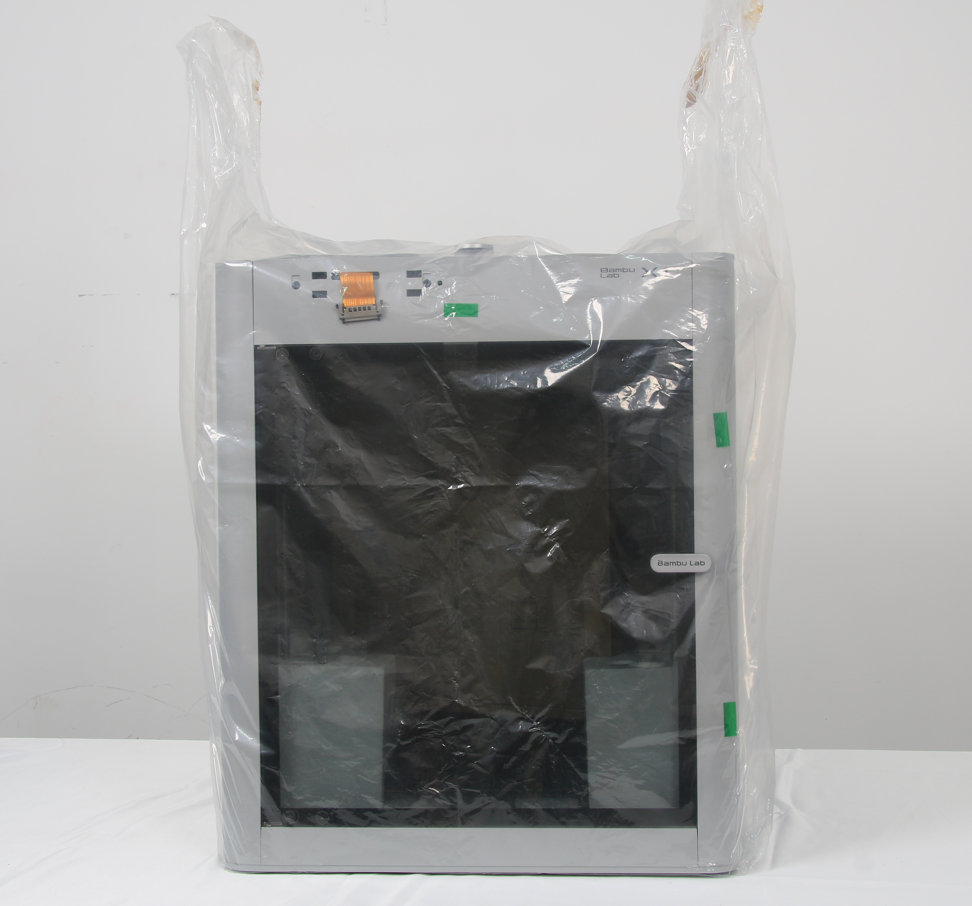
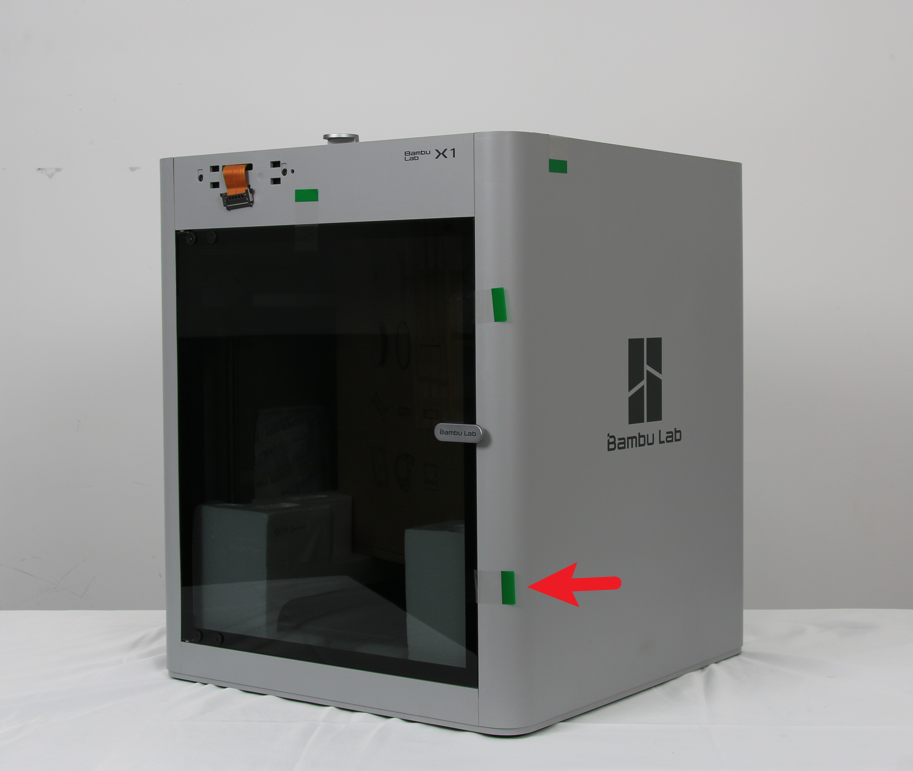
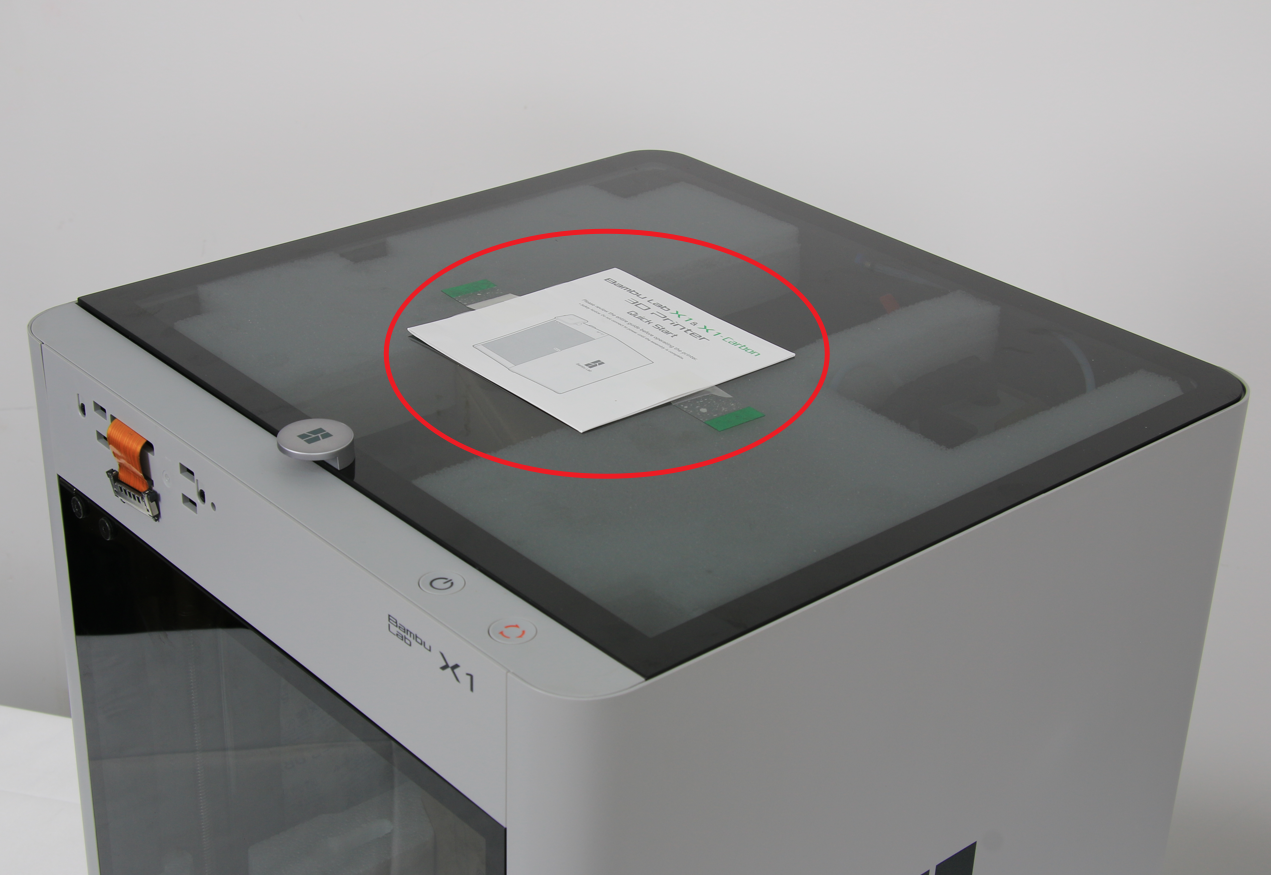
2. Remove the plastic bag and peel off all the green stickers surrounding the printer. At this point, it is recommended that you review the quick start guide before continuing.
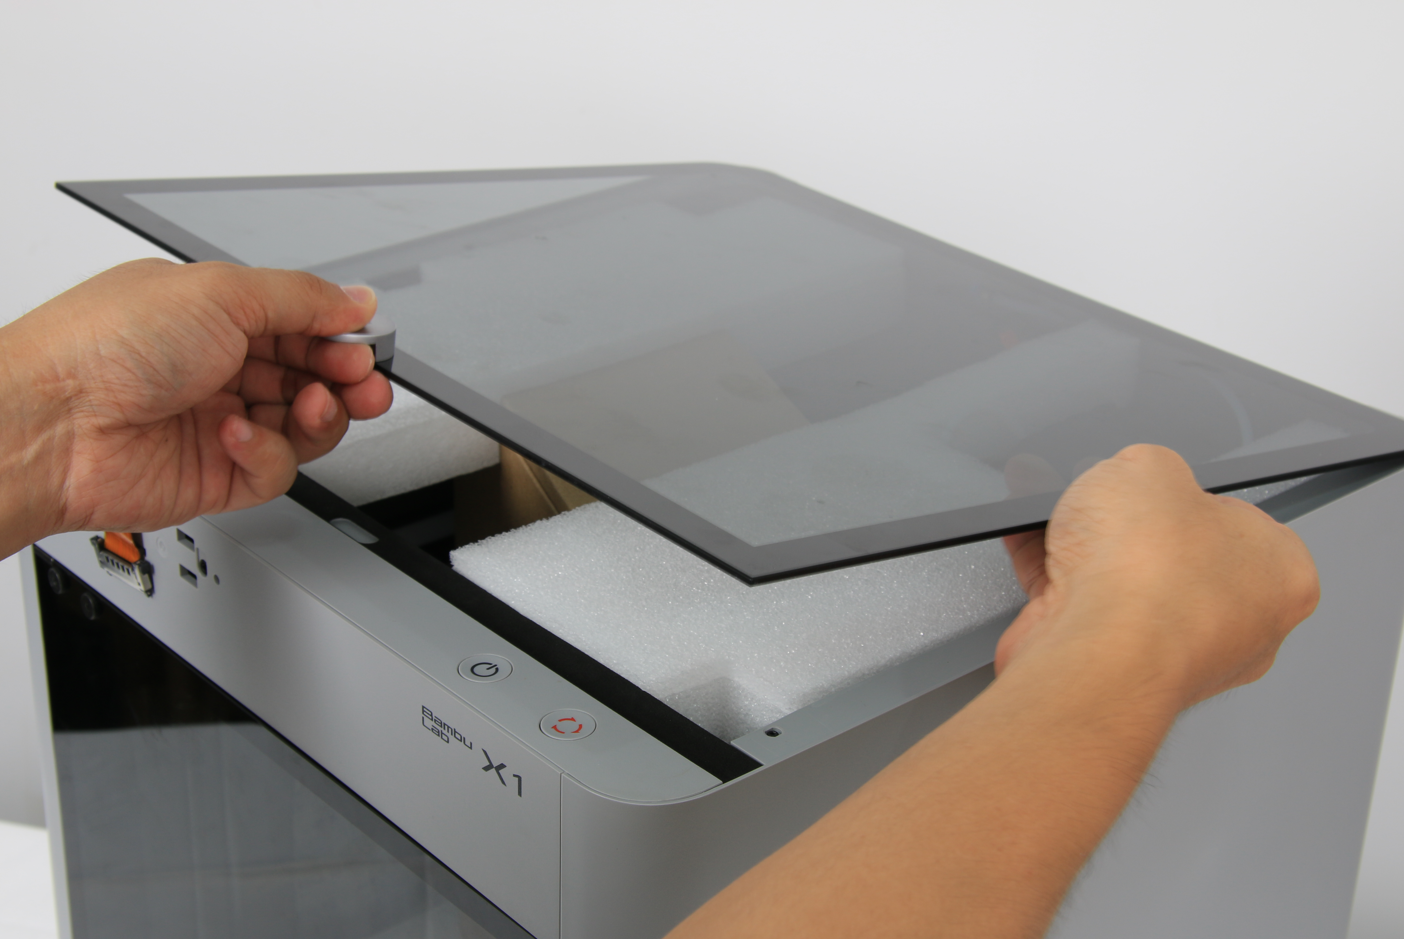
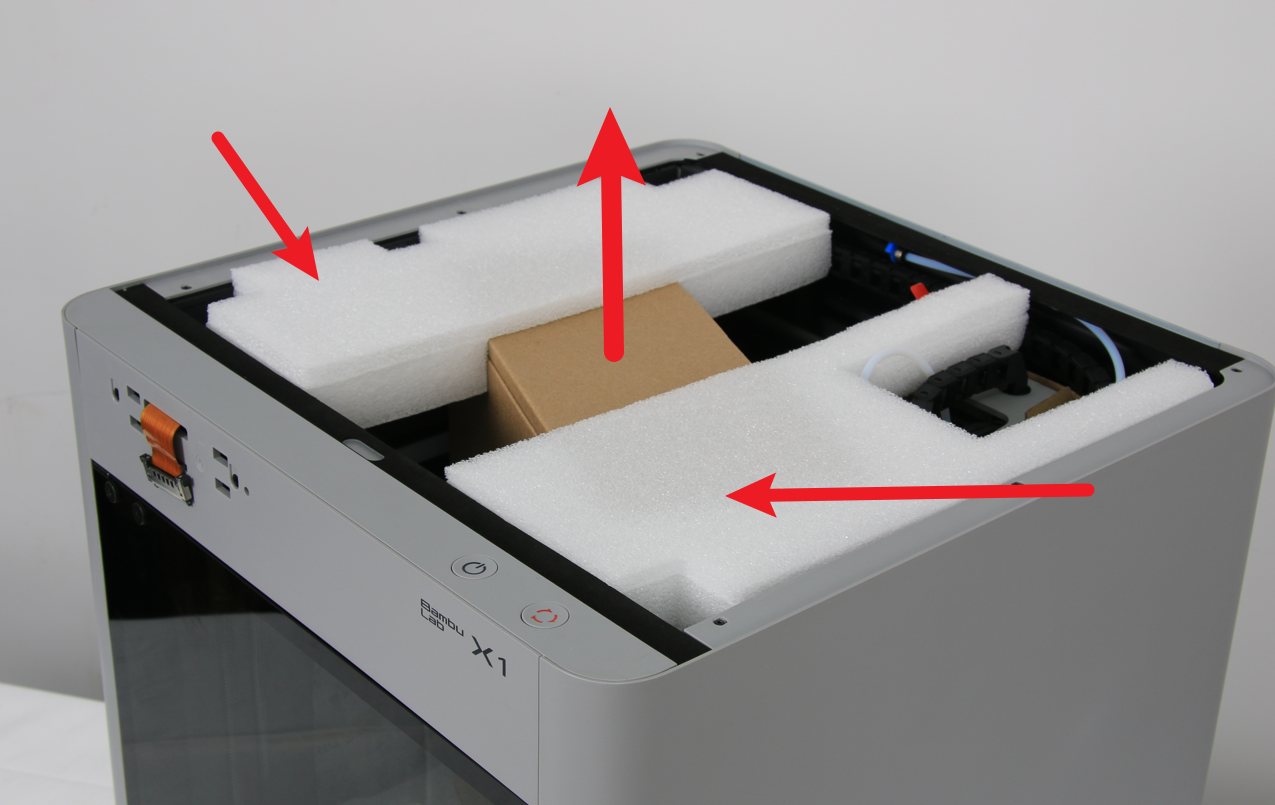
3. Carefully remove the glass cover plate and the protective foam inside the printer, then remove the accessories box.
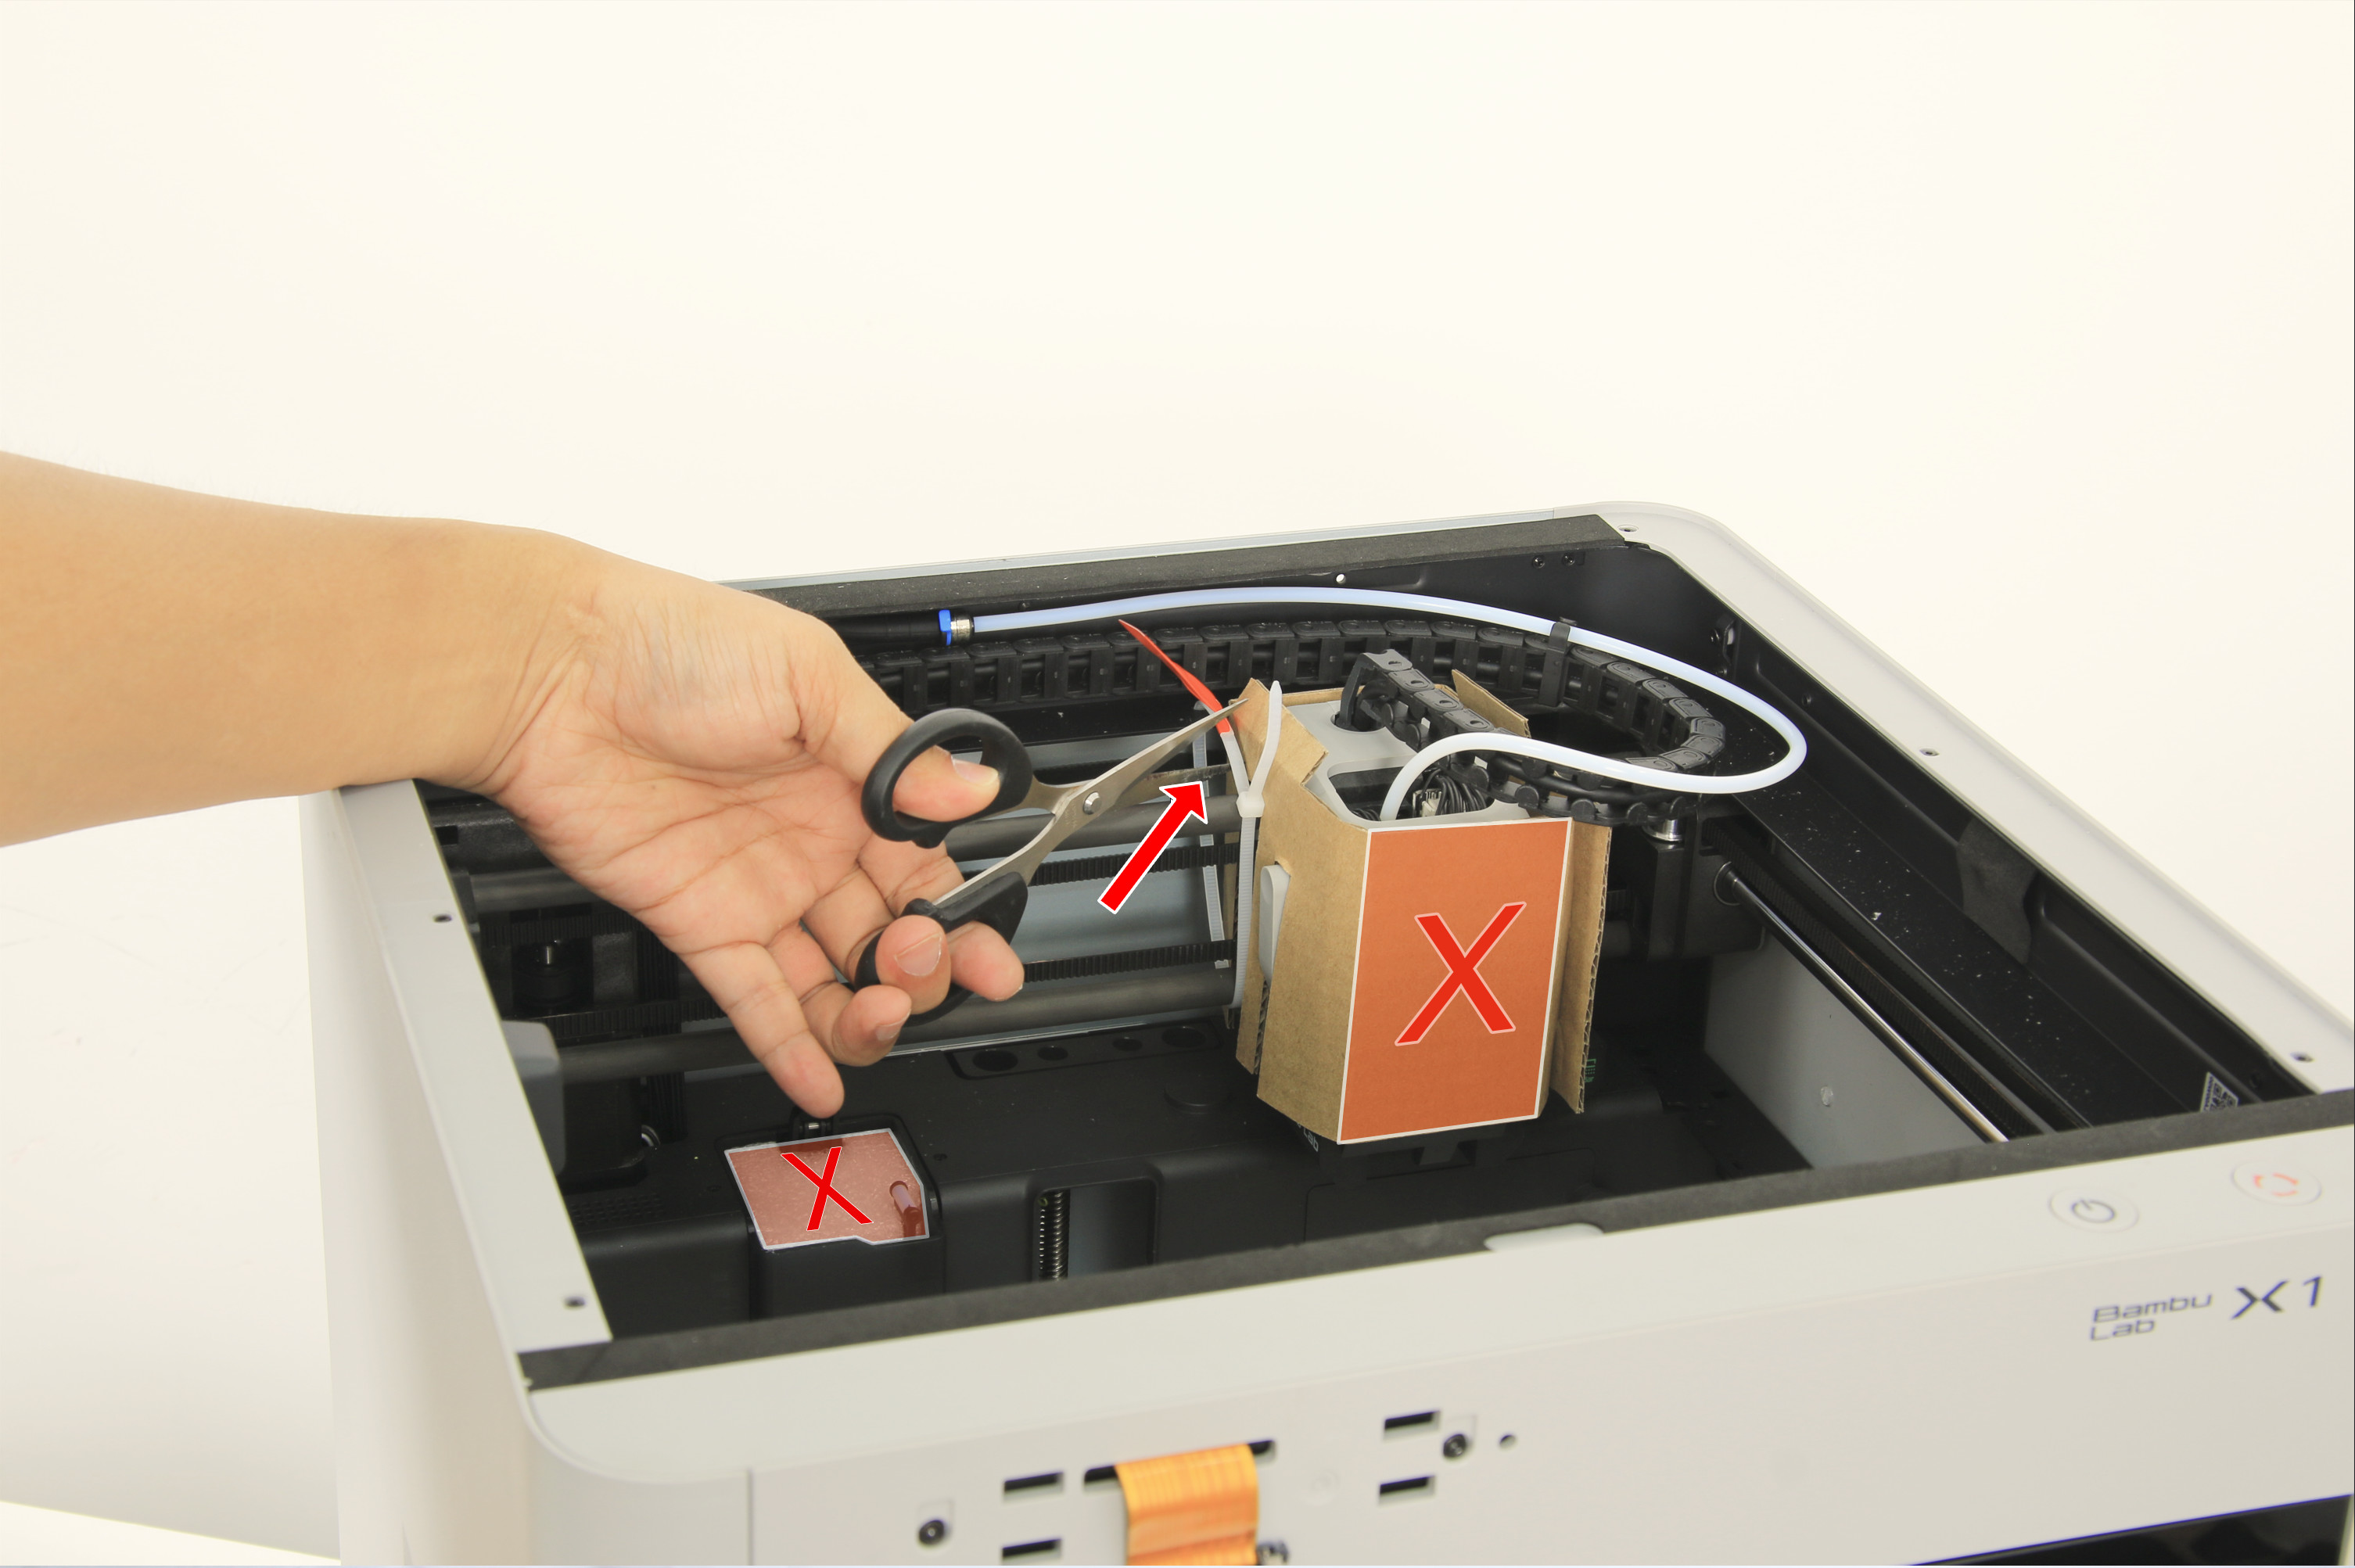
4. Cut the nylon cable tie next to the toolhead and remove the cardboard protection around it. Next, remove the foam located in the excess chute.
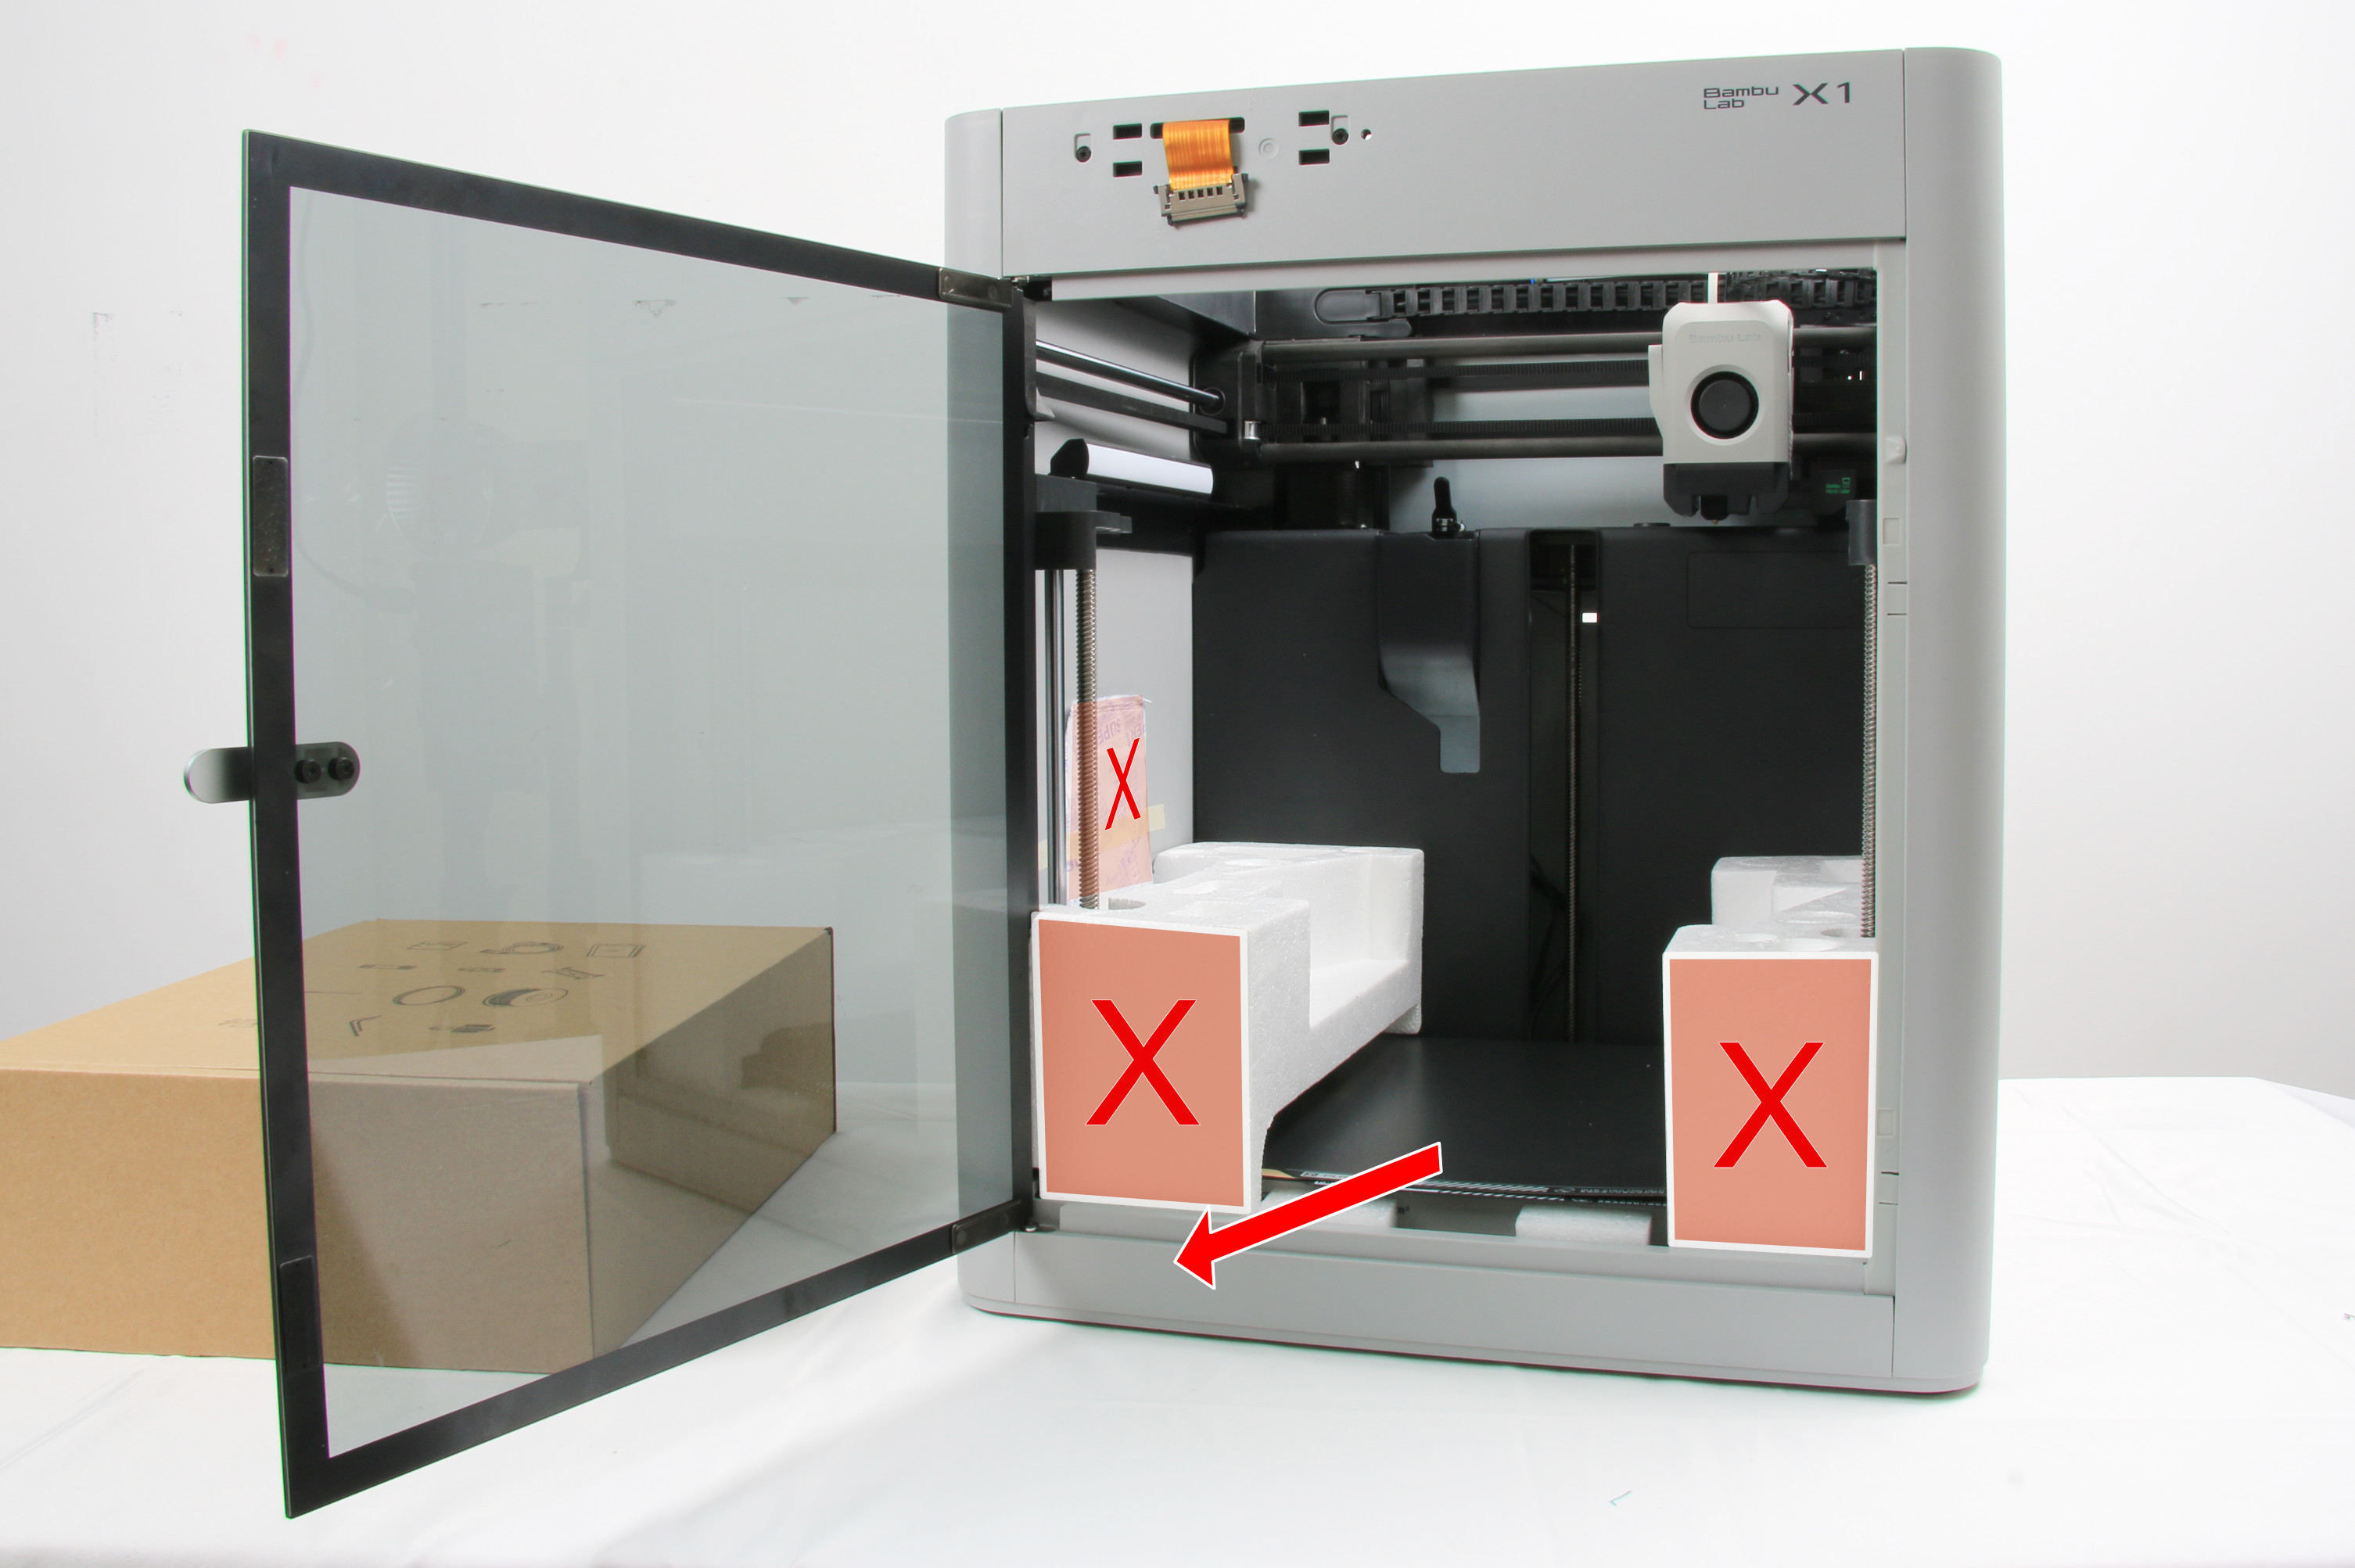
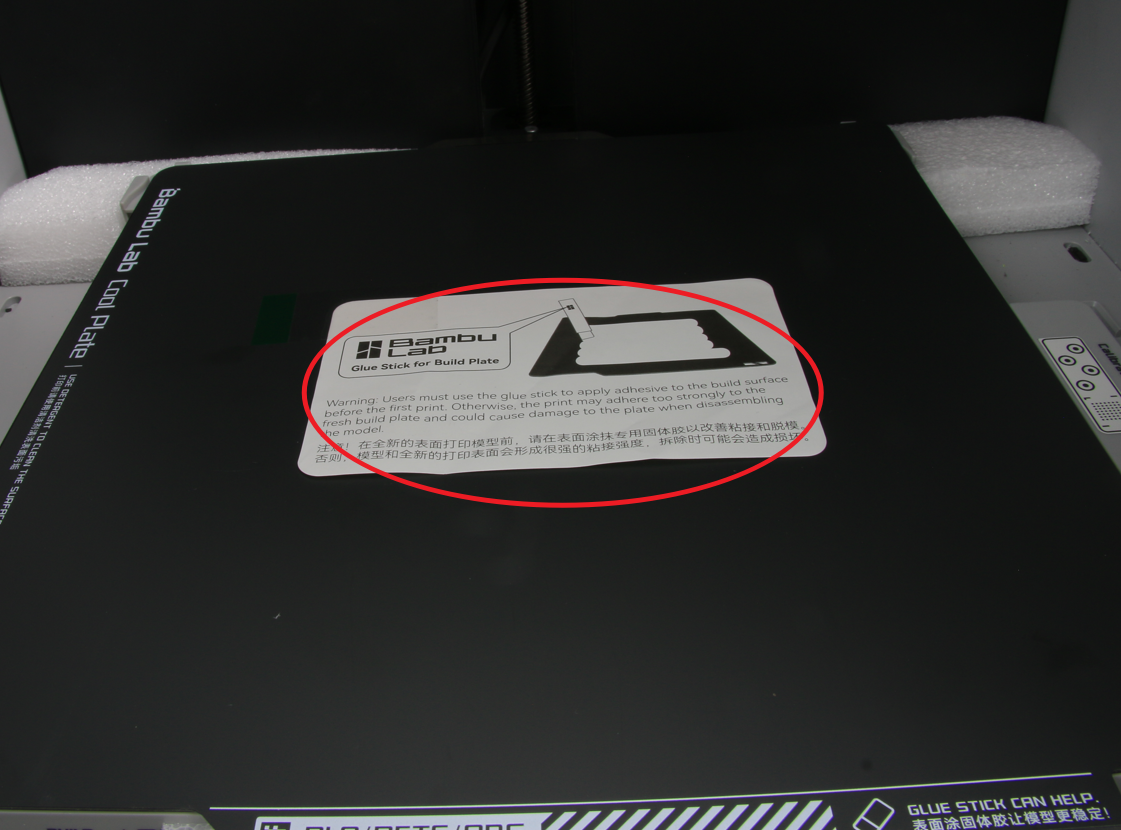
5. Open the front glass door, remove the two protective foam pieces and the desiccant bag, and take out the build plate. Remove the note attached to the sheet that reminds you to use a glue stick on the sheets.
¶ Set up
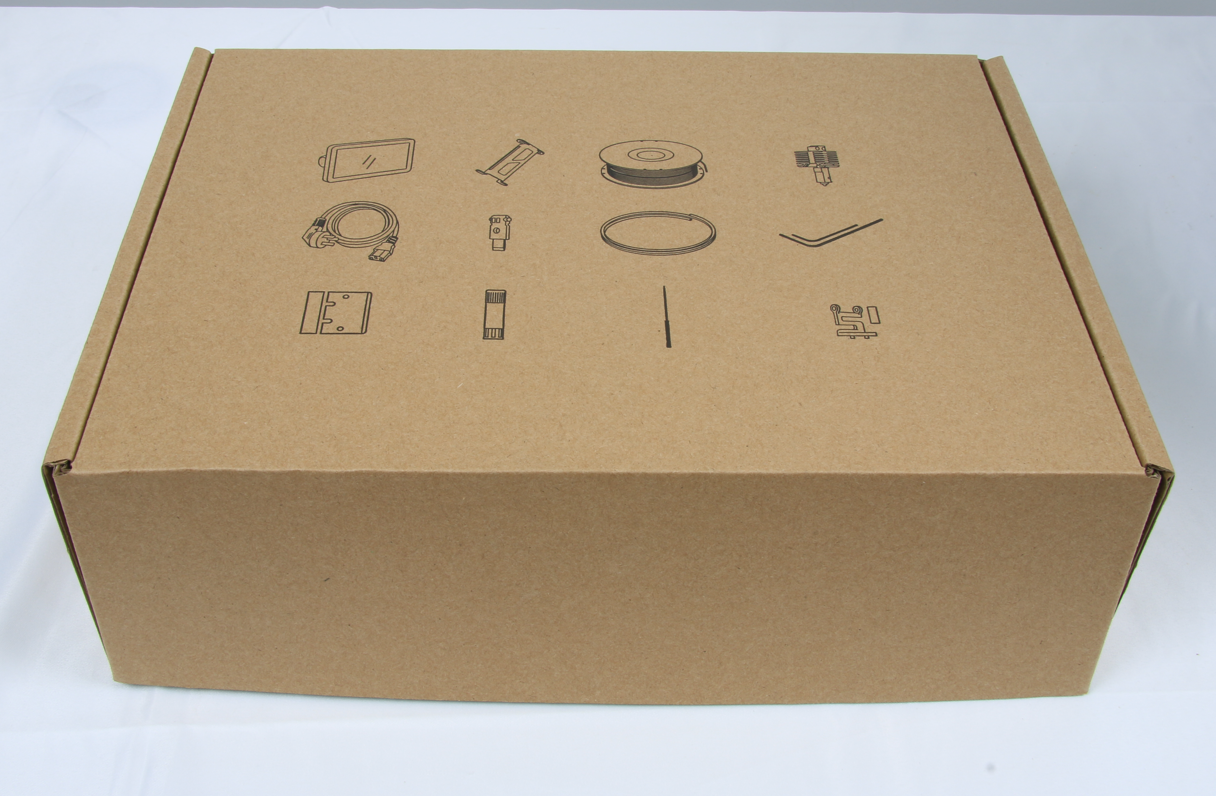
1. Open the accessories box and remove the accessories and tools inside.
2. Remove the three screws located next to the three lead screws, which are highlighted by small circular white stickers with a red arrow pointing at the screws. Use an H2.0 allen key for these screws.The purpose of this is to unlock the bed.
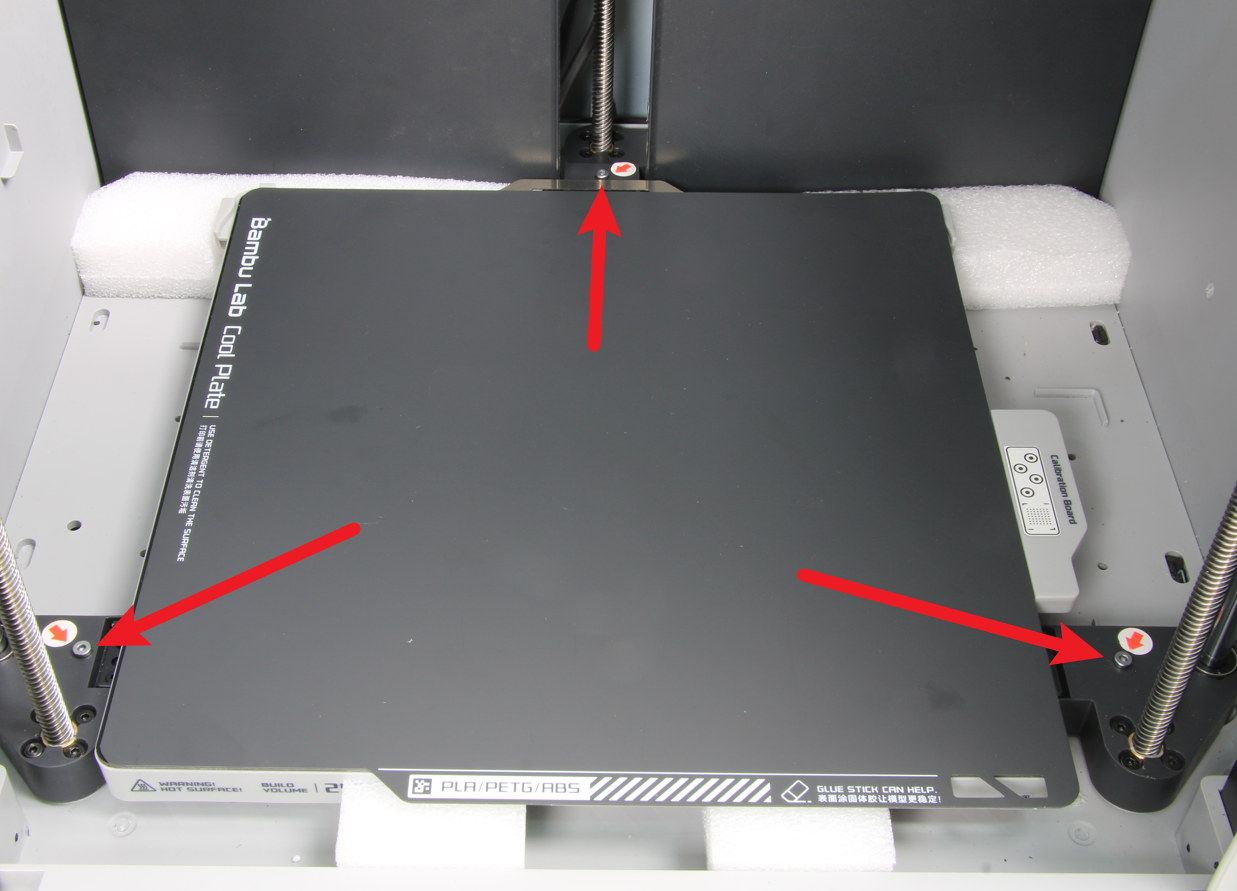
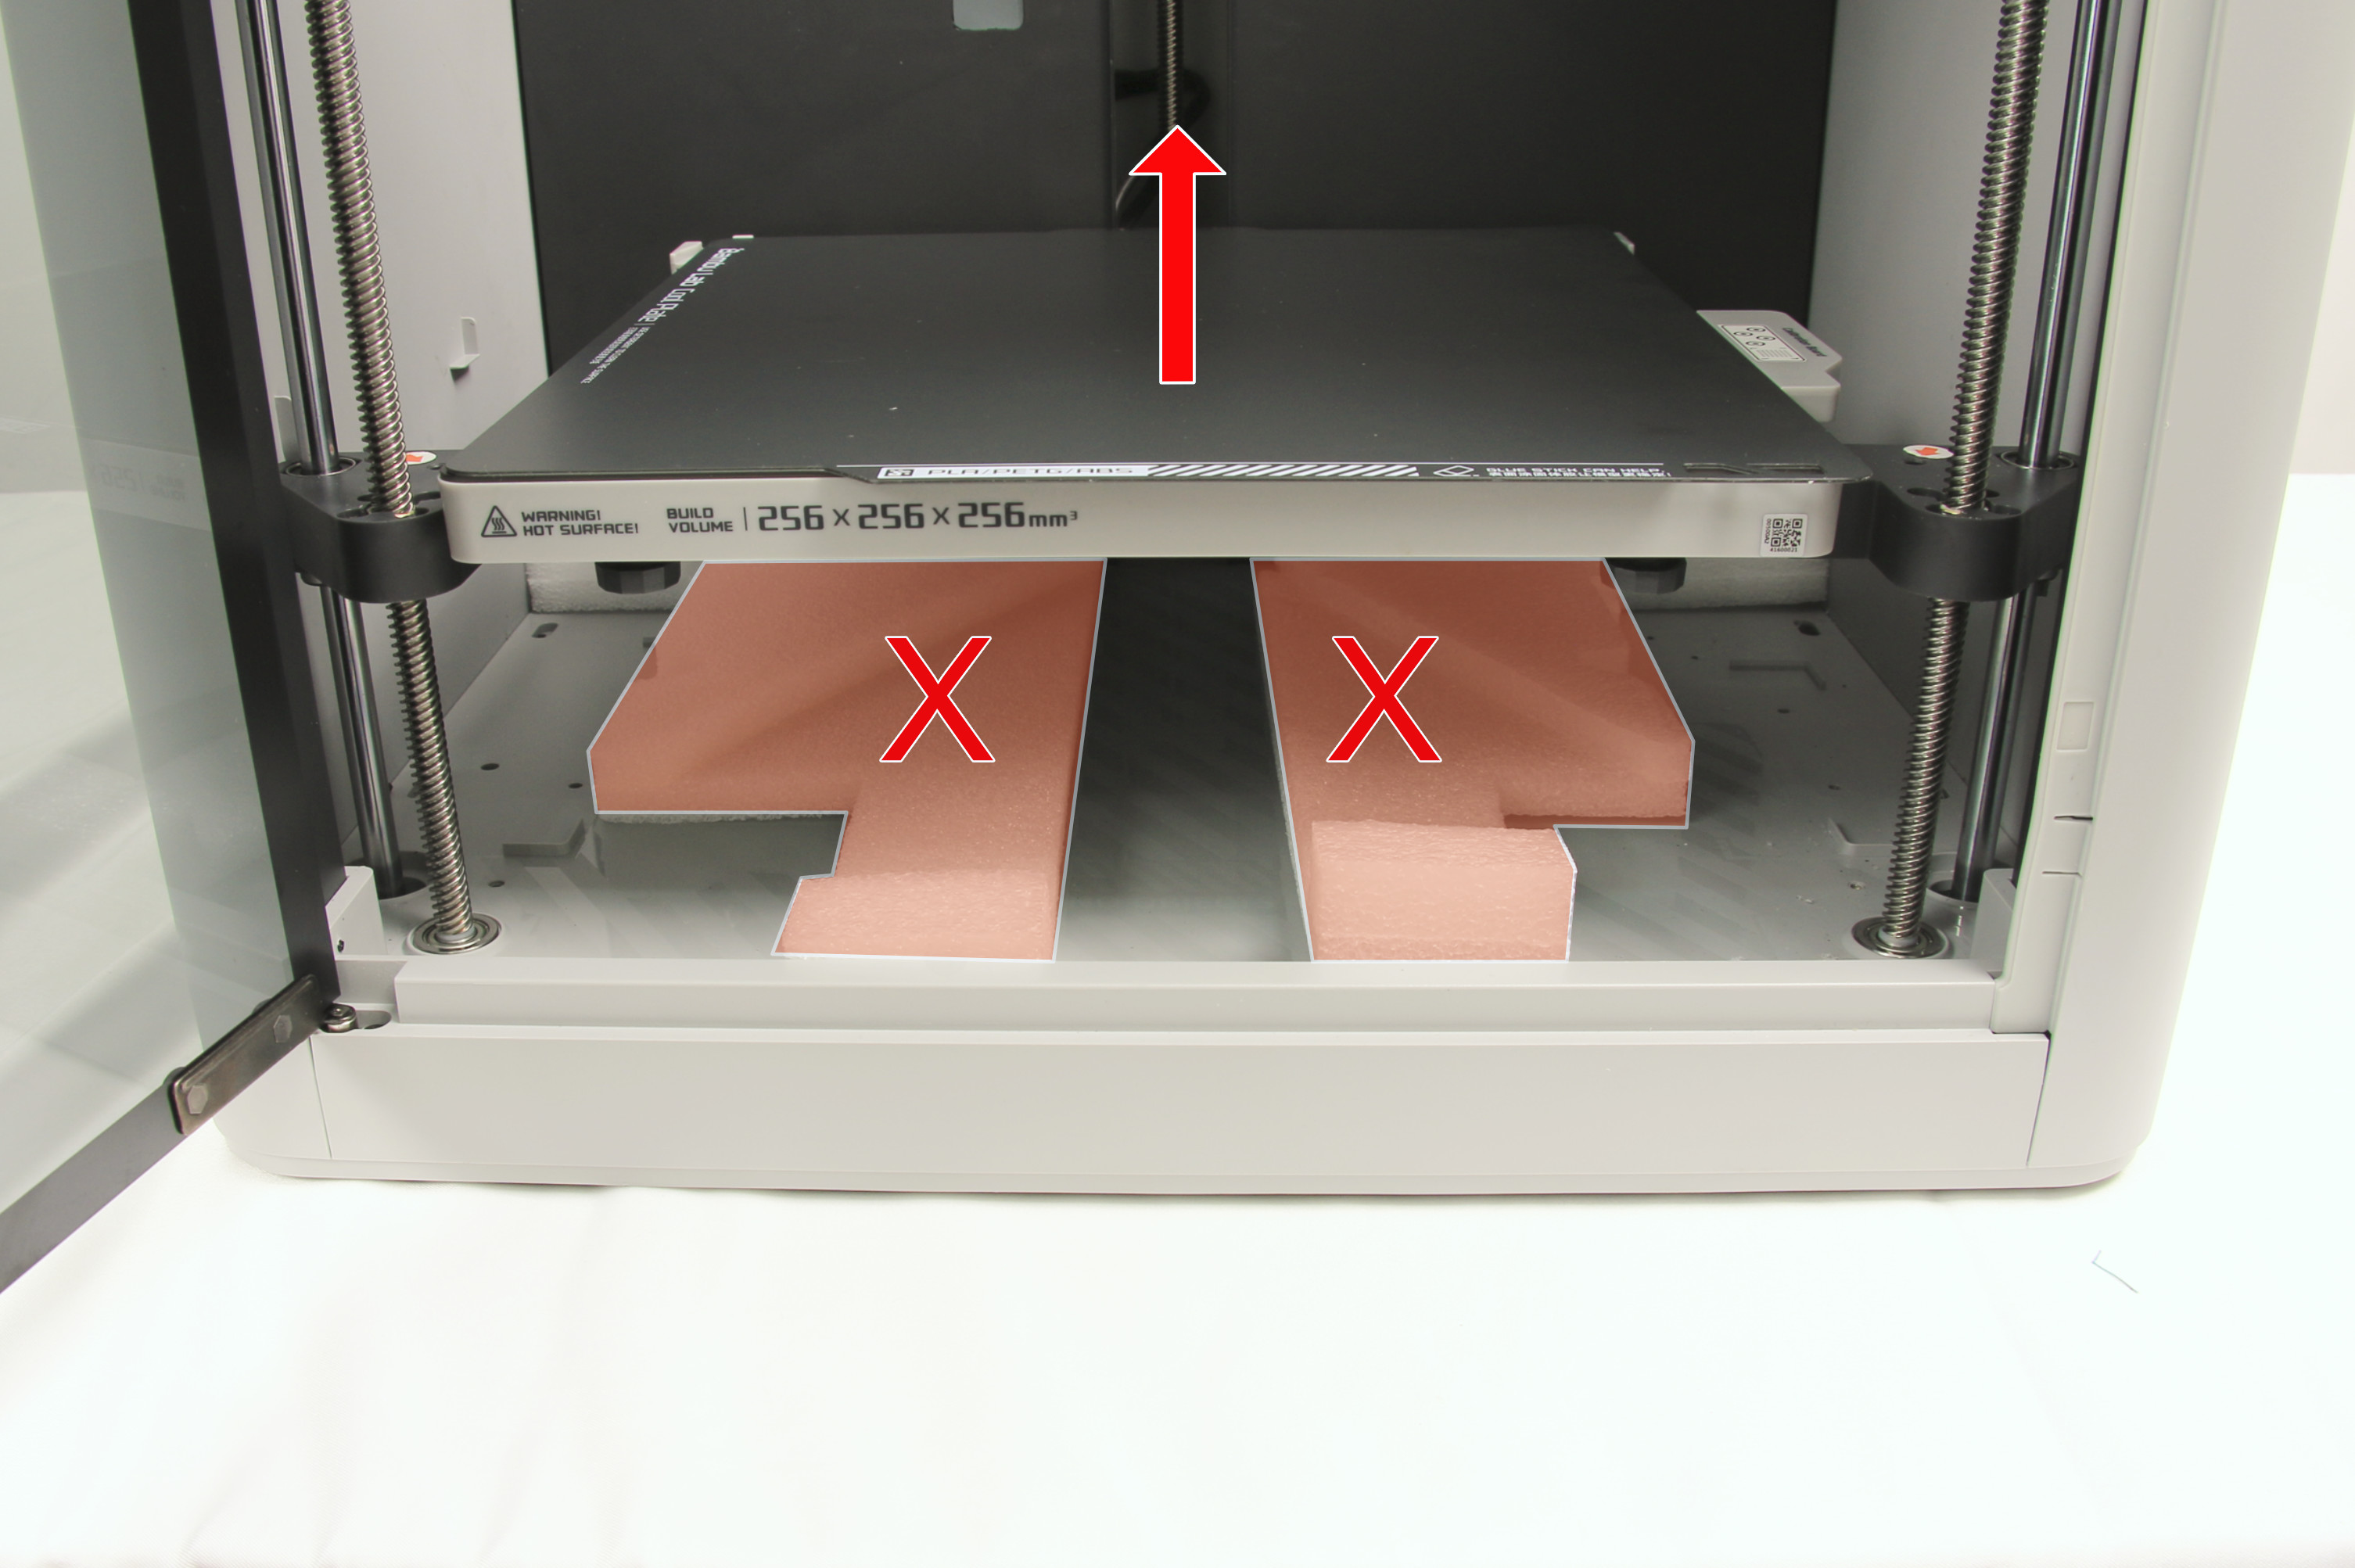
Note: Don't forget to take out the fixed foam under the hot bed, as shown above which you will need to do during the calibration process.
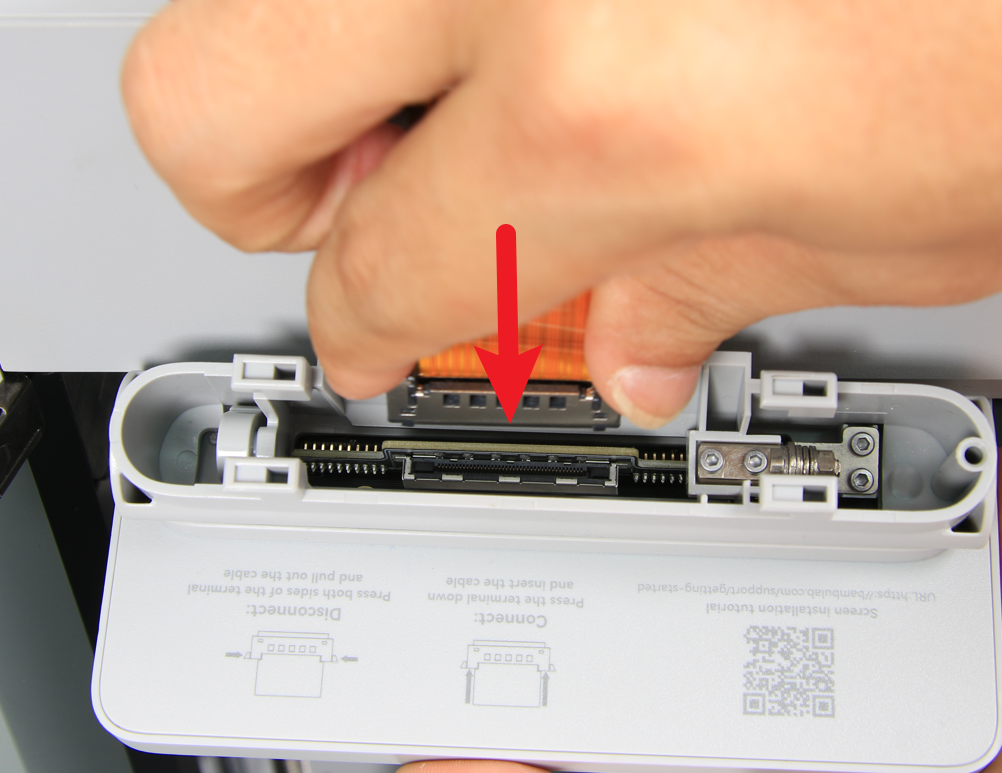
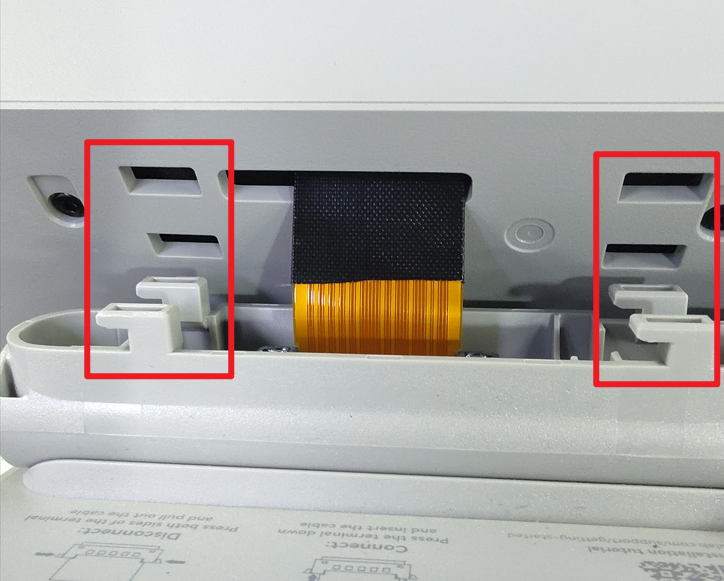
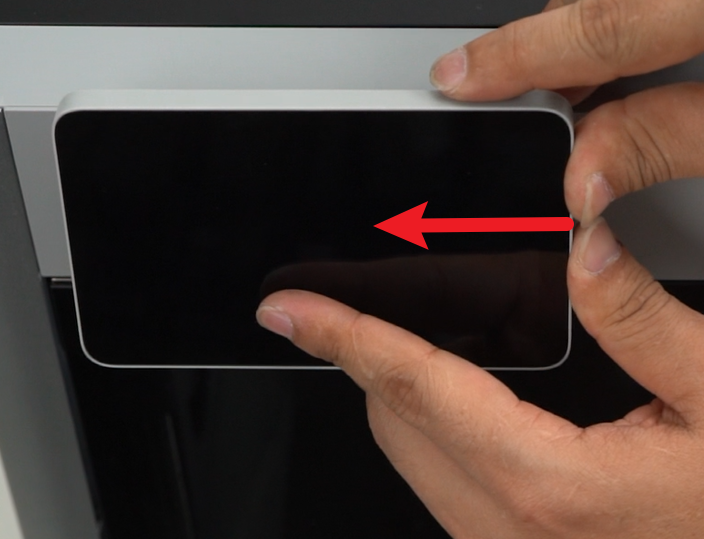
3. Connect the display to the printer with the protruding ribbon cable. To mount the display, align the rear feet with the slots on the printer, and then push the display to the left to lock it in place.
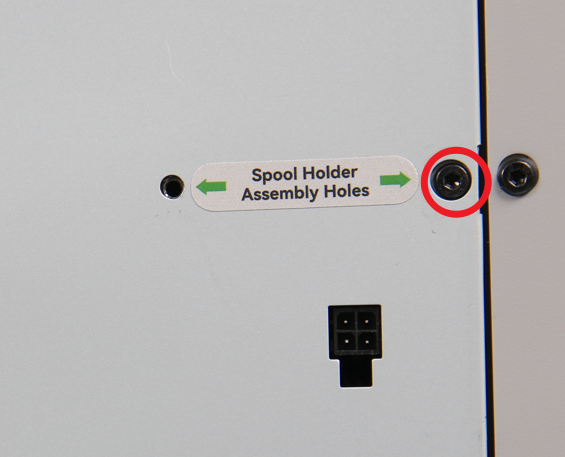
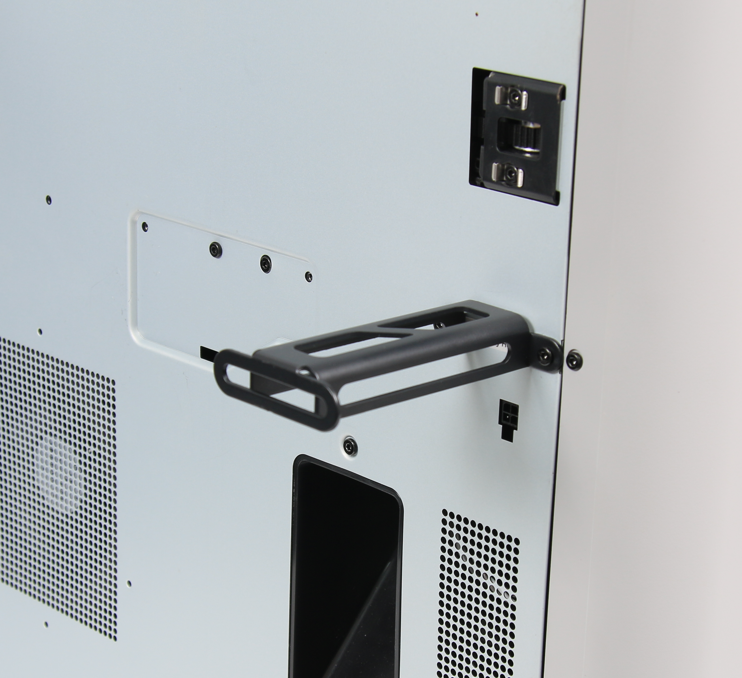
4. To install the spool holder, locate and remove the screw at the back of the printer, as indicated below. Secure the spool holder with two screws next.
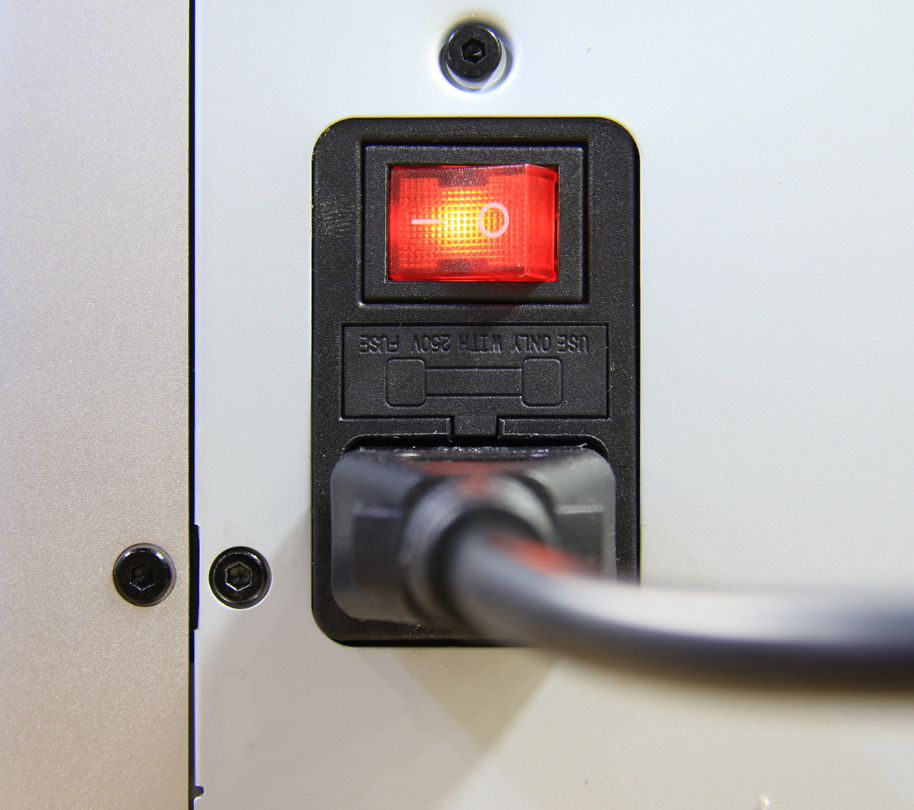
5. Place the glass cover plate back on the top of the printer, and connect the power cord to the printer. Switch on the printer.
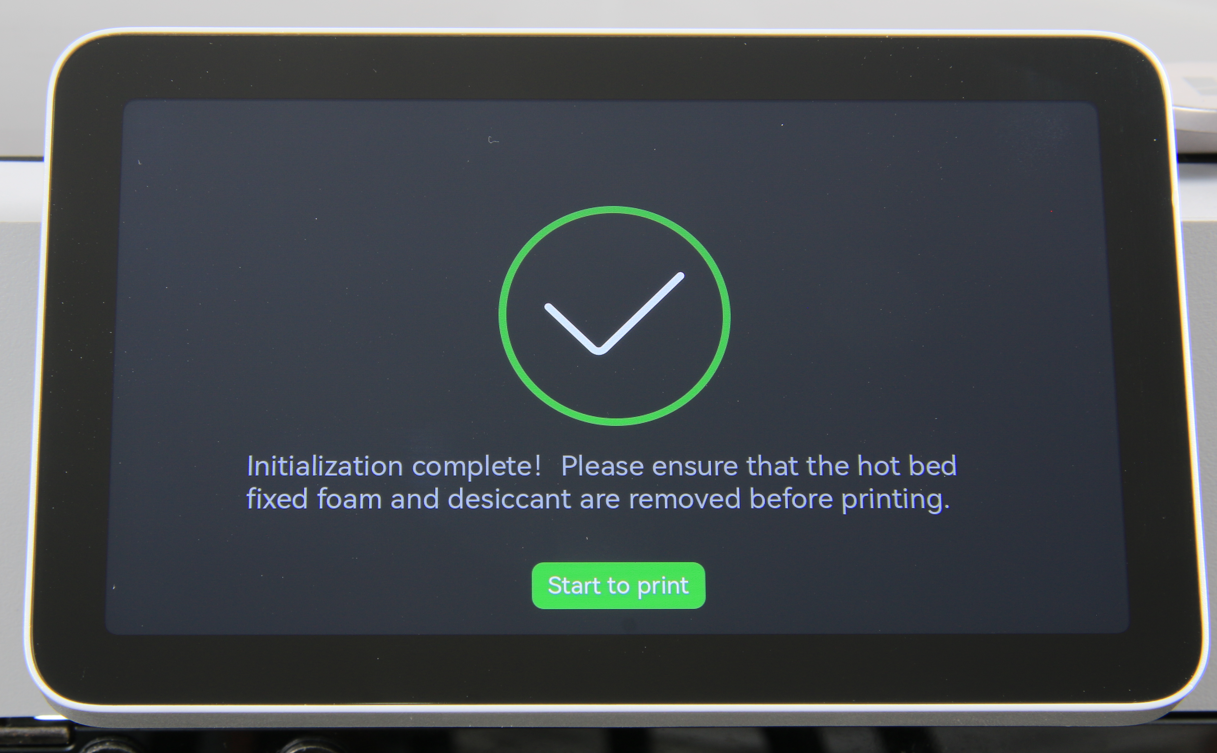
6. Once the printer is turned on, follow the on-screen instructions to complete the printer initialization.
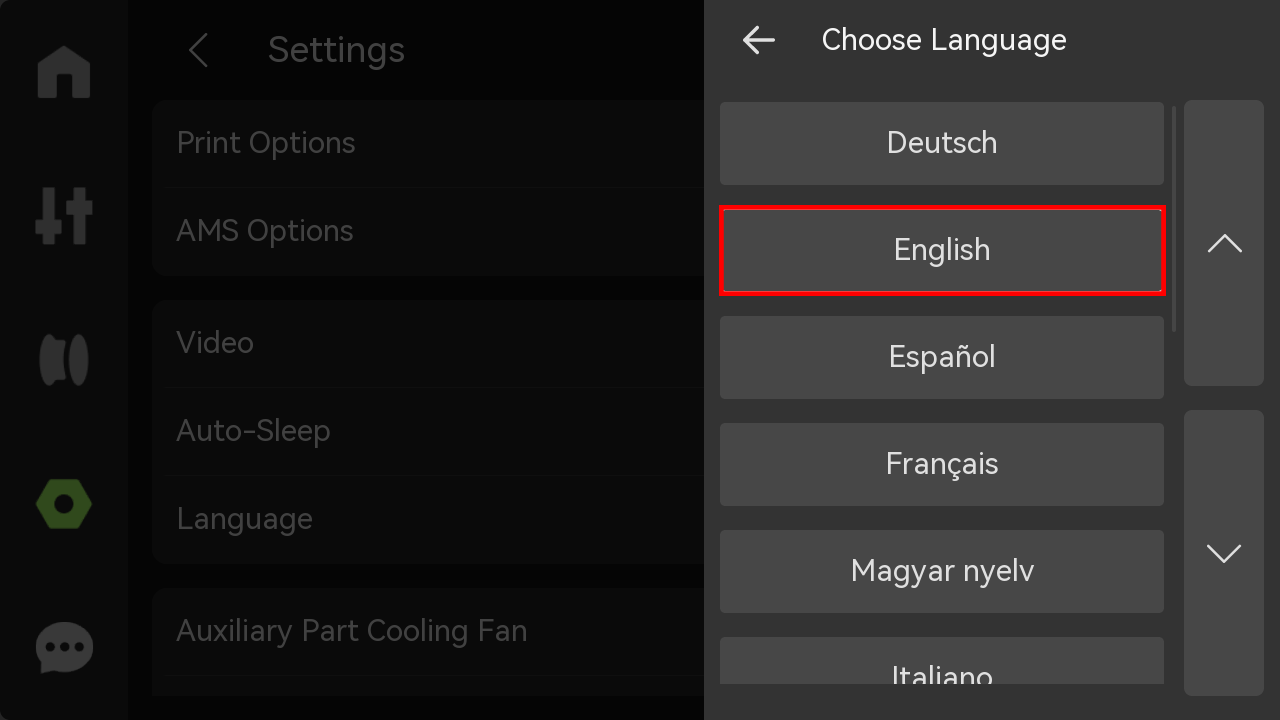
7. Choose your preferred language. For my case, I will select English.
8. Select the region where you are located. Ensure it matches your account region. Then click Confirm.

9. Connect to a network.

You can check out the network connection guide to learn how to properly connect your X1C to the network.
10. The next step is to connect the 3D printer to the Bambu Handy app. After downloading the app, click on Devices then scan the QR code in the printer to login.
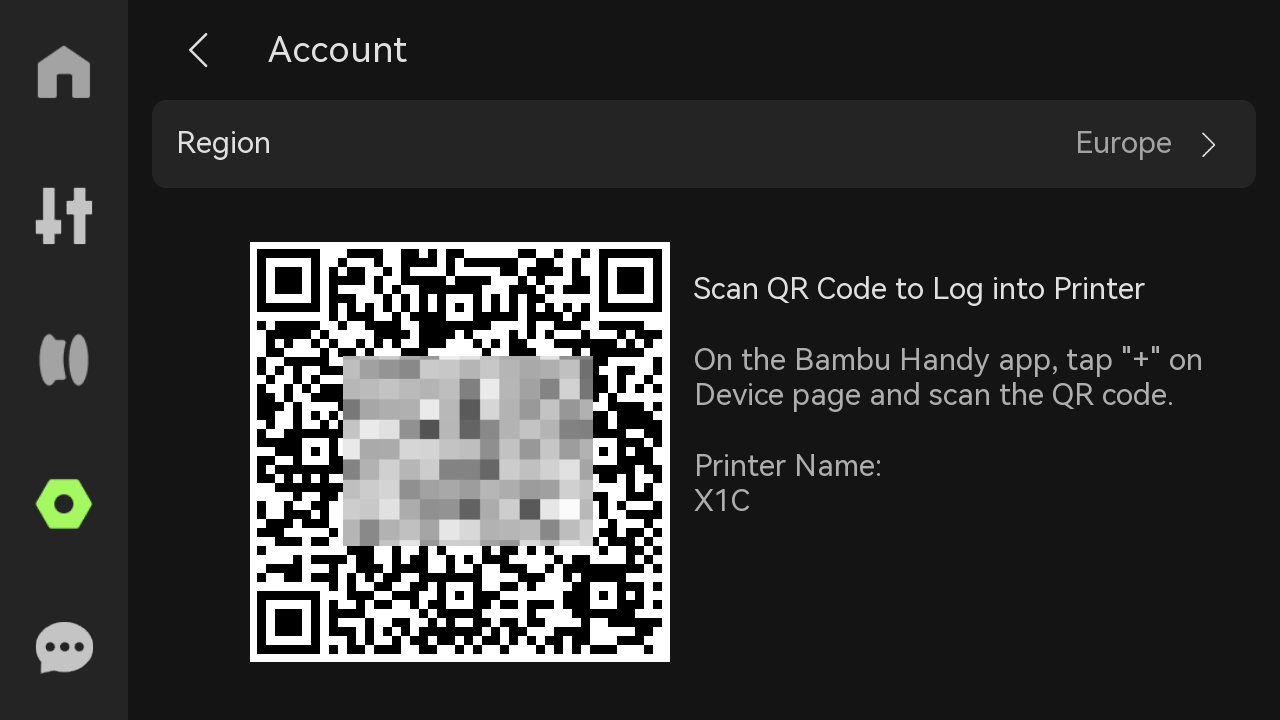
Check out the Bambu handy quick start guide to learn how to set it up in detail.
11. After logging in, the next step is to start the calibration process of the 3D printer. Check out the 3D printer calibration guide to learn how it works.
Unboxing done!
Now load some filament and enjoy your new printer.
¶ End Notes
We hope the detailed guide provided has been helpful and informative.
If this guide does not solve your problem, please submit a technical ticket, we will answer your questions and provide assistance.
If you have any suggestions or feedback on this Wiki, please leave a message in the comment area. Thank you for your support and attention!