¶ When to use
When there is a lot of material residue and debris inside the internal hub unit, which increases the resistance of feeding and returning filaments, it is recommended to disassemble the internal hub unit for internal cleaning.
¶ Tools and materials needed
- H2.0 & H1.5 hex key
- Cleaning tools (clean cloth, brush, blower, etc.)
¶ Operation guide
¶ Step 1 - Remove the internal hub unit from the AMS
Please refer to Replace AMS internal hub unit to remove the internal hub unit from the AMS and separate the motor.
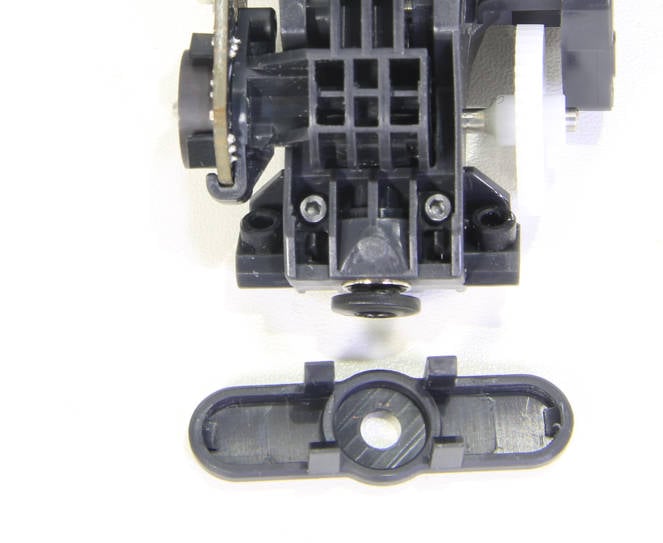
¶ Step 2 - Remove the button of internal hub unit
Unlock the 4 claws and remove the button.
 |
 |
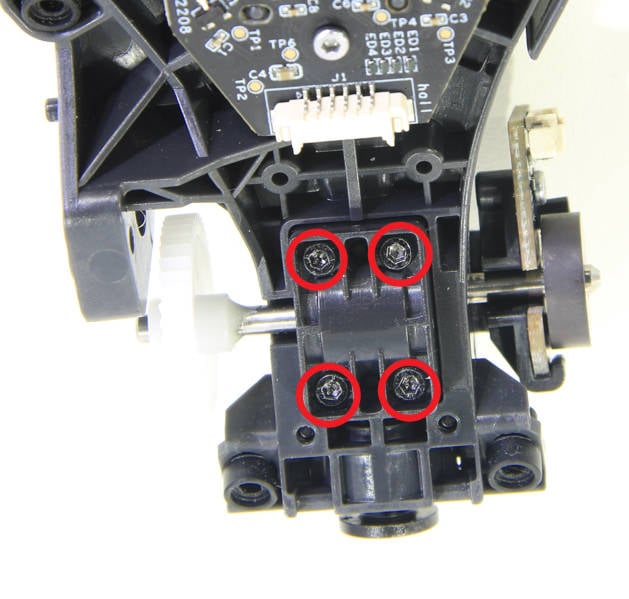
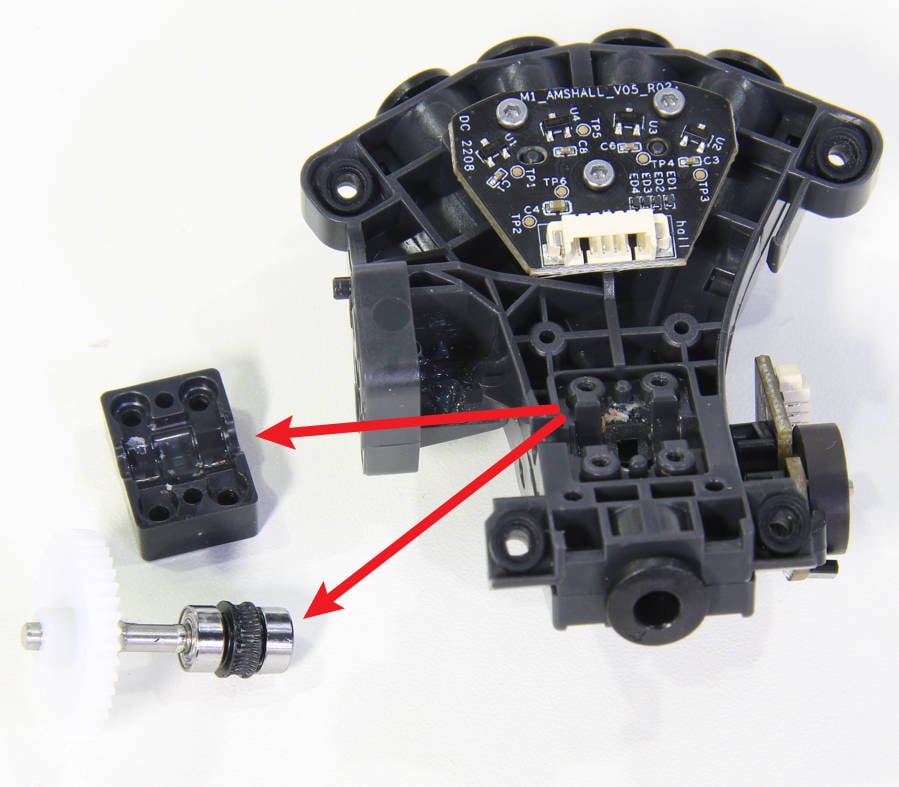
¶ Step 3 - Remove the driving gear unit
Remove 4 screws with an H1.5 hex key, and then remove the protective cover and the driving gear unit.
 |
 |
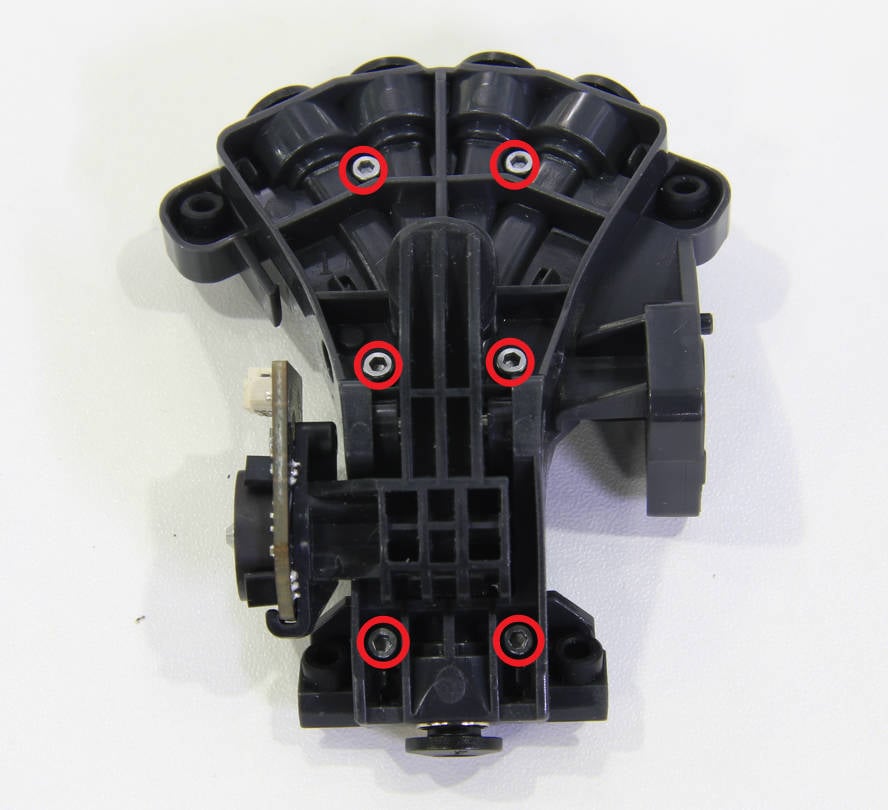
¶ Step 4 - Separate the upper and lower shells
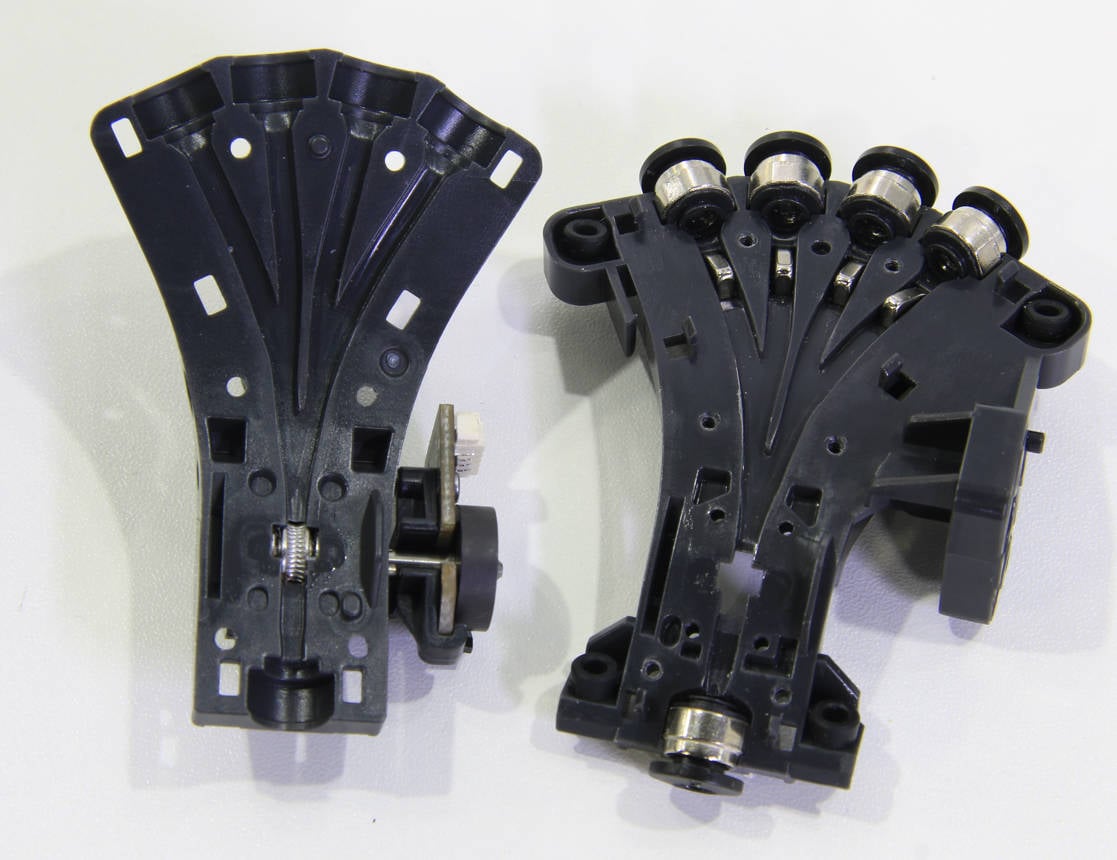
Remove 6 screws with an H1.5 hex key, and separate the upper and lower shells of the internal hub unit. Be careful that there may be tube fittings loose when disassembling.
 |
 |
¶ Step 5 - Internal cleaning
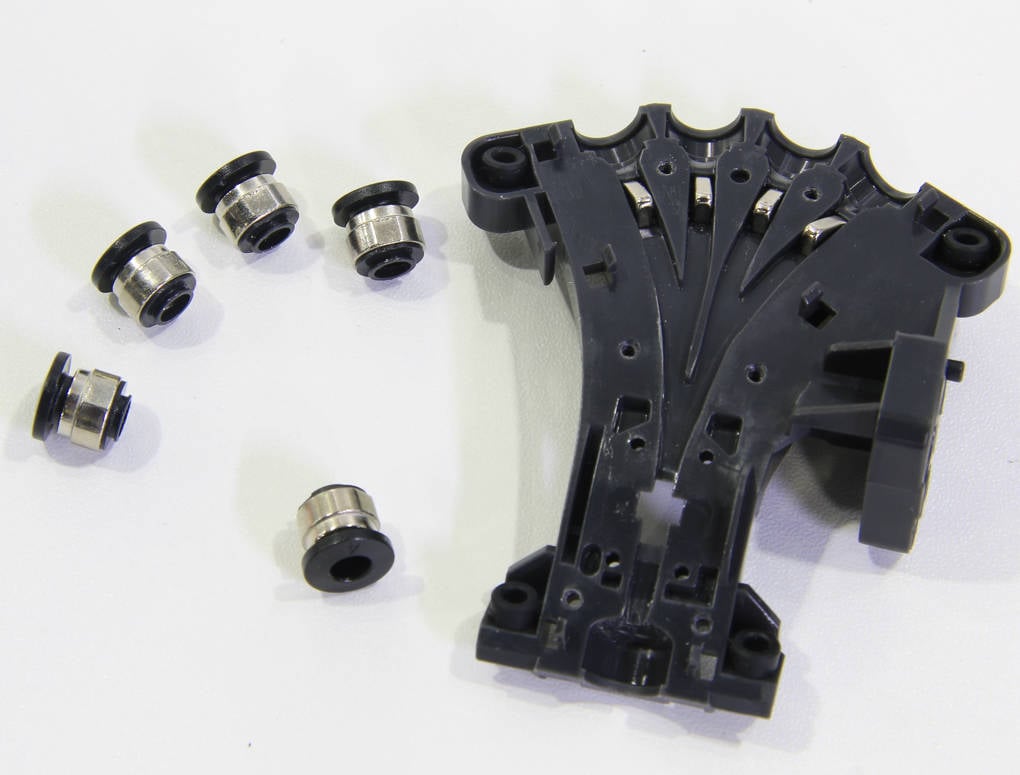
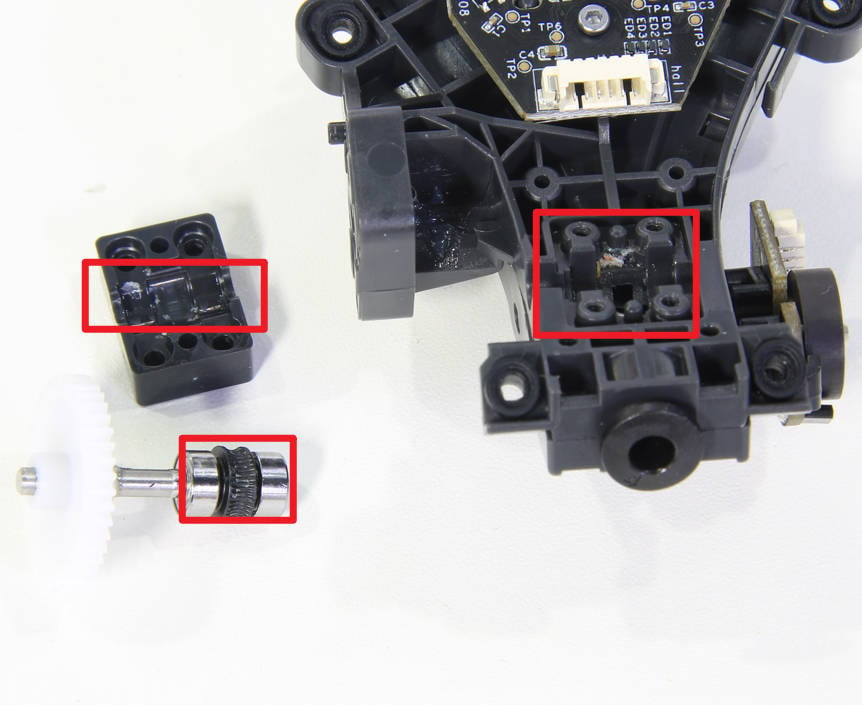
Remove material residue and dust with the cleaning tools from the gears, tube fittings, passages and some clearances.
 |
 |
¶ Step 6 - Check the orientation of the magnets
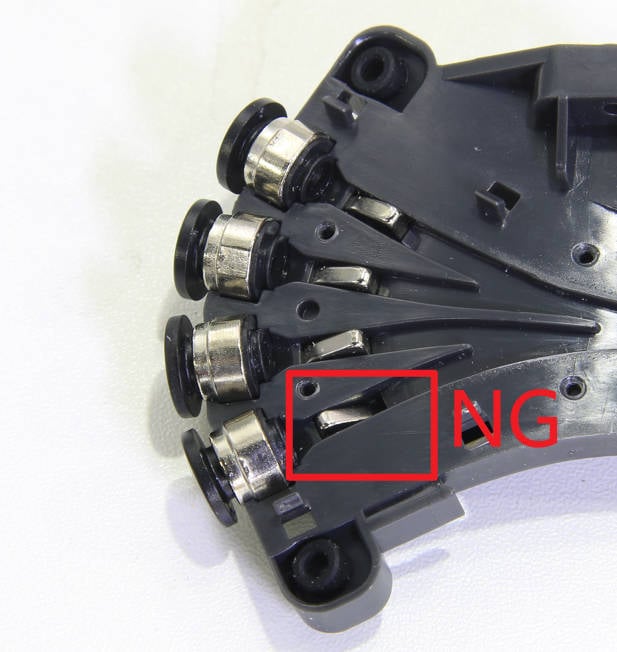
Make sure that the 4 magnets are facing the correct direction. If you find that the direction is wrong, please refer to Remove and install the magnets in internal hub unit to reinstall the magnet in the wrong direction after completing step 10 on this page.
 |
 |
¶ Step 7 - Install the tube fittings
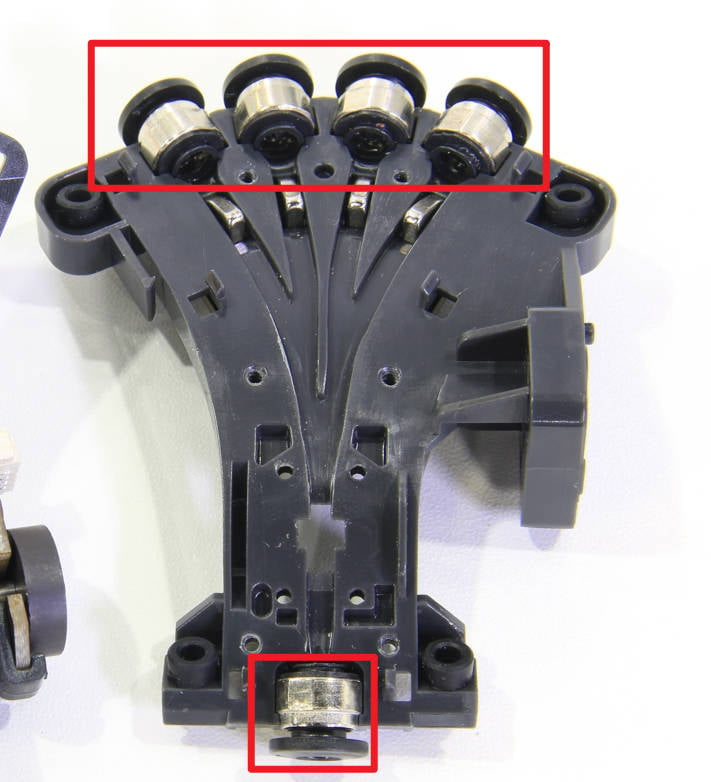
After the cleaning is complete, install the 5 tube fittings.
¶ Step 8 - Assemble the upper and lower shells
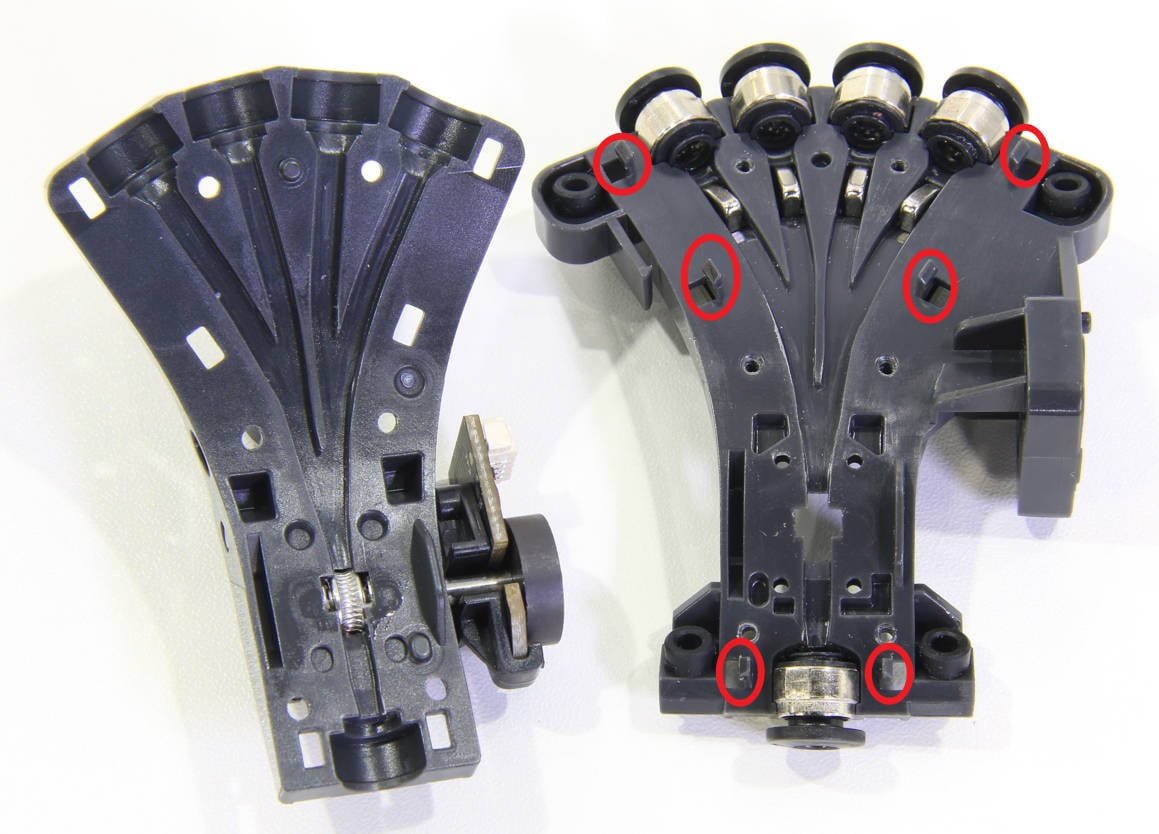
The upper and lower shells of the internal hub unit can be initially fixed by the 6 claws, and then lock in 6 screws.
 |
 |
¶ Step 9 - Install the driving gear unit of the internal hub unit
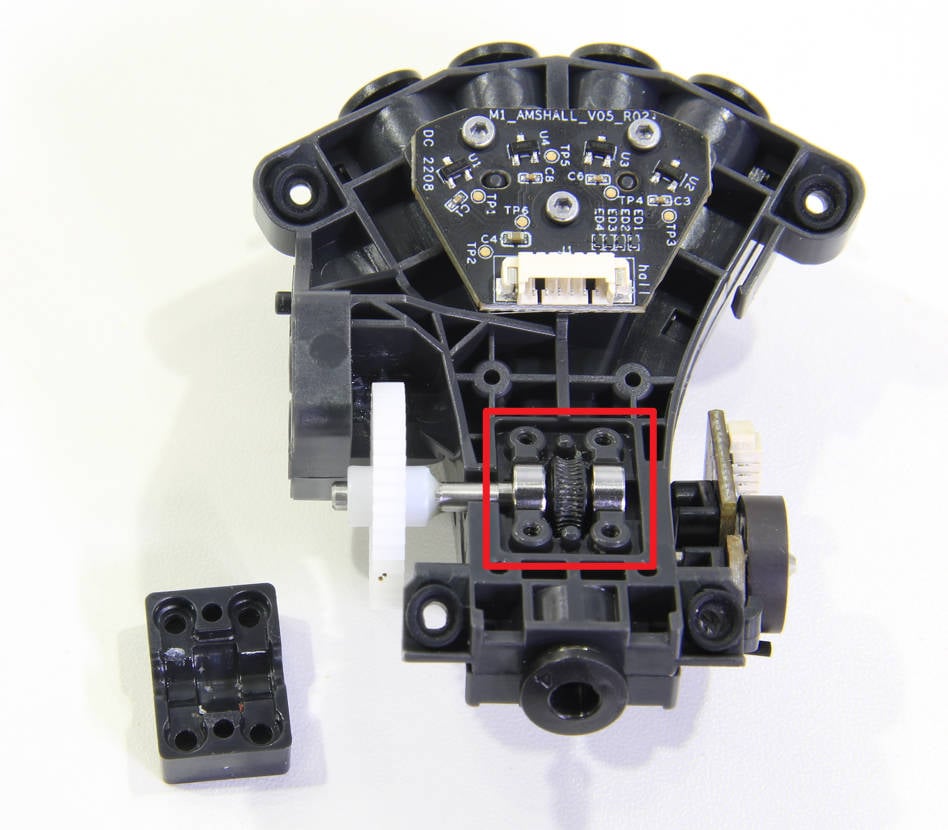
Install the driving gear unit of the internal hub unit and its protective cover, and lock in 4 screws.
 |
 |
¶ Step 10 - Install the button
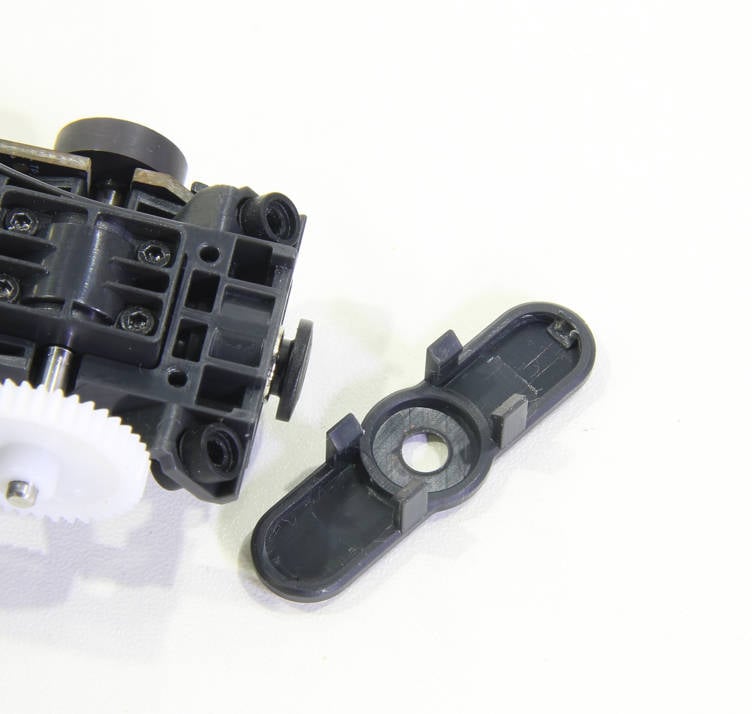
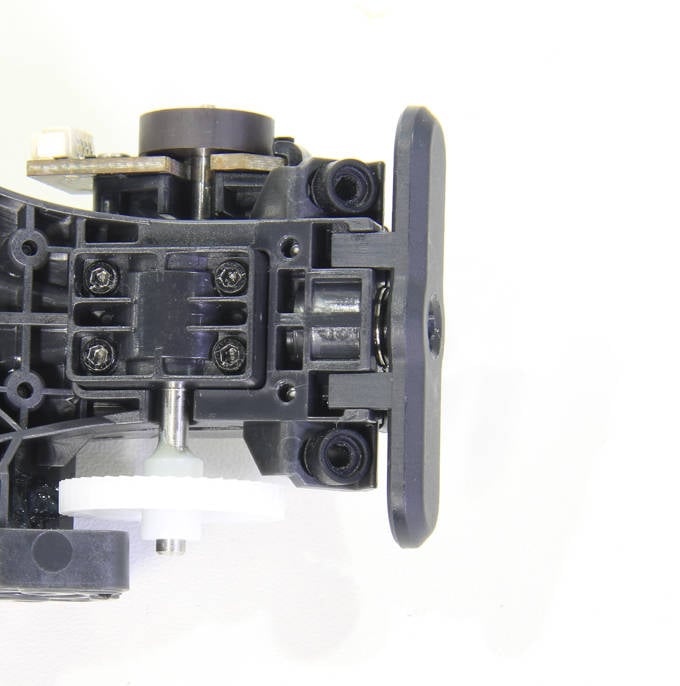
Install the button of the internal hub unit, and press the button to confirm that the action is smooth.
 |
 |
¶ Step 11 - Install the AMS internal hub unit
Please refer to Replace AMS internal hub unit to install the motor on the internal hub unit and assemble the AMS.
¶ Step 12 - Check the function of the internal hub unit
¶ How to verify completion/success
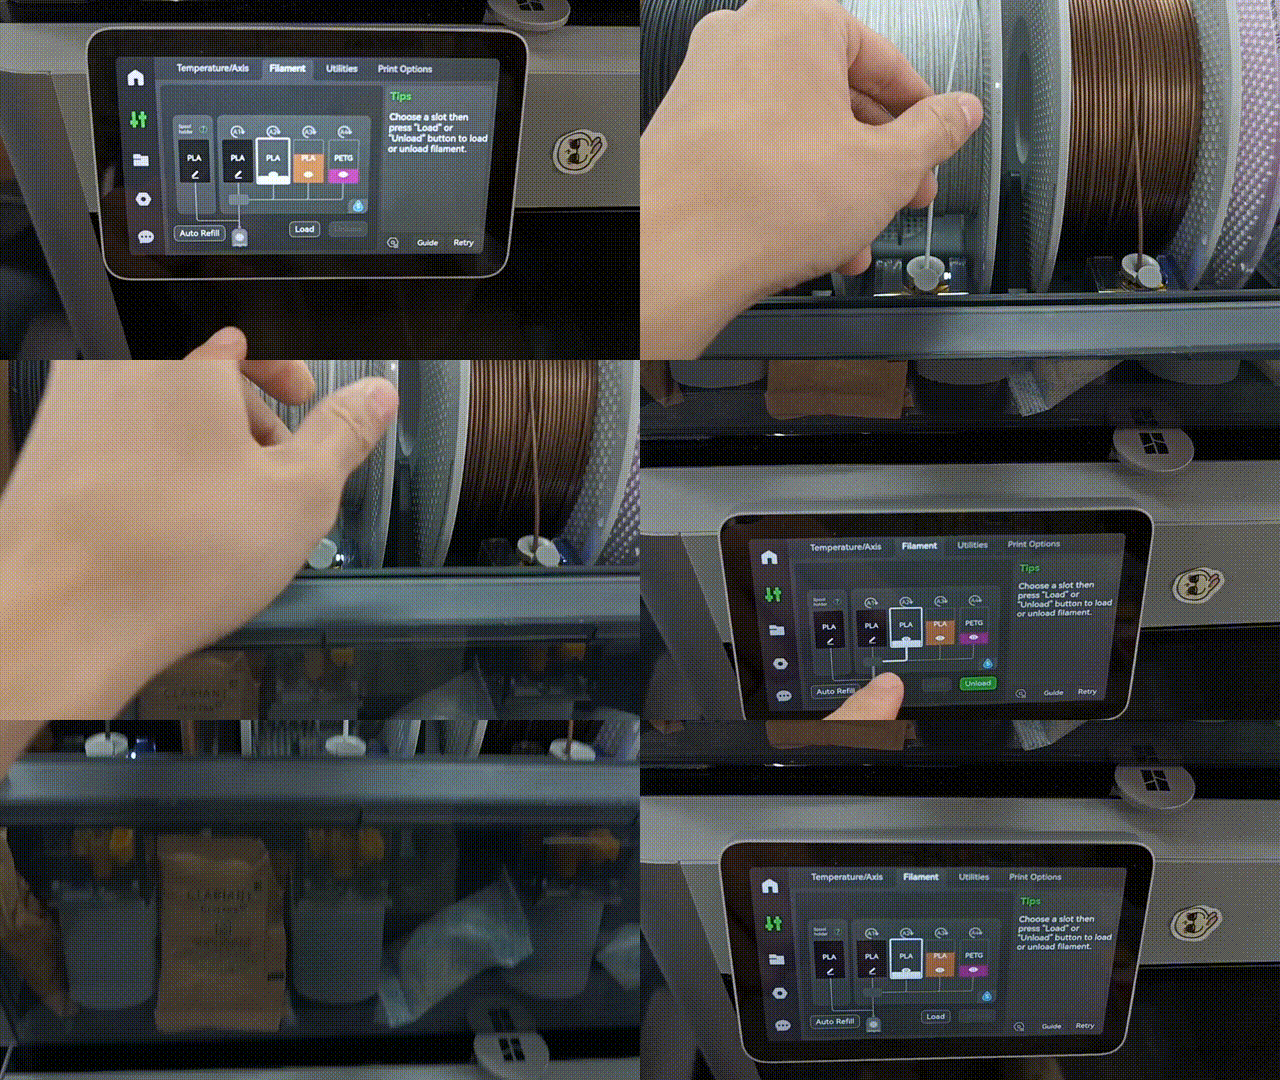
1. Manually insert or pull the filaments from the first stage feeders. When the sensors of the AMS internal hub unit are normal, the internal hub unit will detect the filaments normally, with the corresponding slot displaying the filament in bold (filament being inserted) or not in bold (filament being pulled out). This step can be used to check whether the sensors of the AMS internal hub unit for each slot are normal.
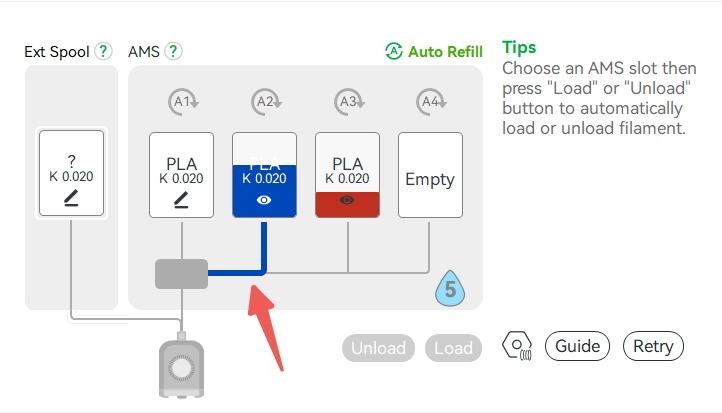
Otherwise, check the connections of all the cables. If no errors are found and the malfunction continues, contact the Bambu Lab service team for further assistance.
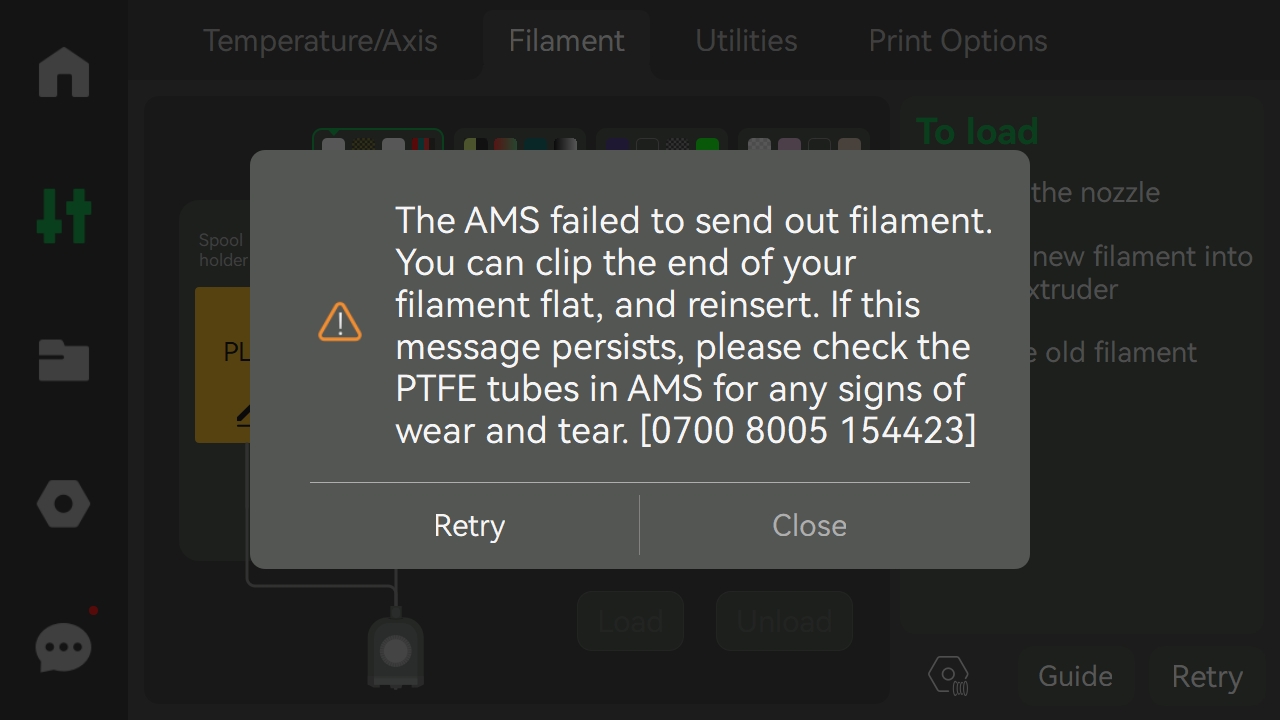
2. When loading filament or starting printing, the filament may be failed to be sent outside the AMS. The LED on the first-stage feeder will flashes red, and an error will be reported as below.
/x1/troubleshooting/clean-the-filaments-hub/flashes-red.mp4
If you have removed the magnets during the process, please check if their directions are correct. You can refer to this article to check the direction: Remove and install the magnets in internal hub unit.