Wiki in additional languages can be found below:
The packaging material and accessories may be updated from time to time. Please refer to the version you receive.
¶ Video guide
The mapping relationship between AMS units and nozzles is one-to-one; filaments in a specific AMS unit can only be printed with the nozzle connected to that AMS unit.
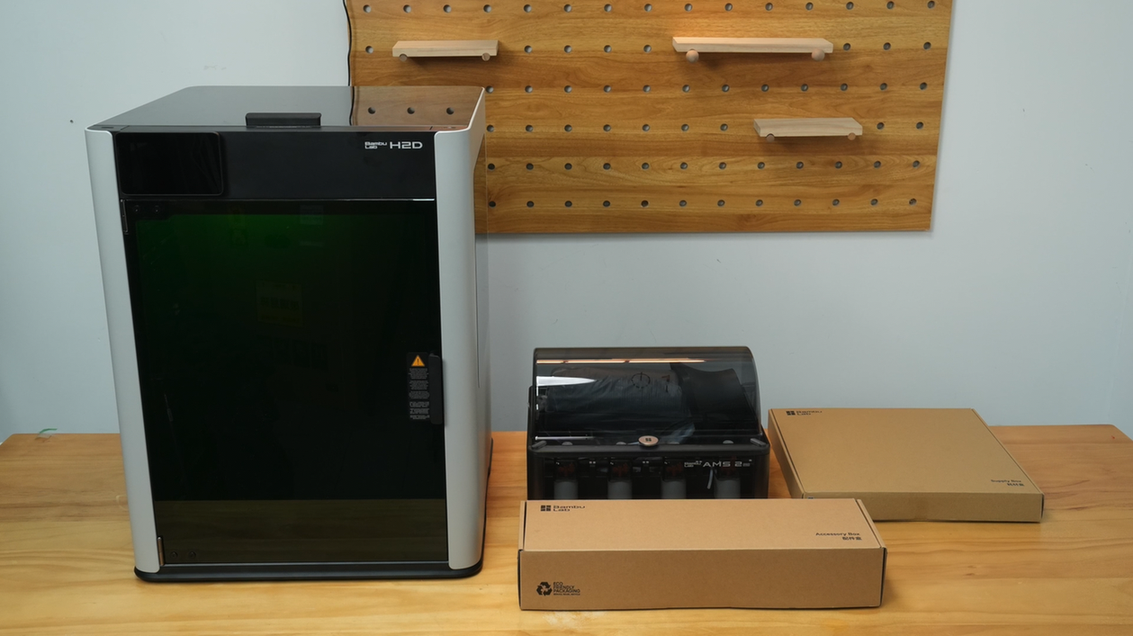
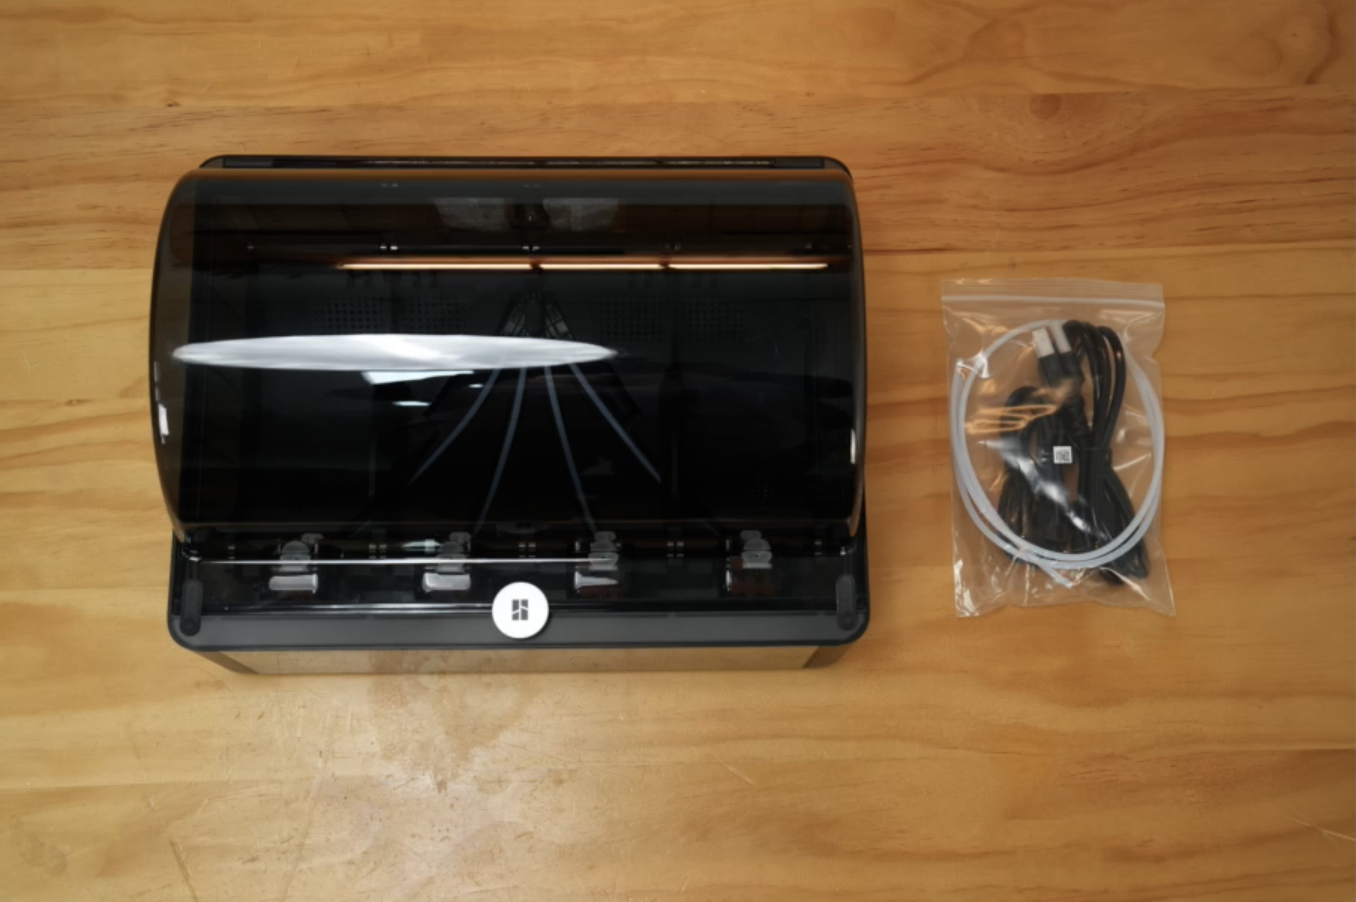
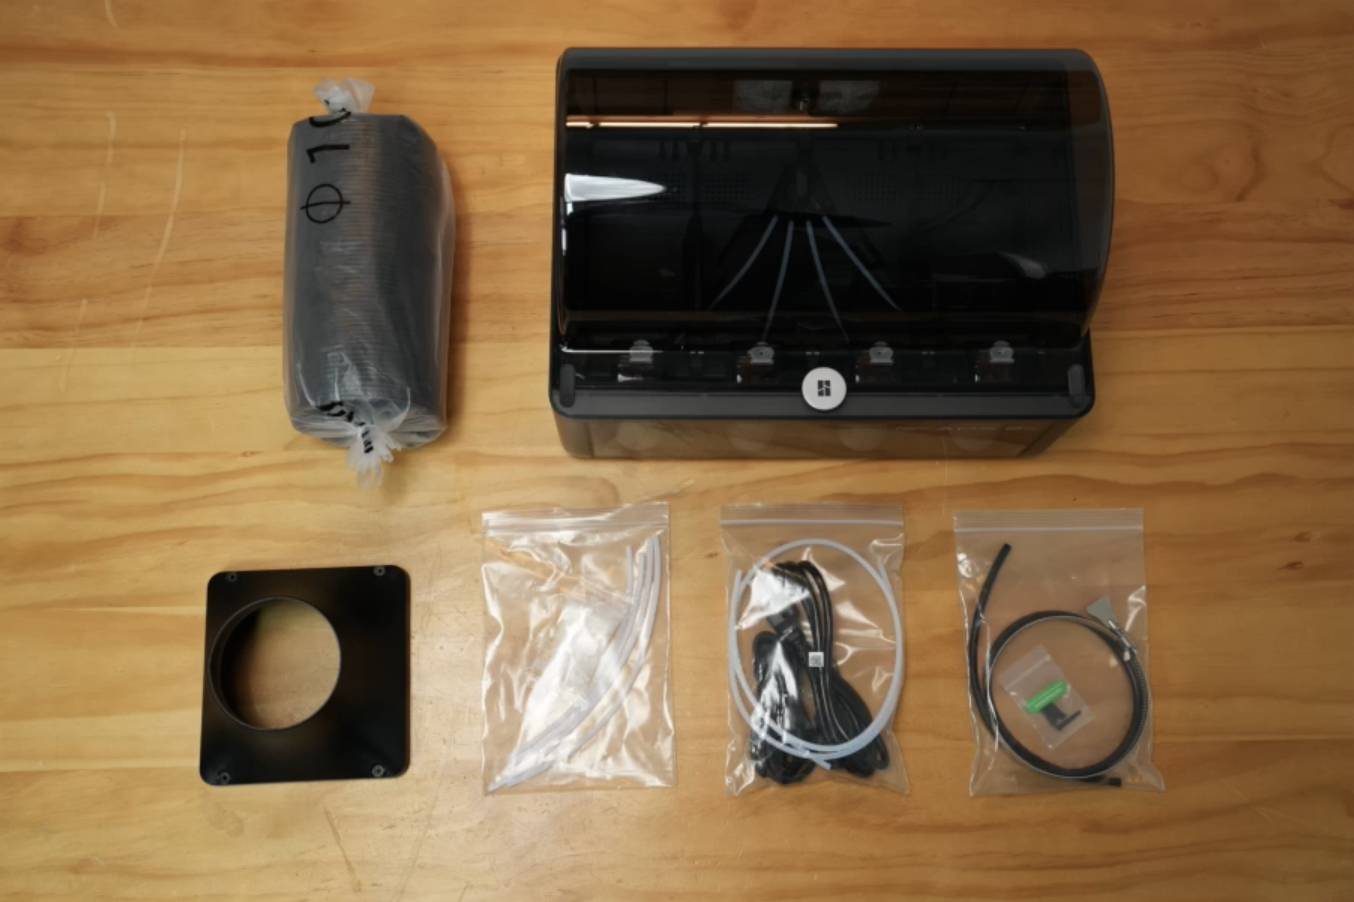
¶ Included items
AMS combo: H2D, AMS 2 Pro, and accessory box
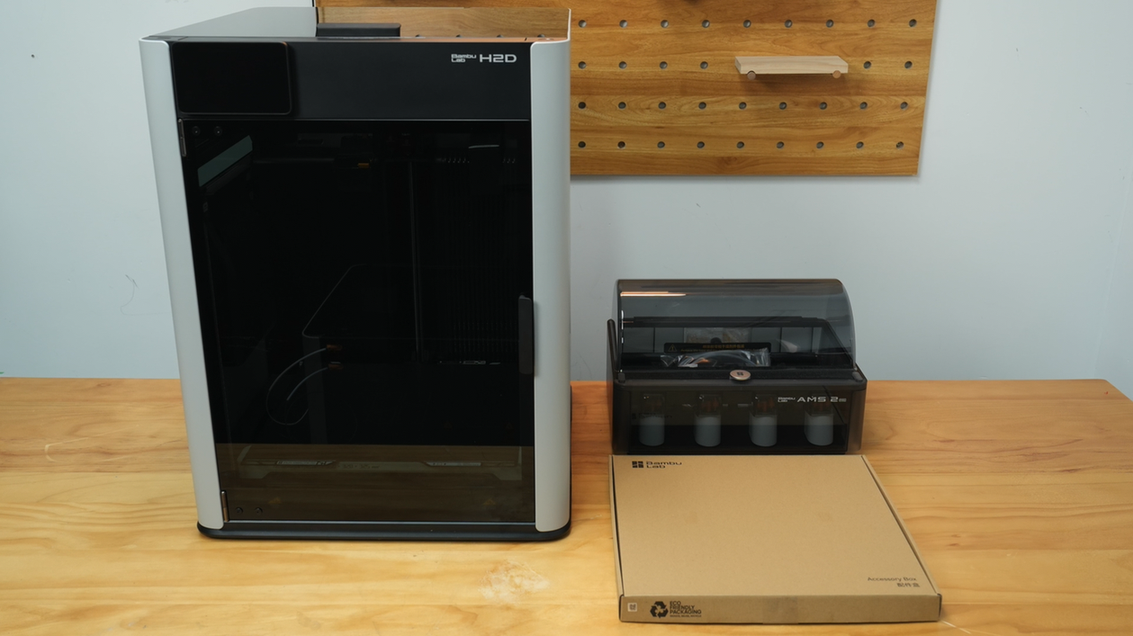
Laser full combo: H2D, AMS 2 Pro, supply box, and accessory box
Laser Module Installation Guide
Cutting Module Installation Guide
¶ Procedures
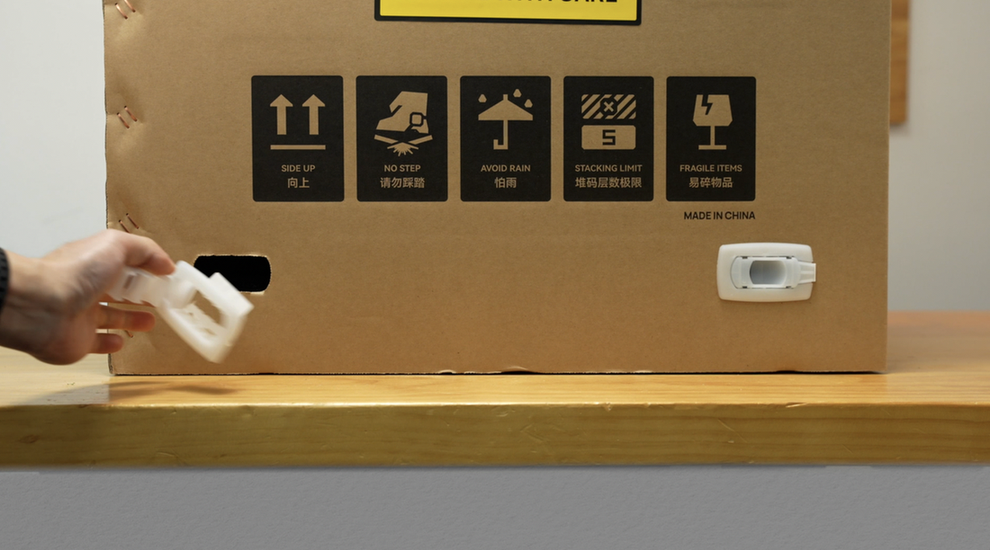
¶ Step 1. Remove the 4 box clip fasteners on the bottom.
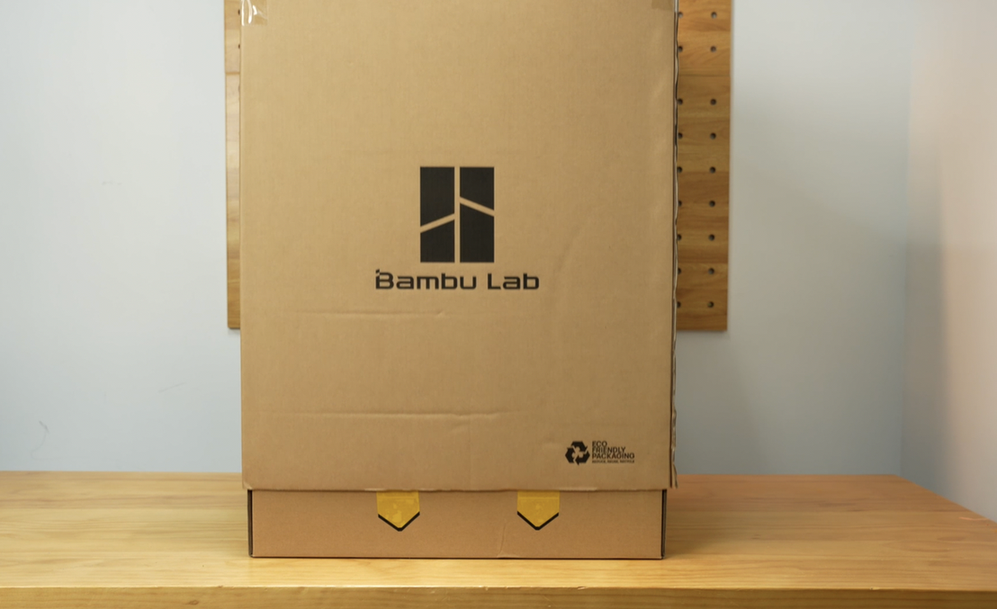
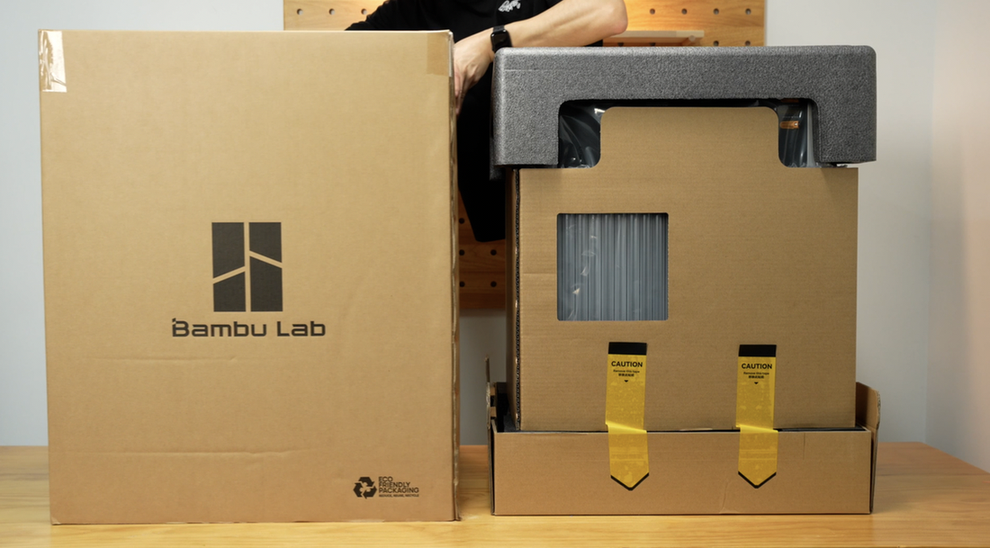
¶ Step 2. Lift and remove the outer box.
 |
 |
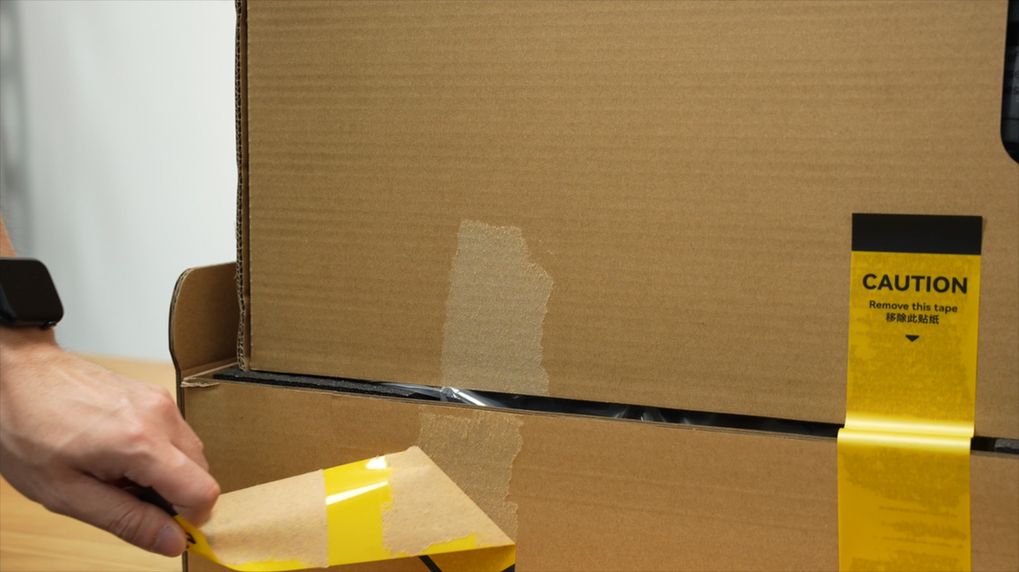
¶ Step 3. Remove the 4 tapes on the bottom.
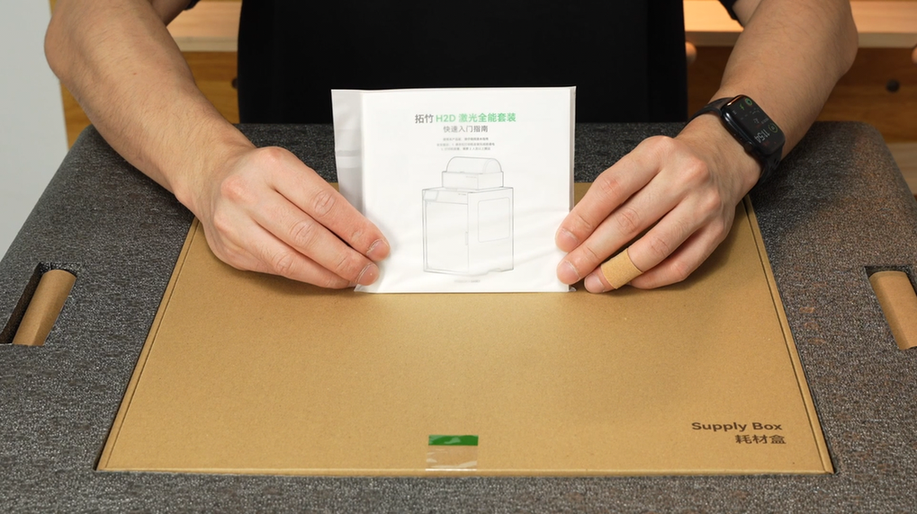
¶ Step 4. Carefully read the quick start guide for detailed steps.
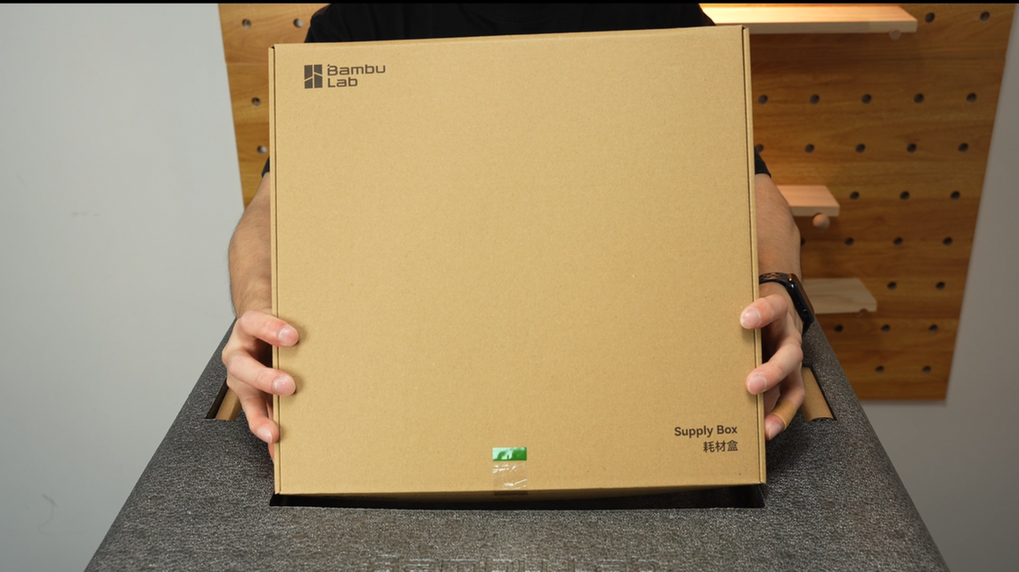
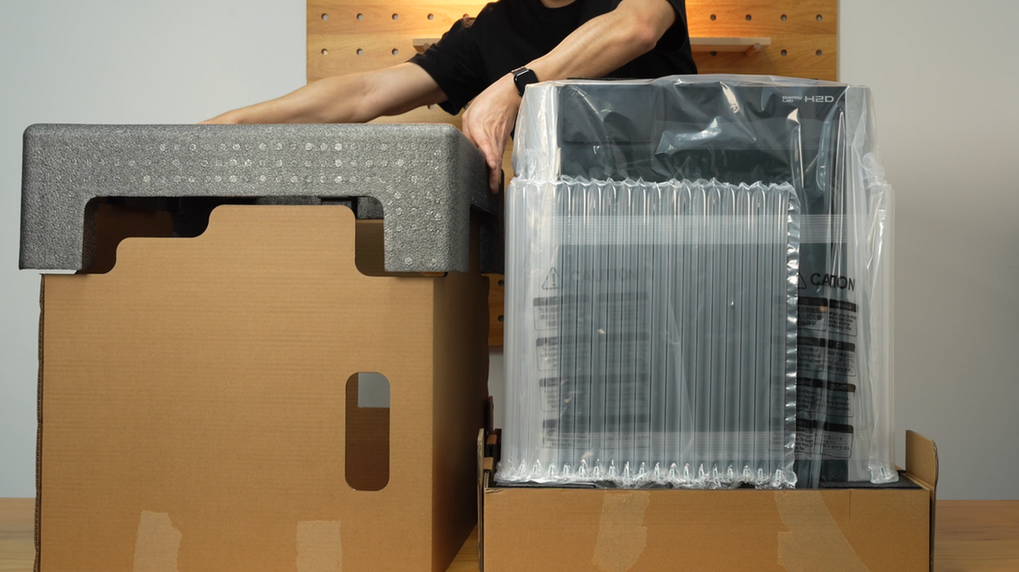
¶ Step 5. Take out the supply box.
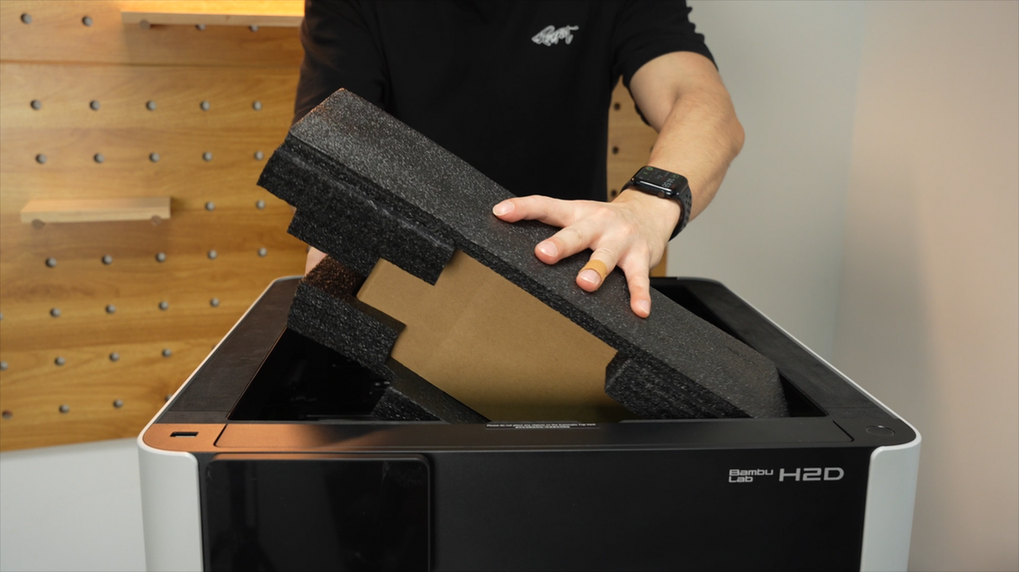
¶ Step 6. Remove the foam pieces.
 |
 |
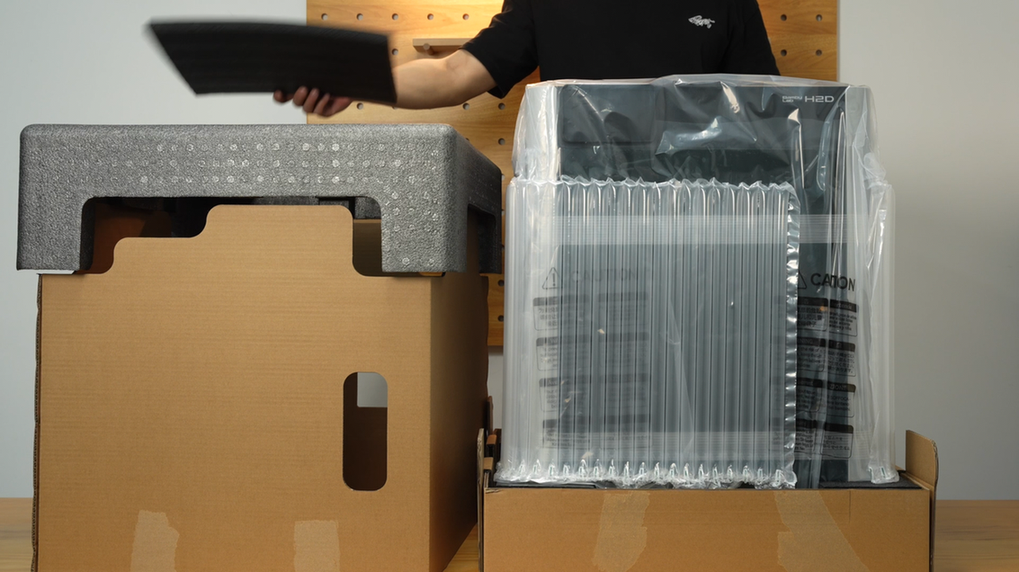 |
¶ Step 7. Remove the air cushion.
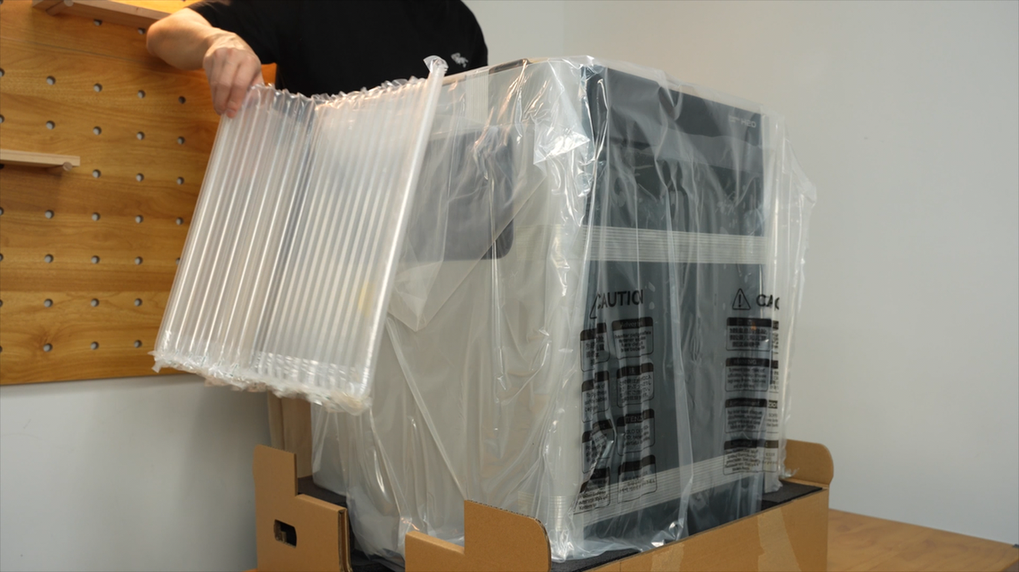
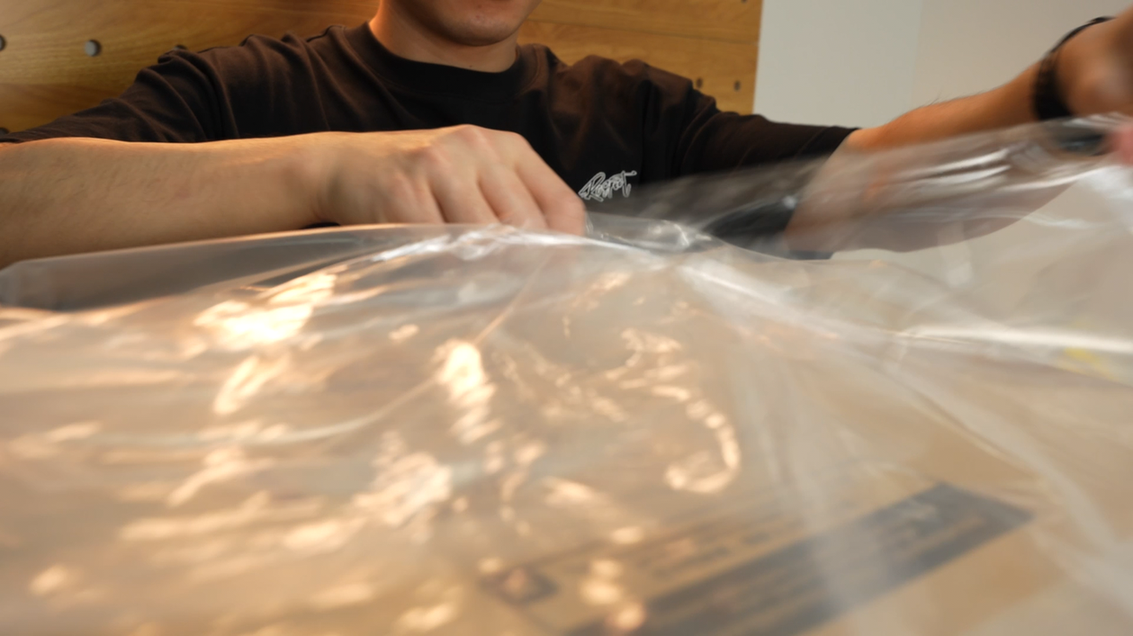
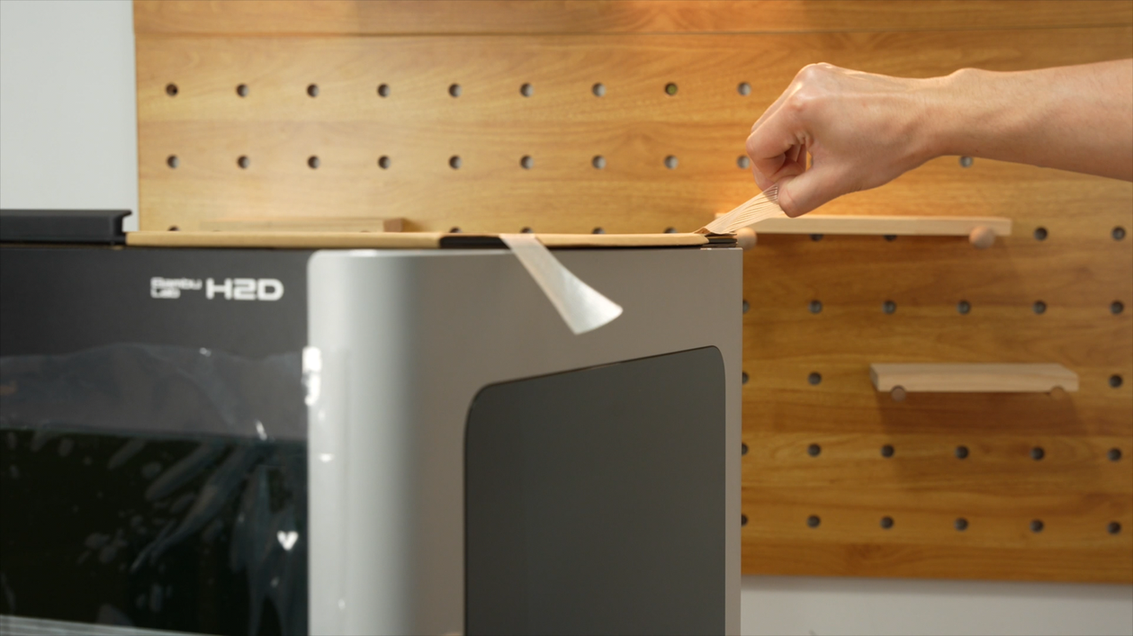
¶ Step 8. Tear open the stickers on both sides.
 |
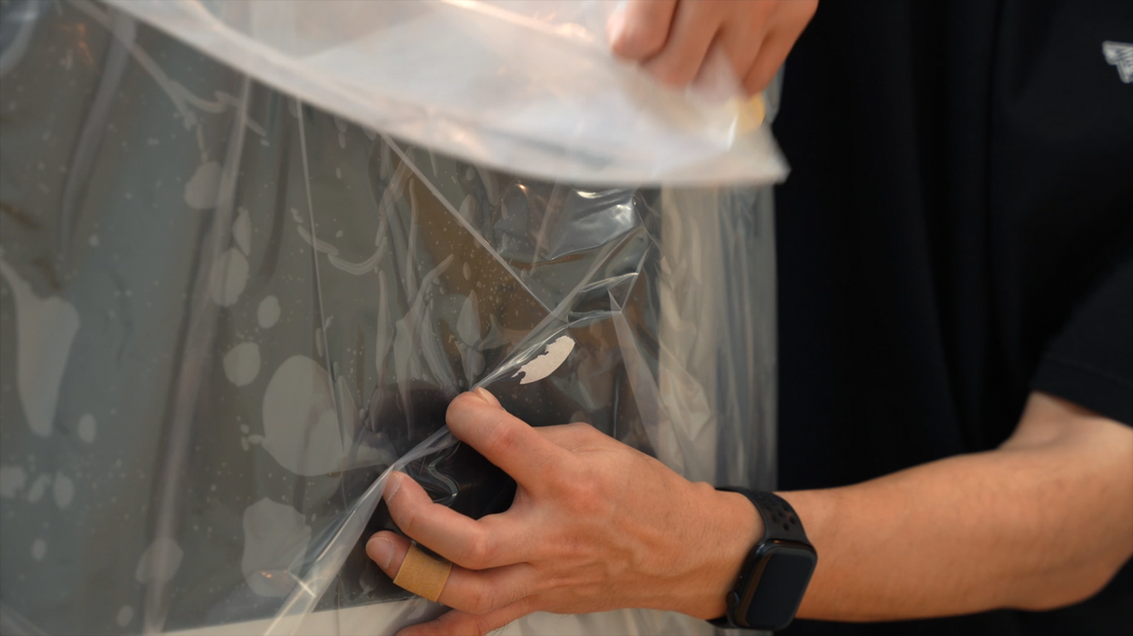 |
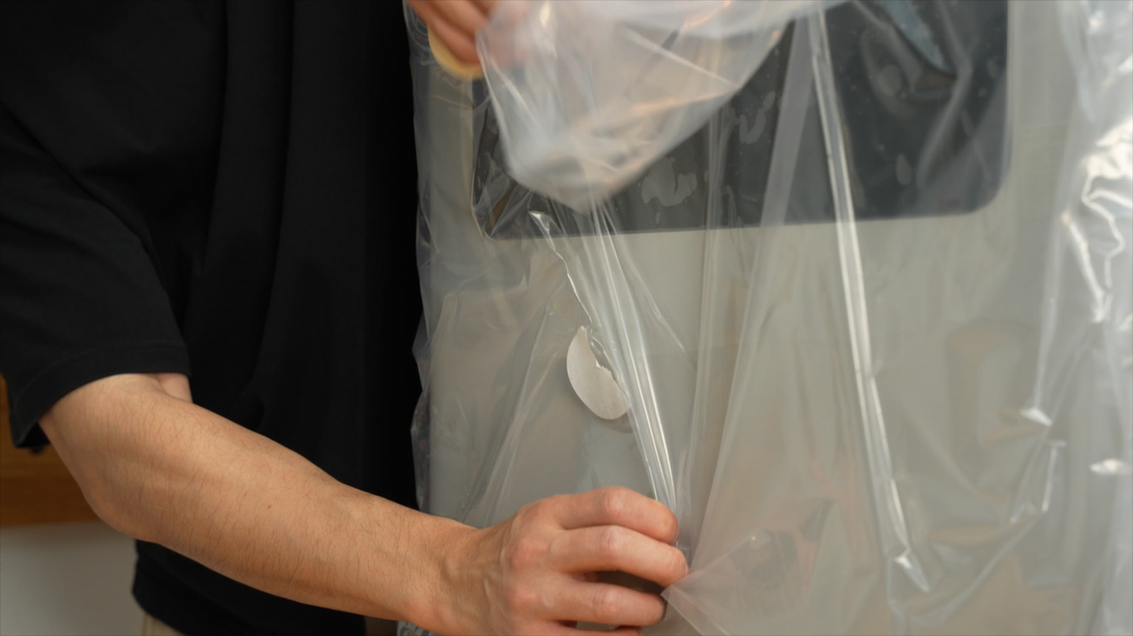
¶ Step 9. Tear open the moisture-proof bag.
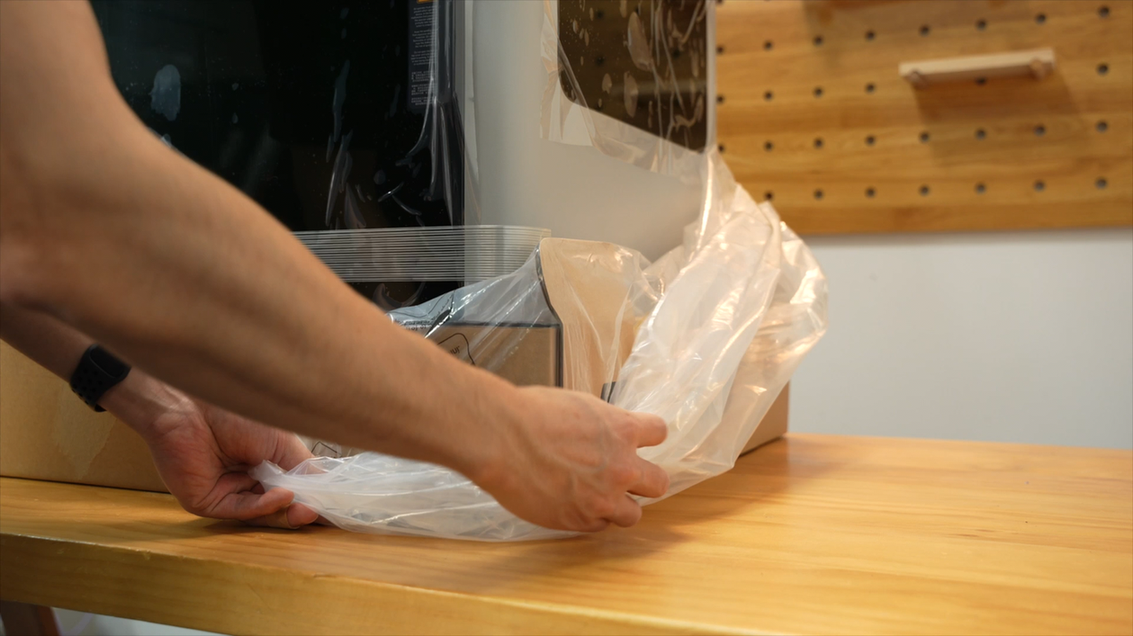
¶ Step 10. Pull down and wrap the bag on the corners of the bottom cover.
 |
 |
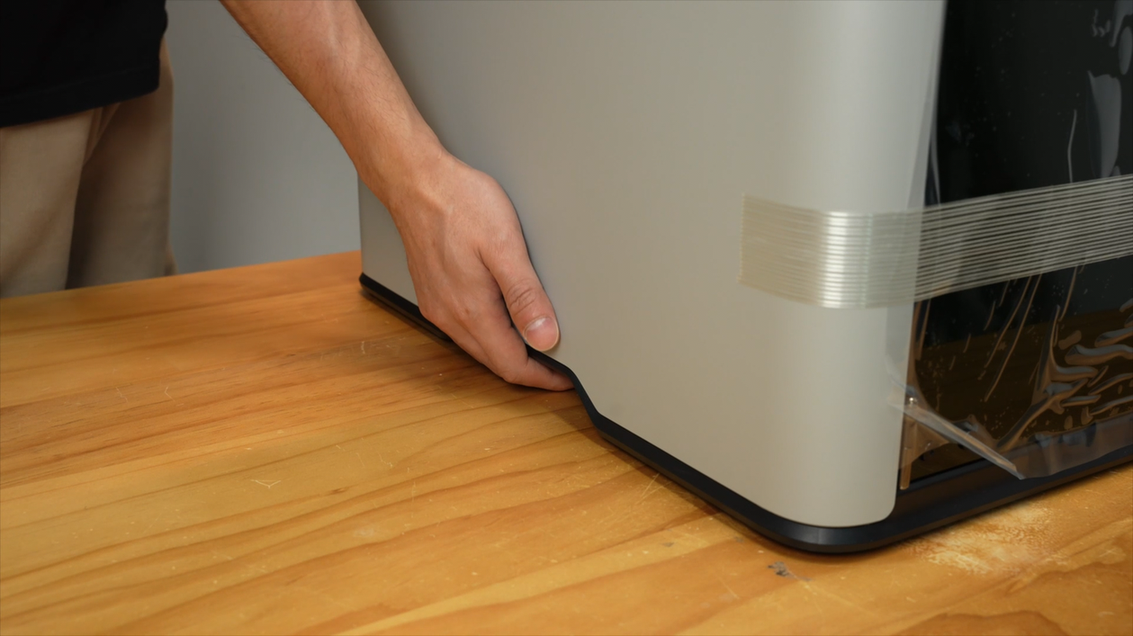
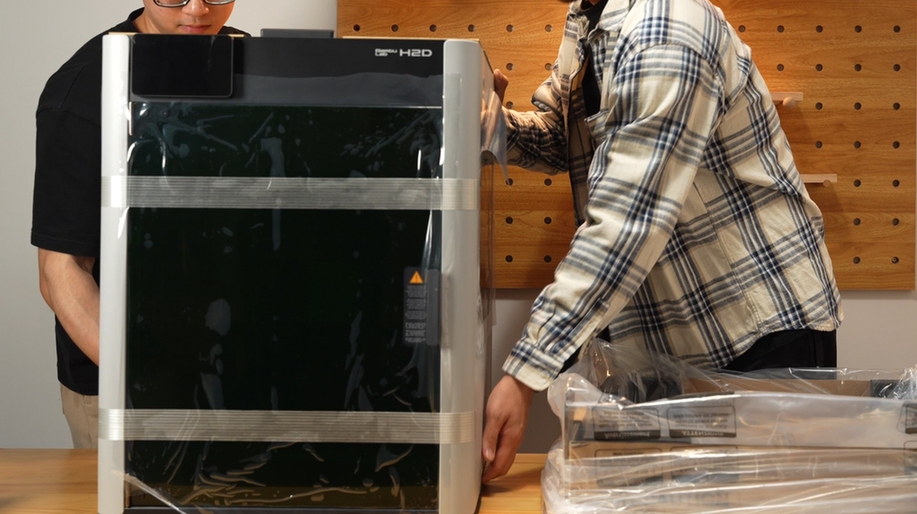
¶ Step 11. Two people lift and place the printer on a stable surface.
 |
 |
 |
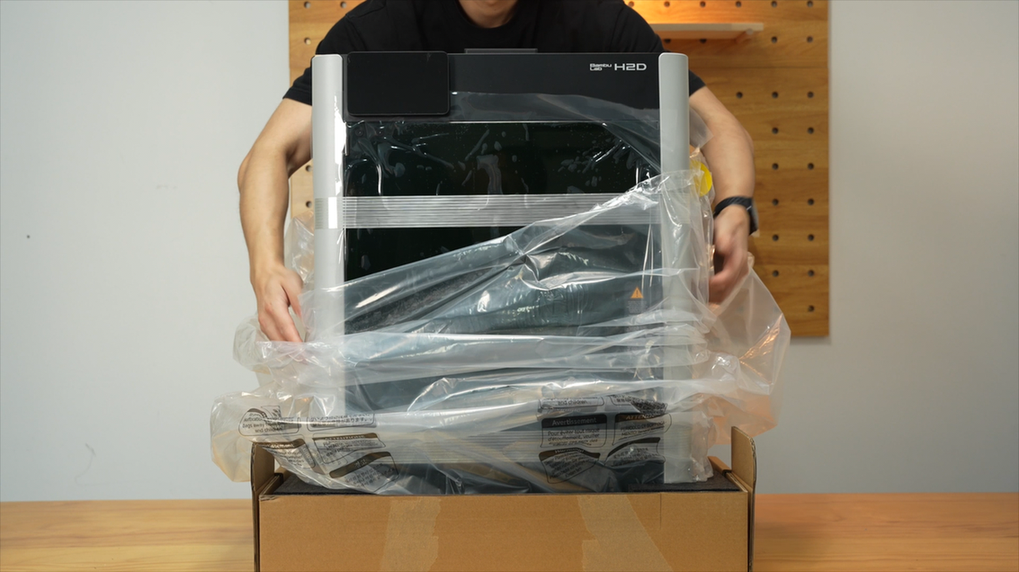
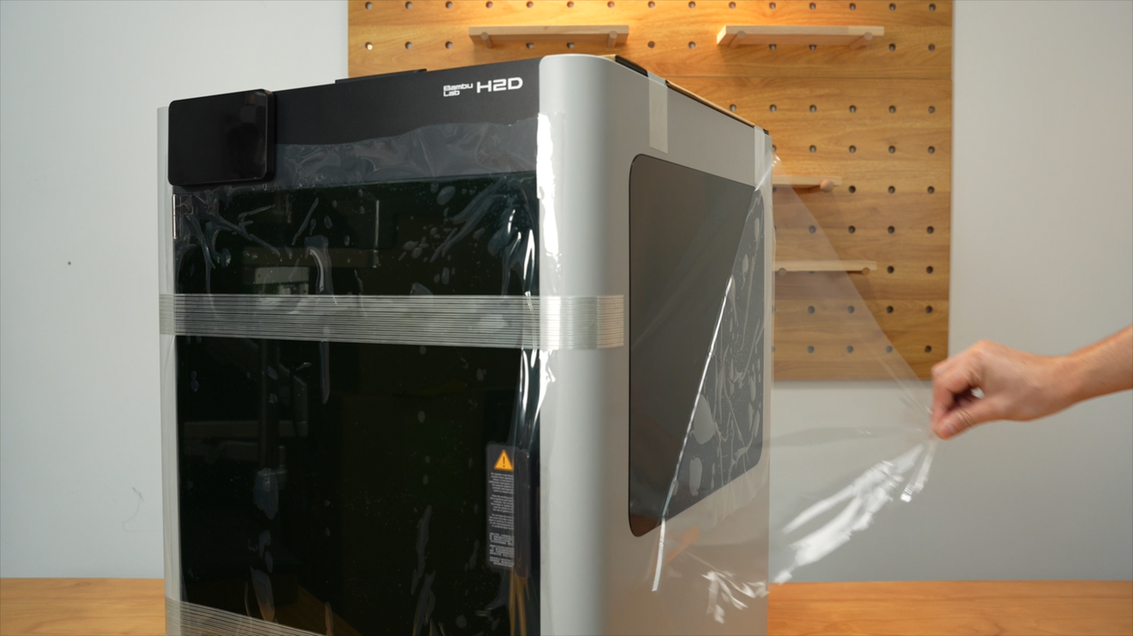
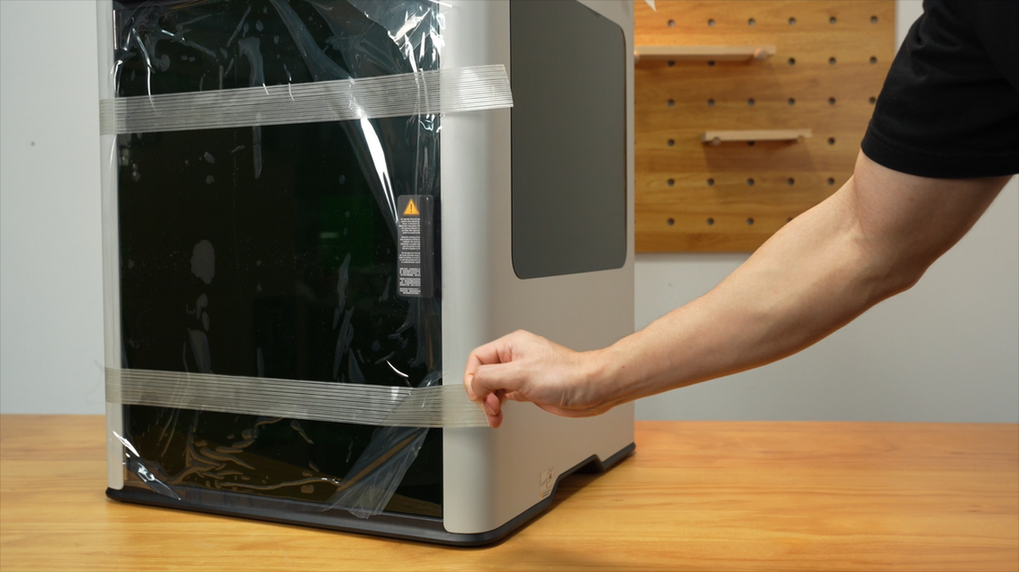
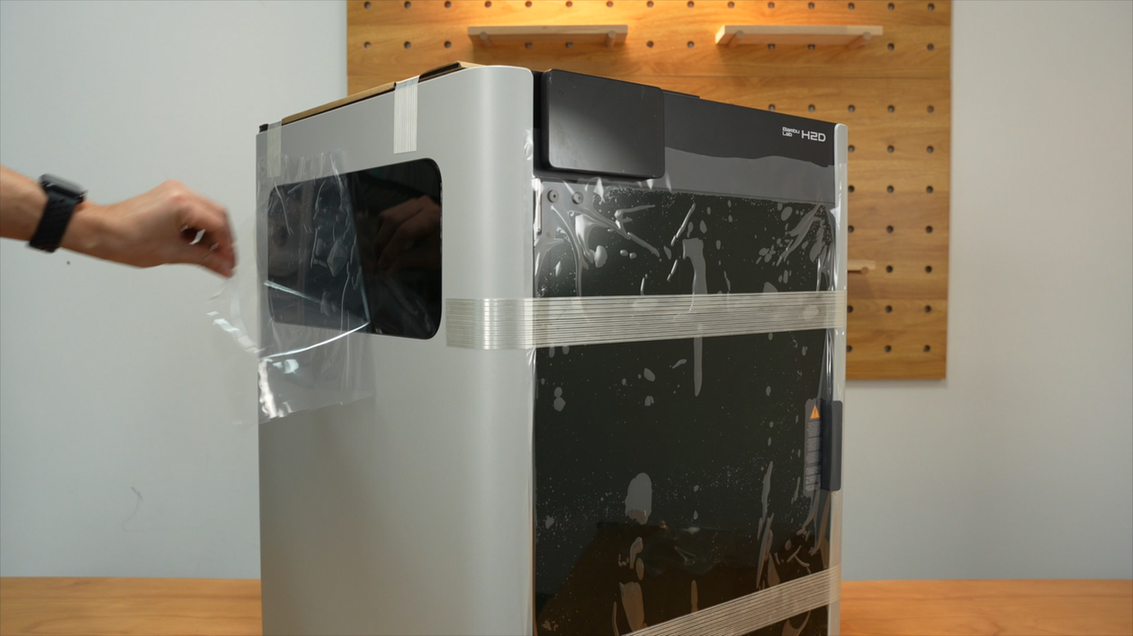
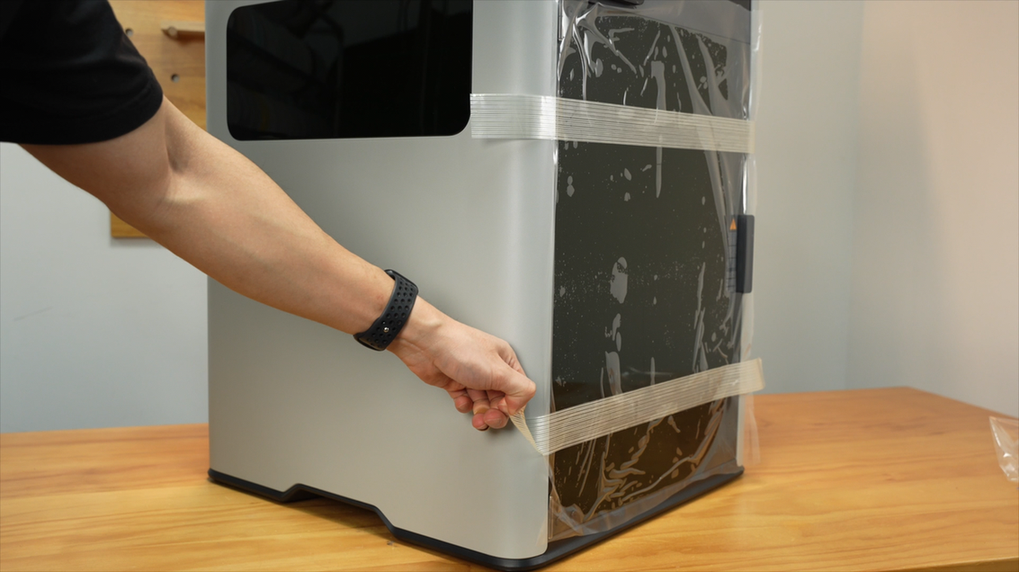
¶ Step 12. Remove the packaging material on the printer.
 |
 |
 |
 |
 |
 |
 |
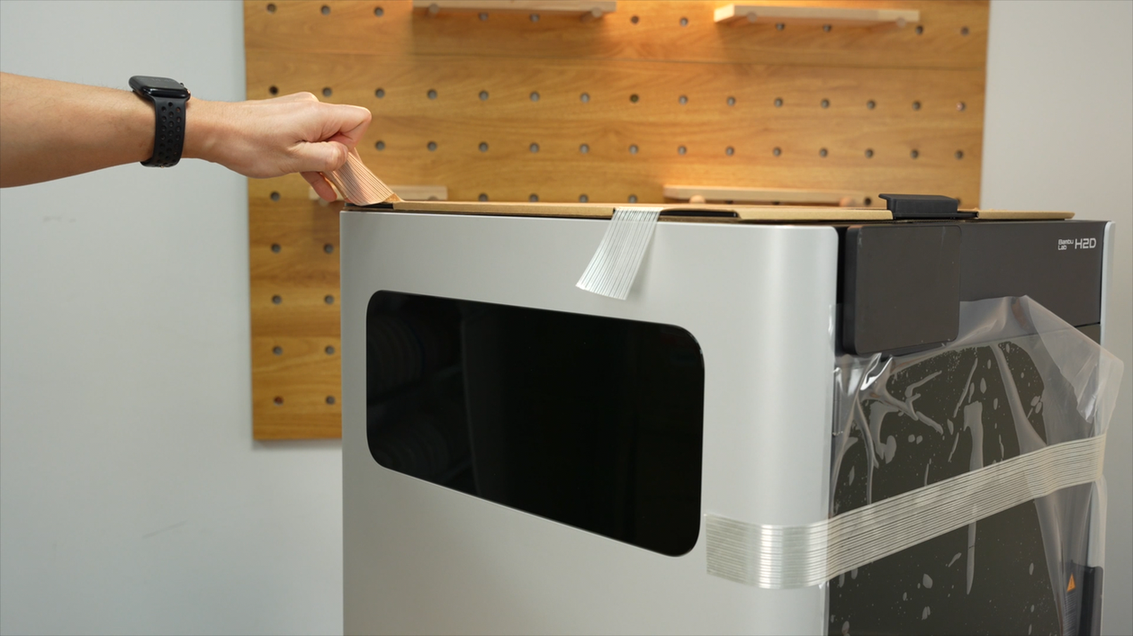
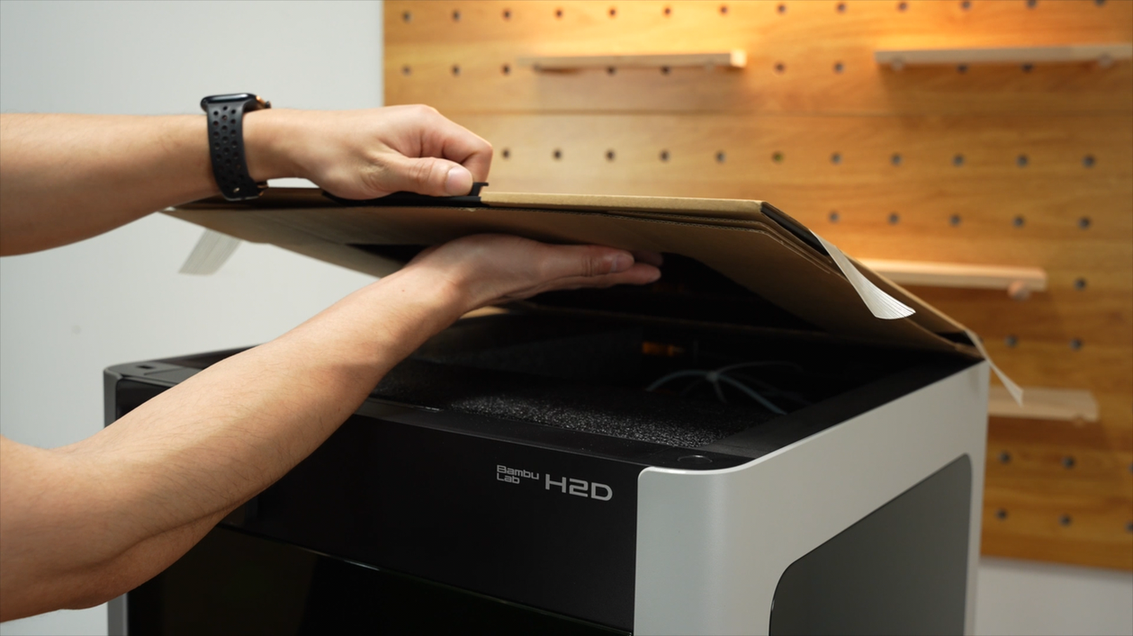
¶ Step 13. Take down the top cover.
¶ Step 14. Take out the accessory box.
 |
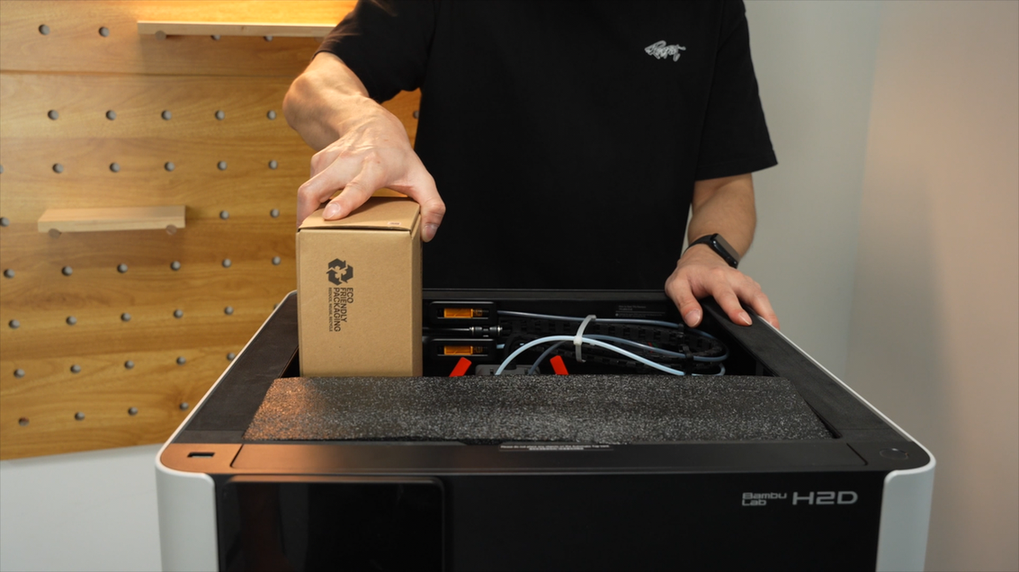 |
Note: The accessory box is for the Laser Full Combo.
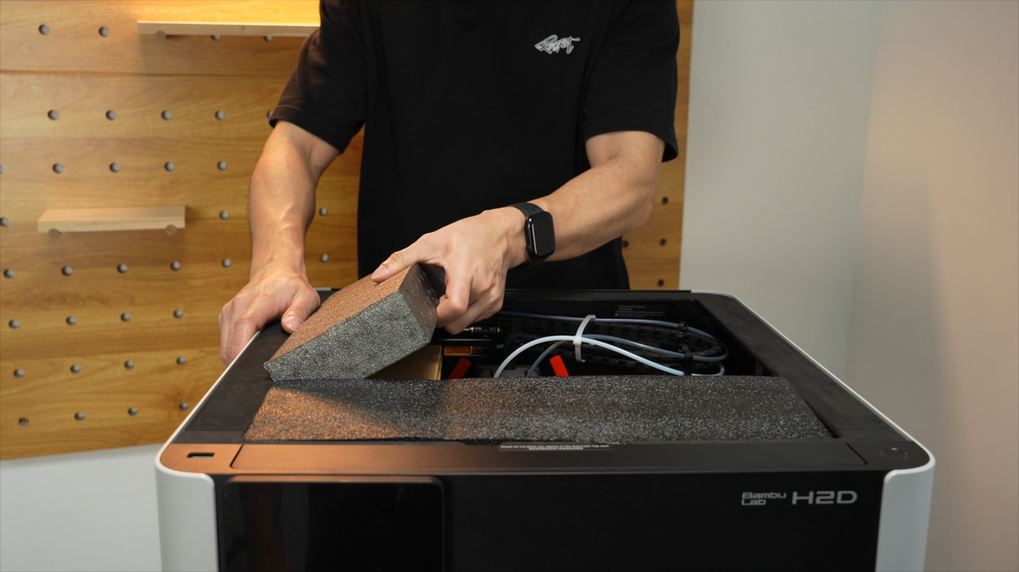
¶ Step 15. Remove the foam above the AMS 2 Pro.
¶ Step 16. Remove the screws to unlock the AMS 2 Pro.
¶ 1. Remove the plastic part on the upper-left corner.
 |
 |
 |
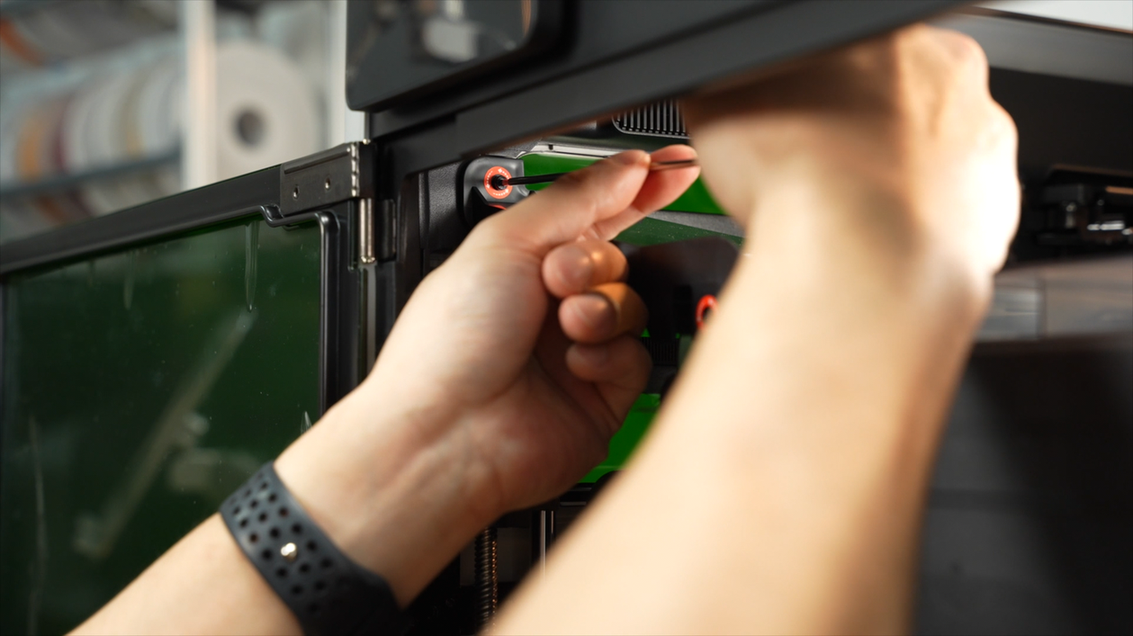
¶ 2. Remove the plastic part on the upper-right corner.
 |
 |
 |
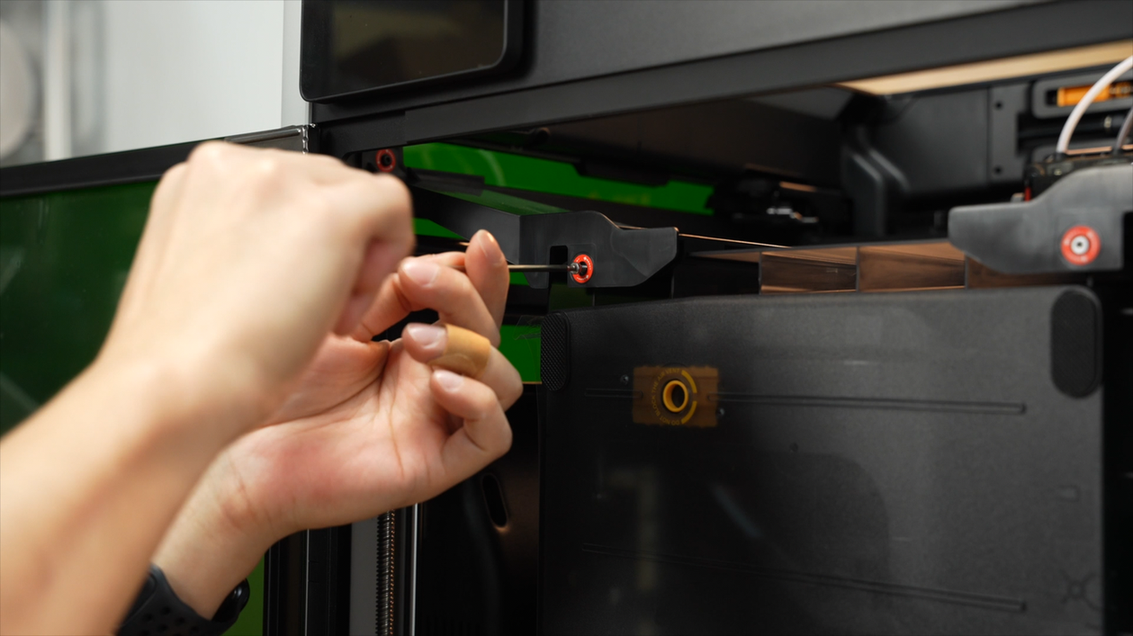
¶ 3. Remove the 2 screws on the fixture.
 |
 |
¶ 4. Take out the AMS 2 Pro.
¶ Step 17. Remove the foam pieces.
 |
 |
 |
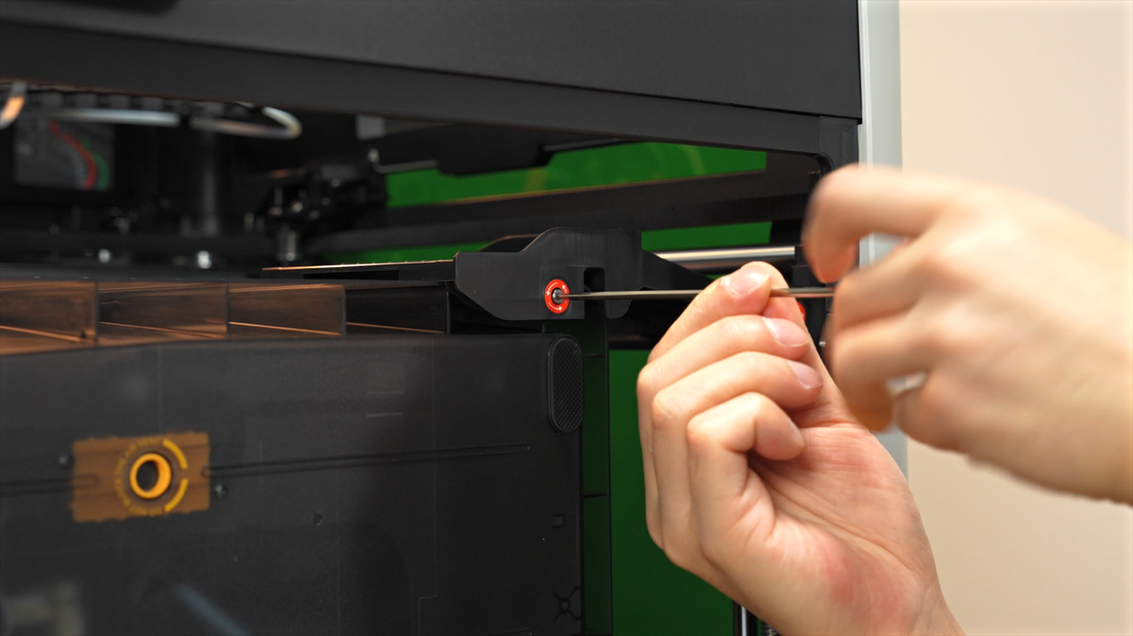
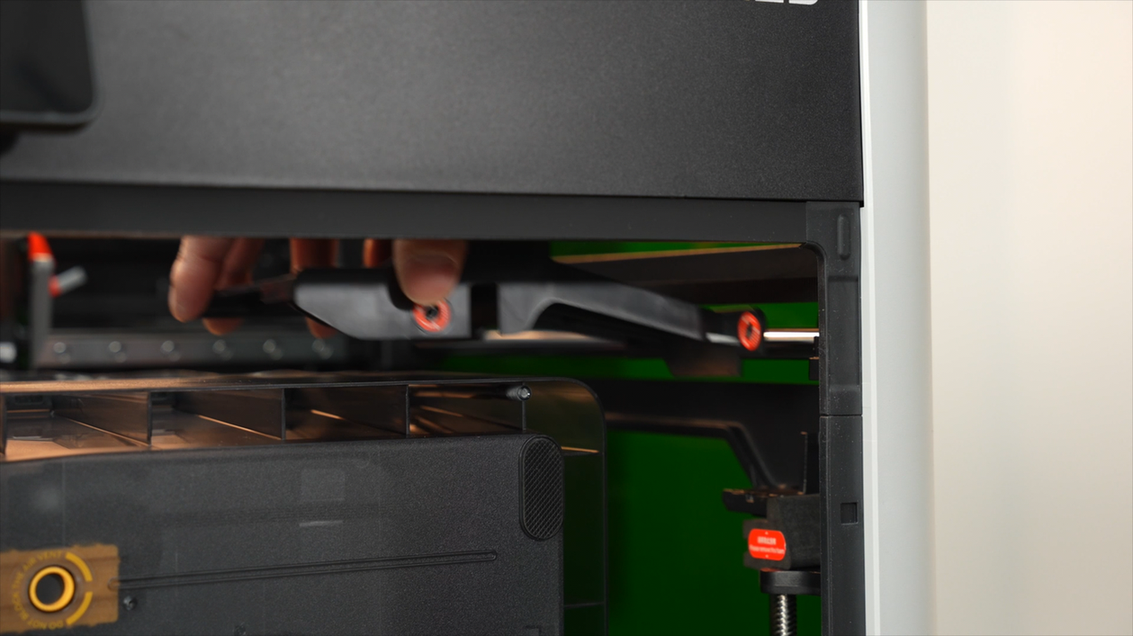
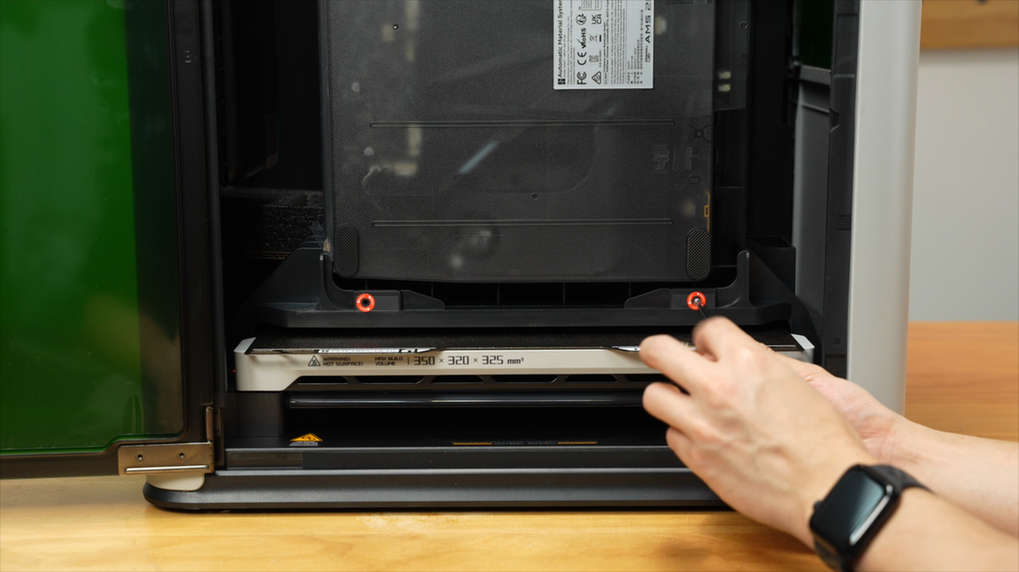
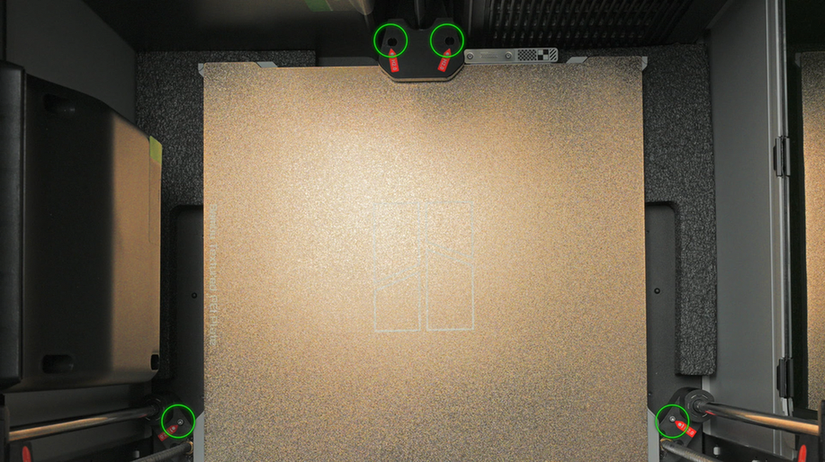
¶ Step 18. Remove the 4 screws and take out the fixture.
 |
 |
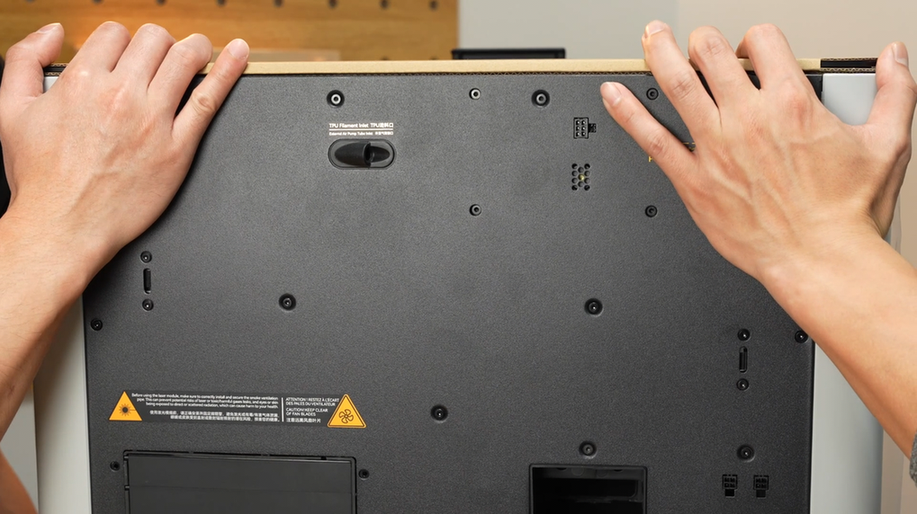
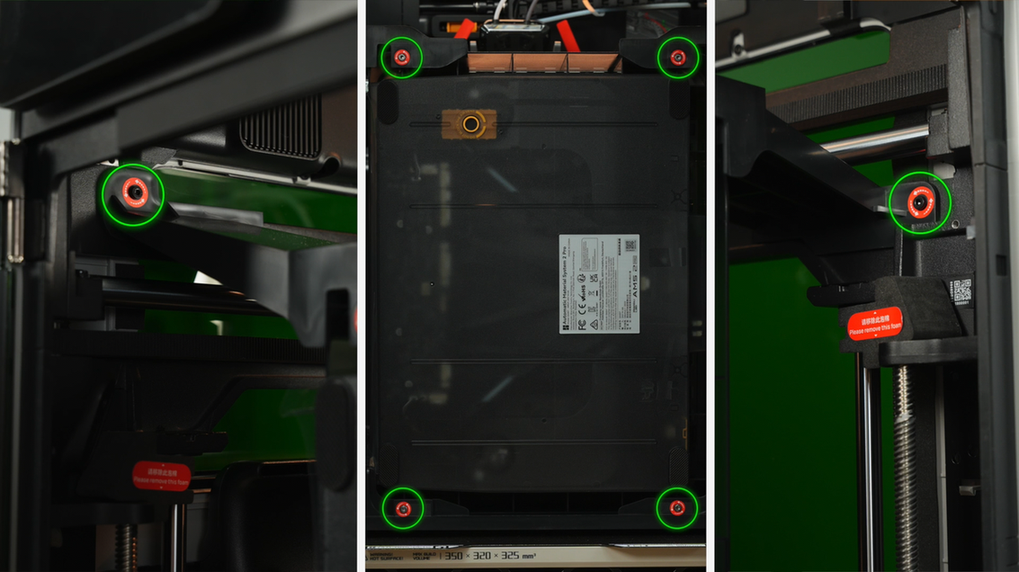
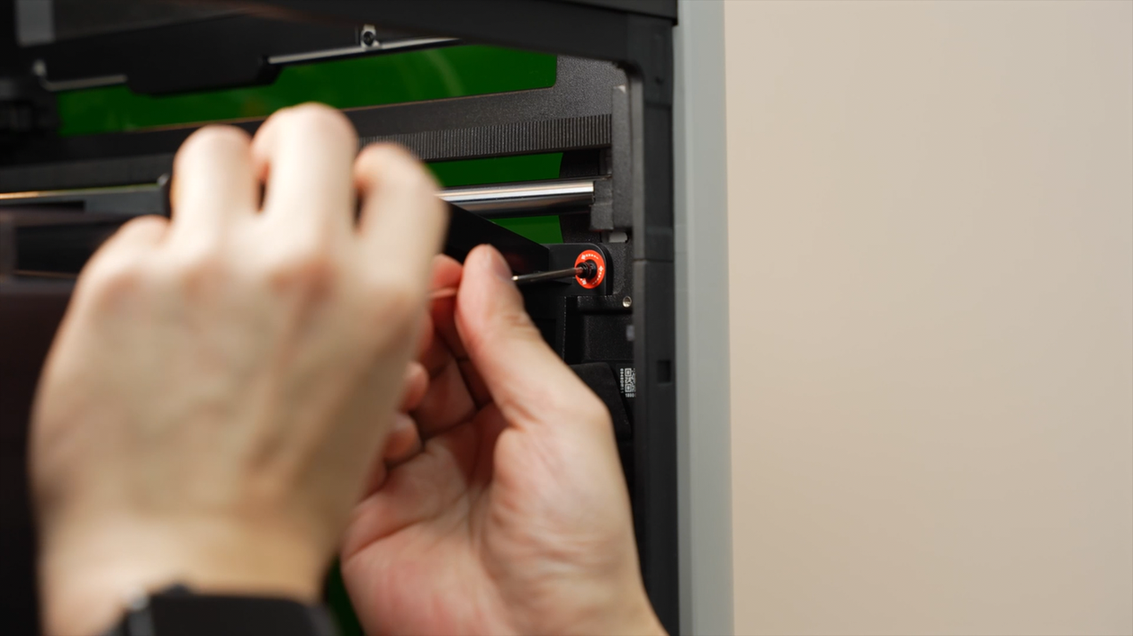
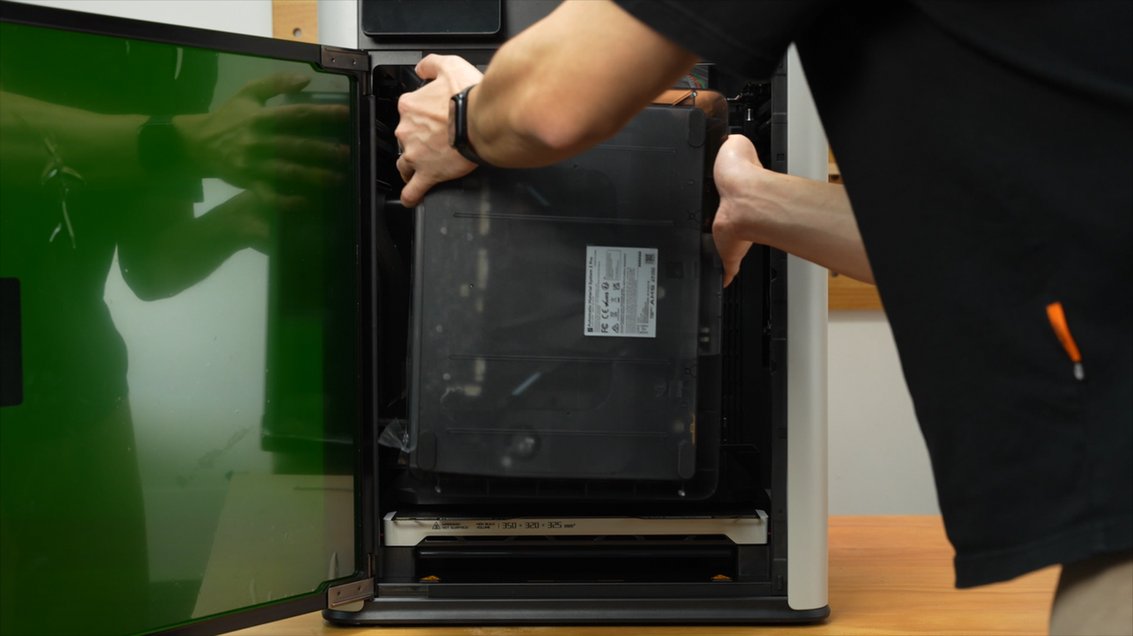
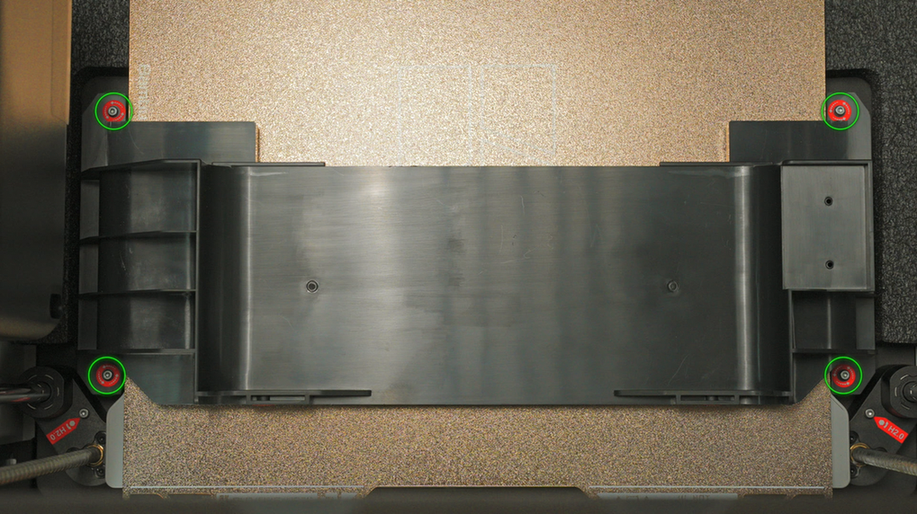
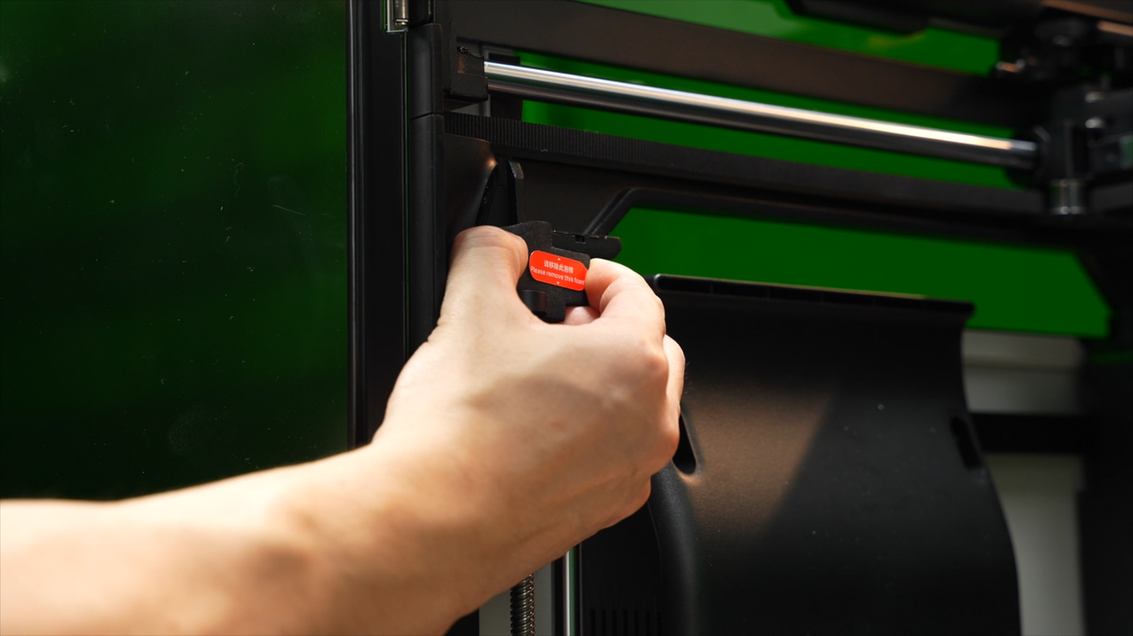
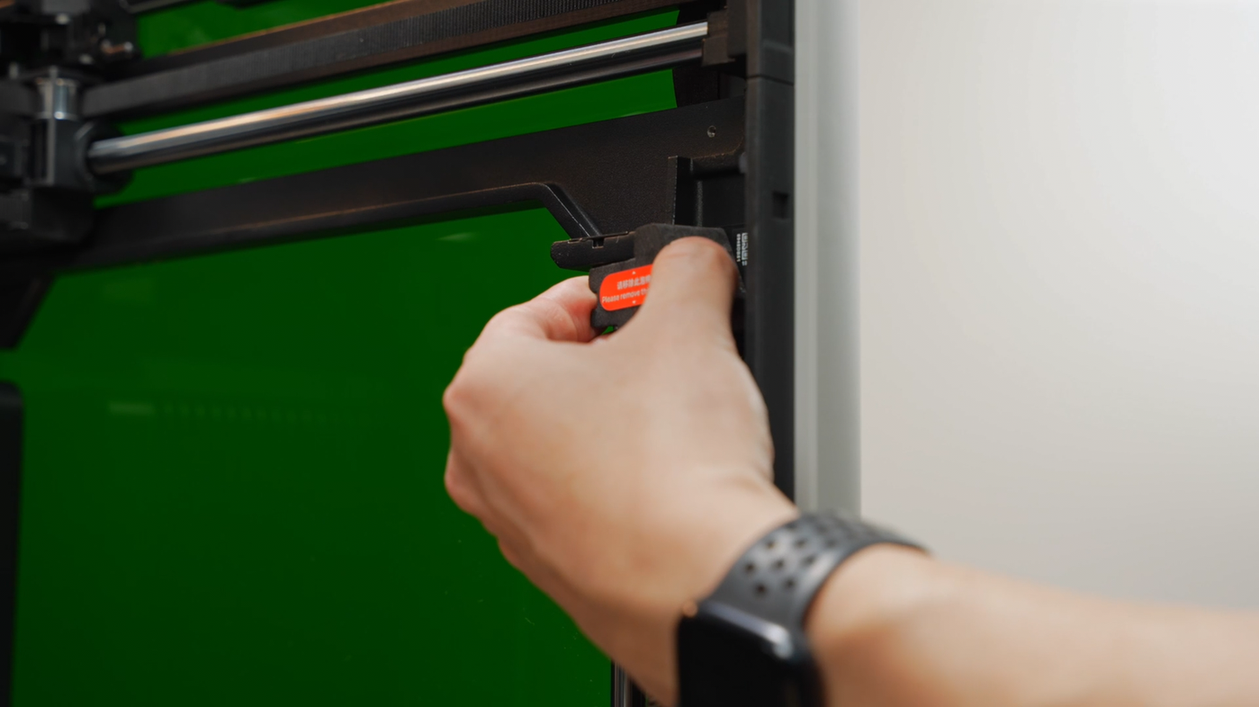
¶ Step 19. Remove the 4 screws securing the heatbed.
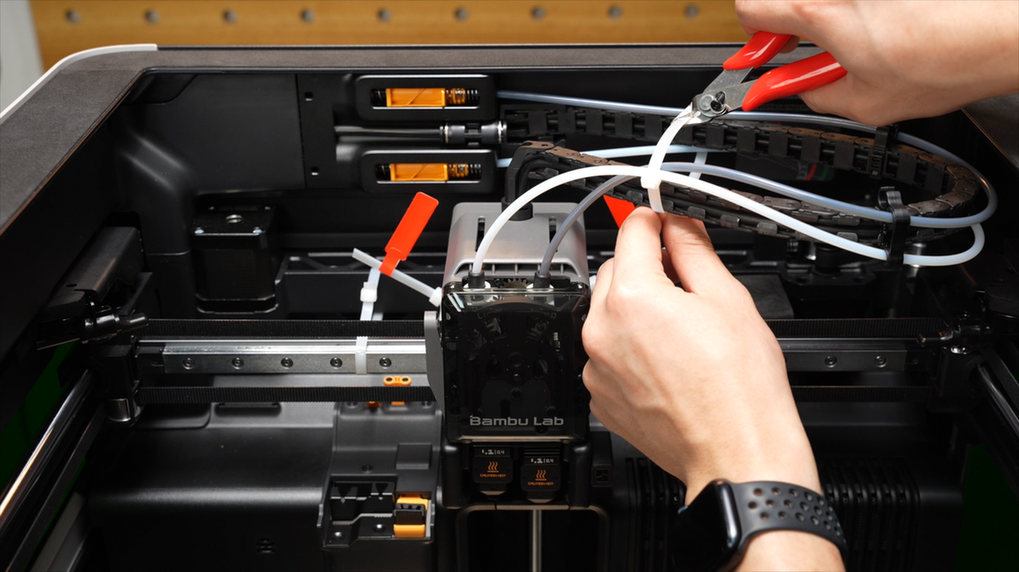
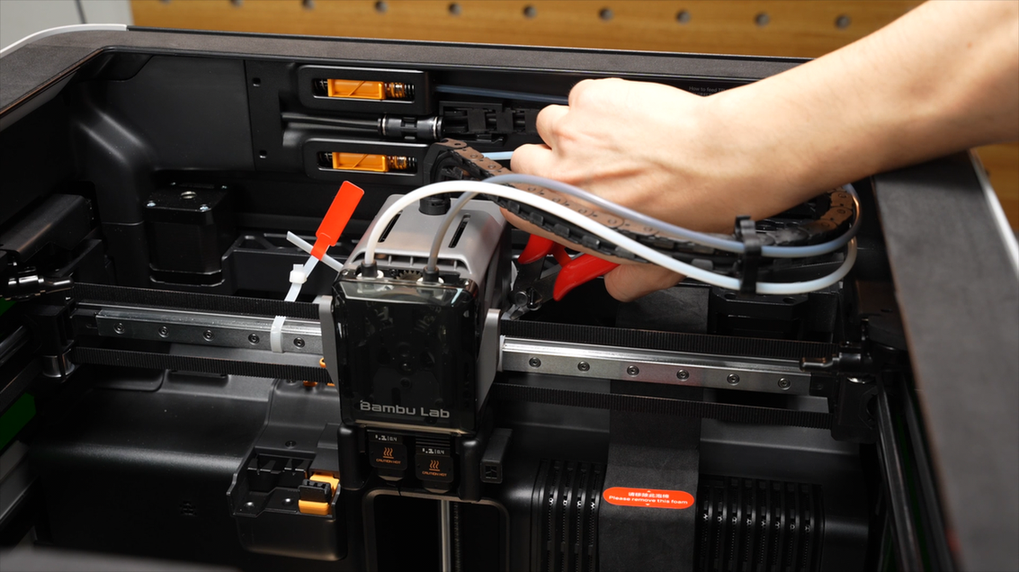
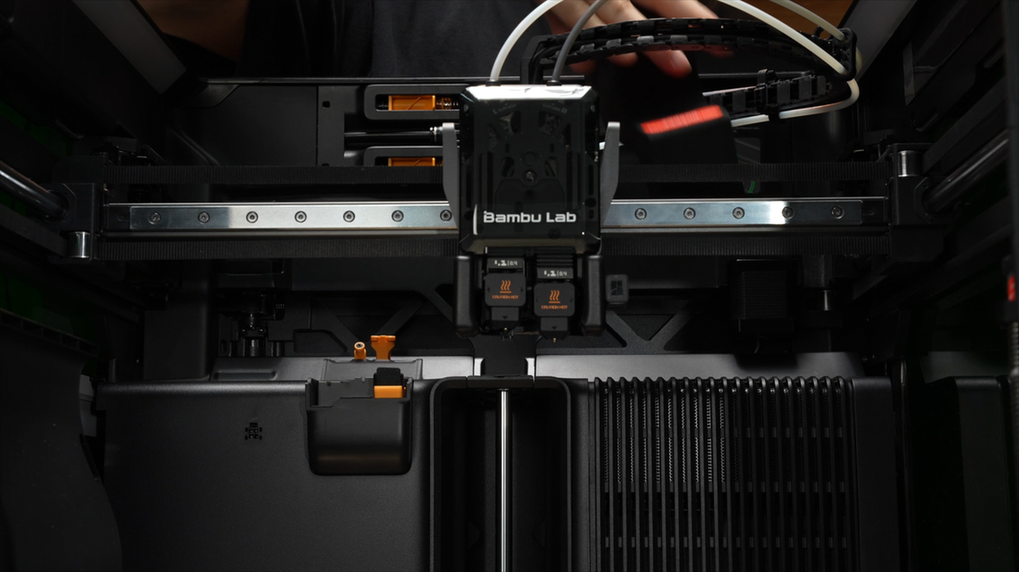
¶ Step 20. Remove the zip ties near the toolhead.
Do not cut the belt!
 |
 |
 |
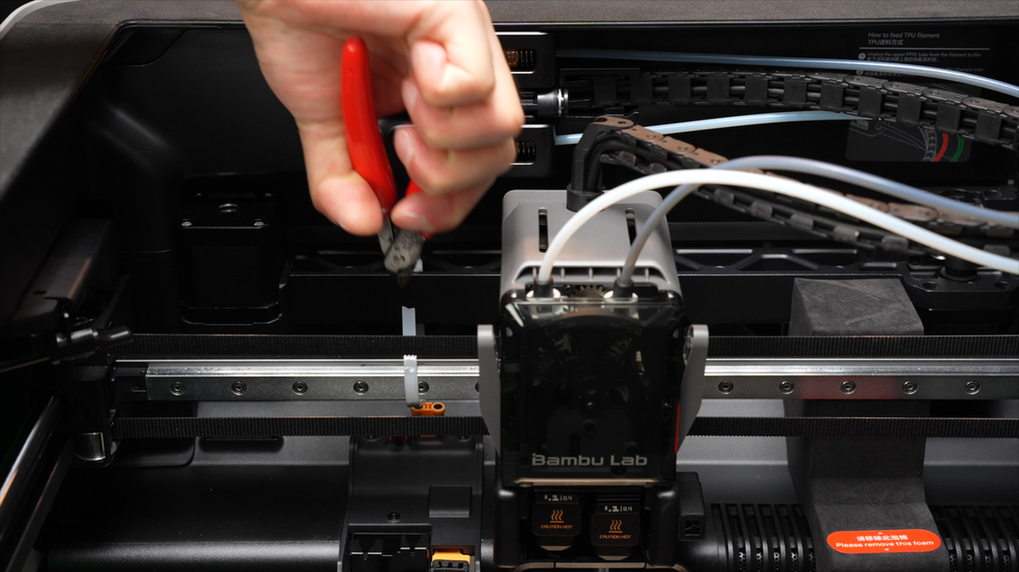 |
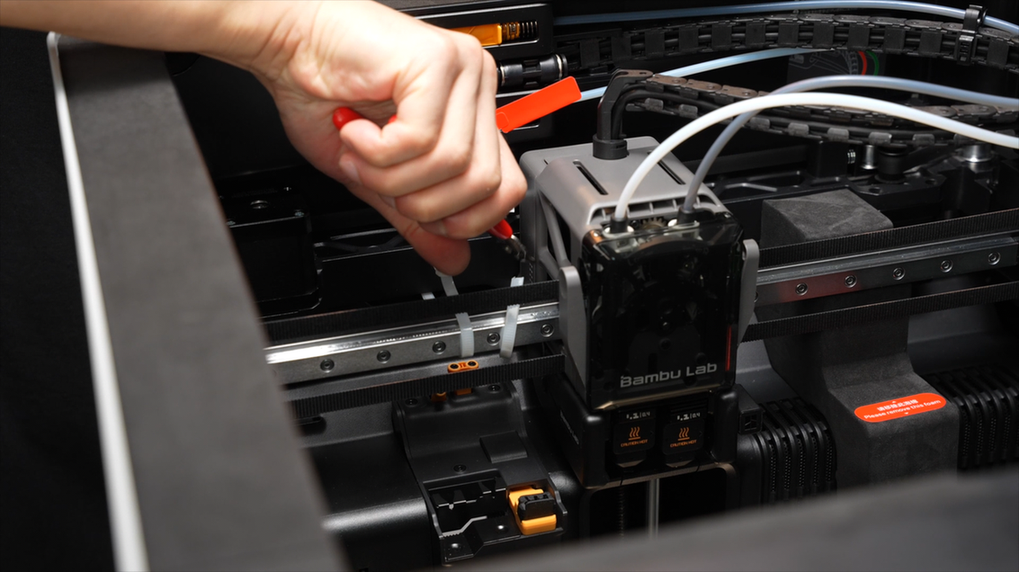
¶ Step 21. Pull the toolhead towards the front door and remove the foam.
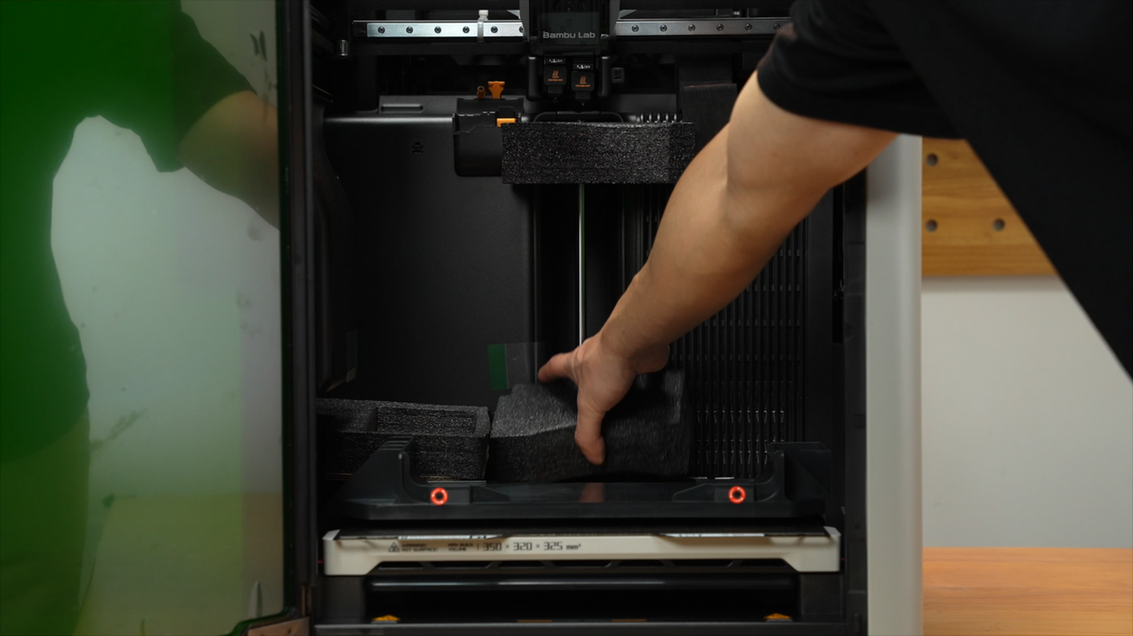
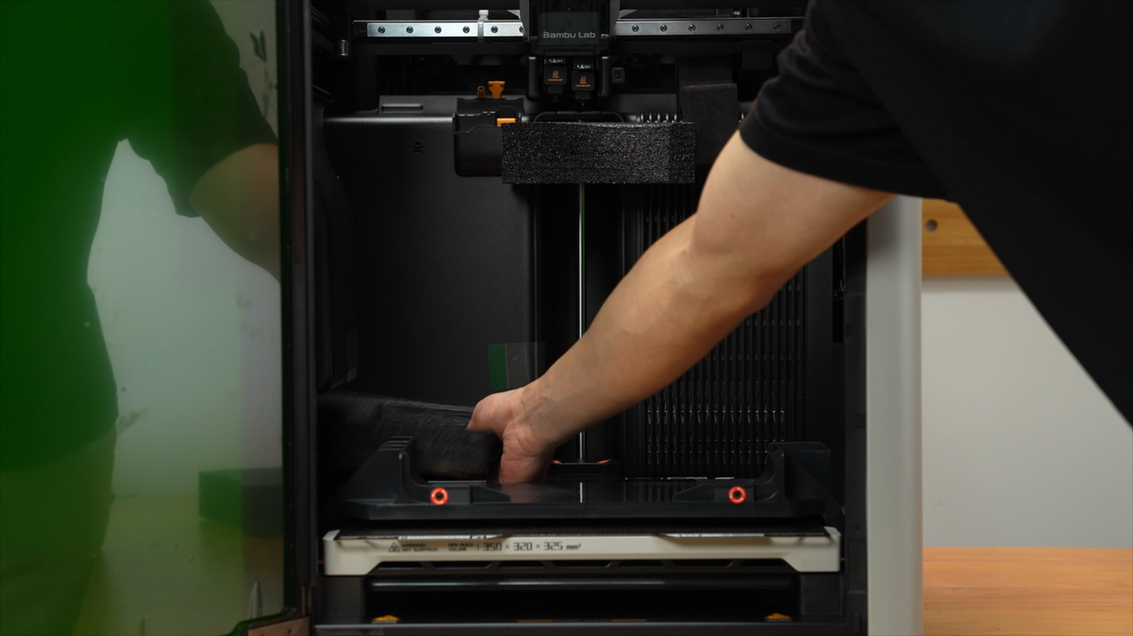
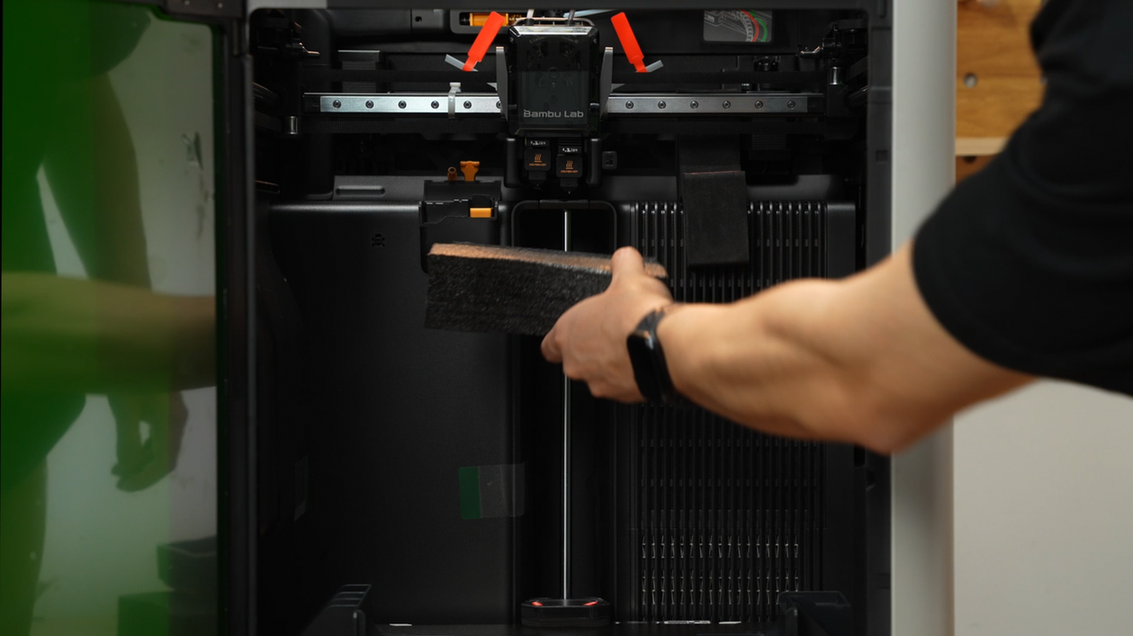
¶ Step 22. Remove the foam pieces on the lead screws.
 |
 |
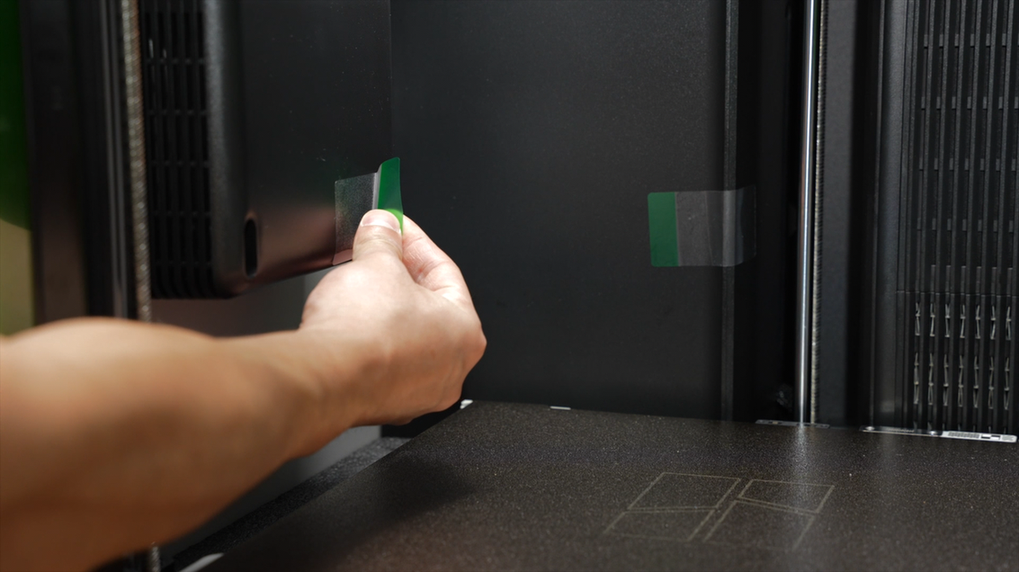
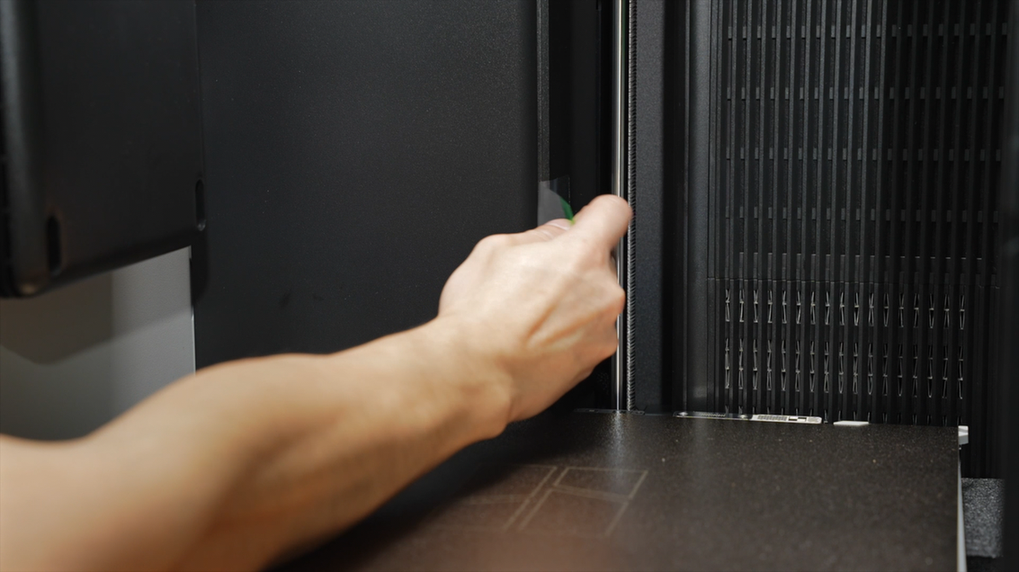
¶ Step 23. Remove the tapes.
 |
 |
¶ Step 24. Place the top cover on top of the printer.
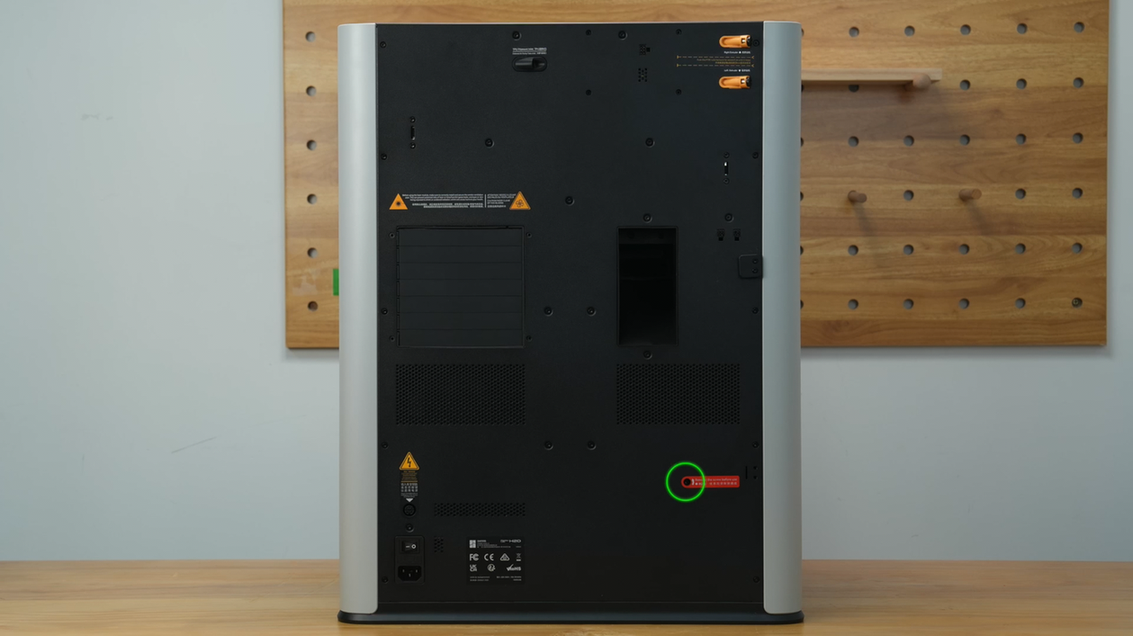
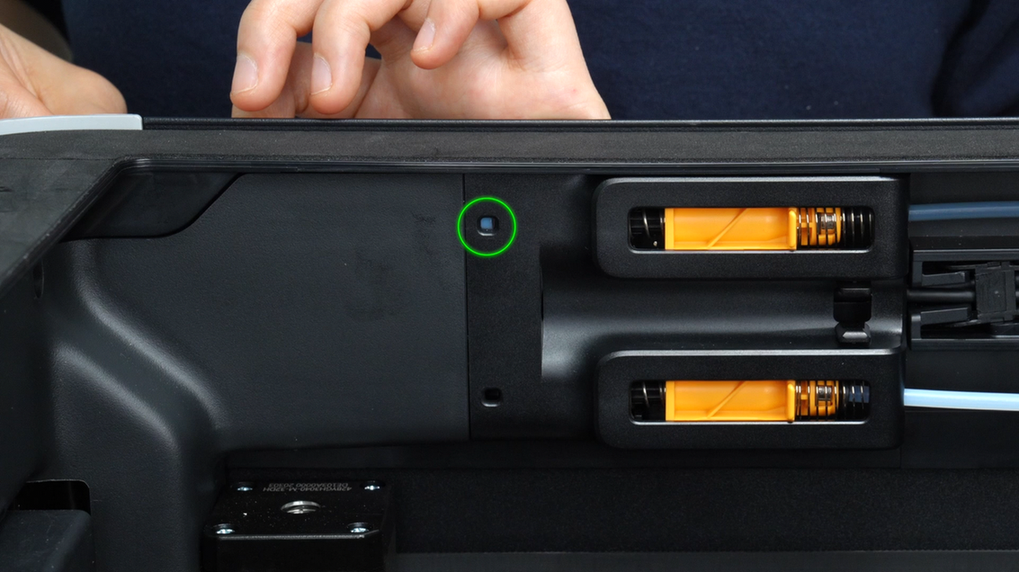
¶ Step 25. Remove the screw securing the air pump. (Only the laser version requires removing this screw; the non-laser version can skip this step.)
Loosen and slowly take the screw out to prevent it from falling inside the printer.
Please loosen the air pump screw before removing the silicone cap. The screw will be extracted along with the cap during this process.
To prevent the screw from falling into the back panel during removal, the silicone cap has been redesigned with a protruding structure. Do not pull off the cap before loosening the screw.
¶ Step 26. Remove the protective film inside the AMS 2 Pro.

- Accessories inside the AMS 2 Pro for the AMS combo:
- Accessories inside the AMS 2 Pro for the laser full combo:
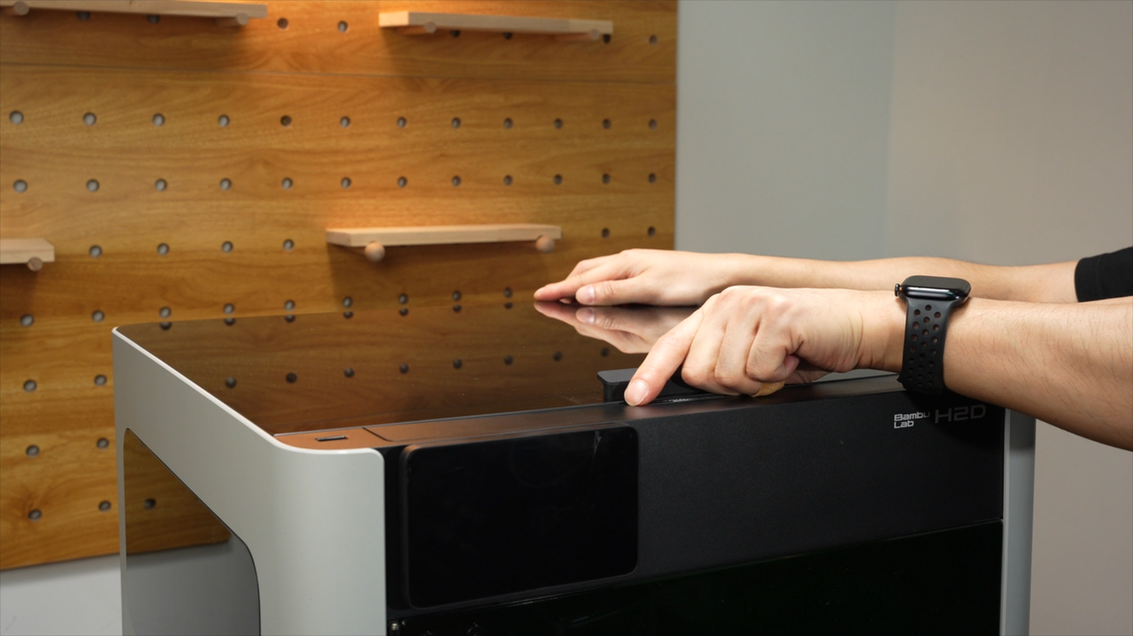
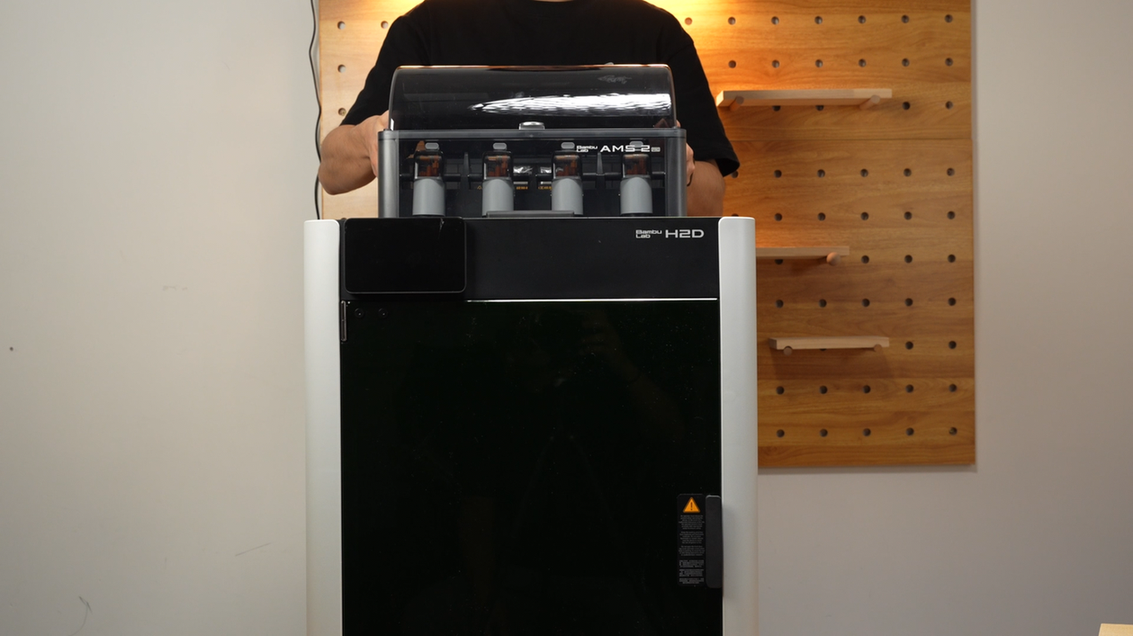
¶ Step 27. Place the AMS 2 Pro on top of the printer.
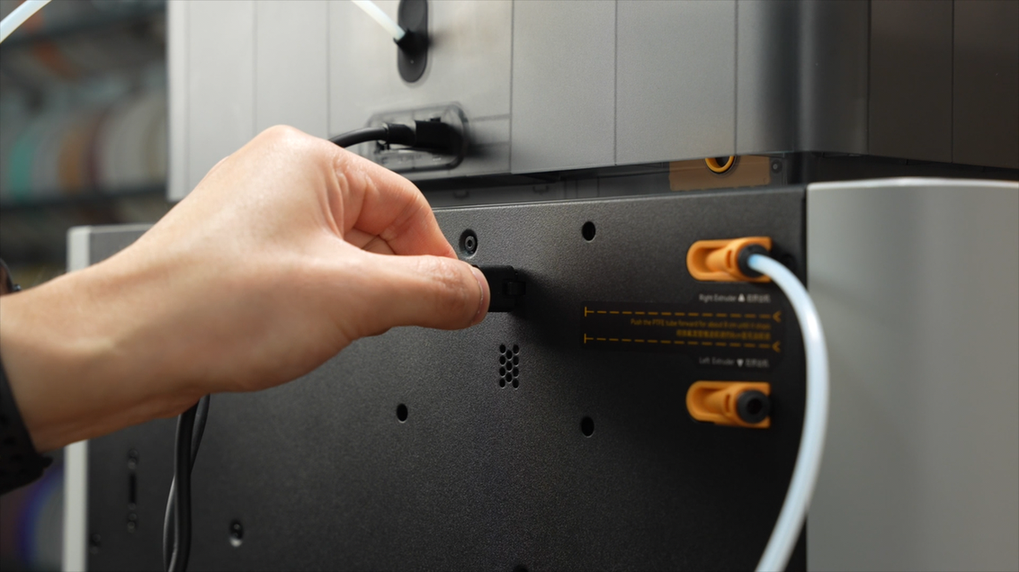
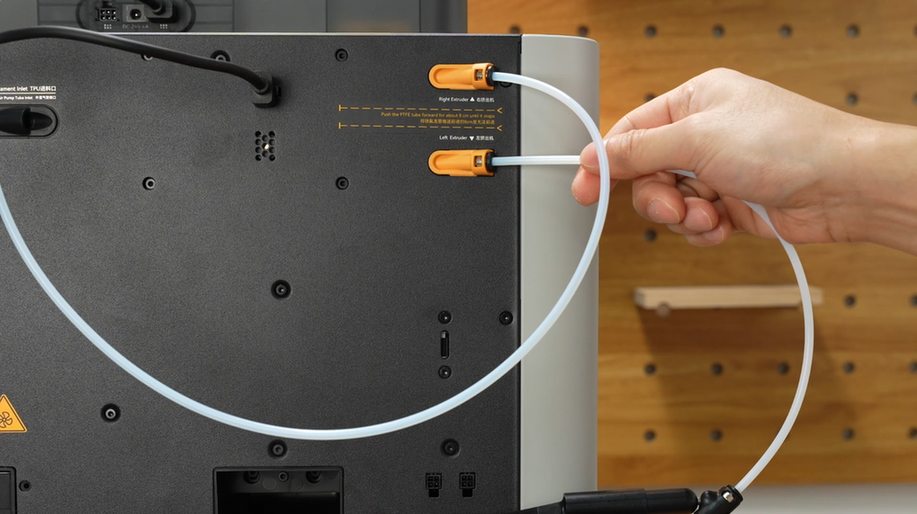
¶ Step 28. Insert one end of the PTFE tube in to the filament outlet of the AMS 2 Pro.
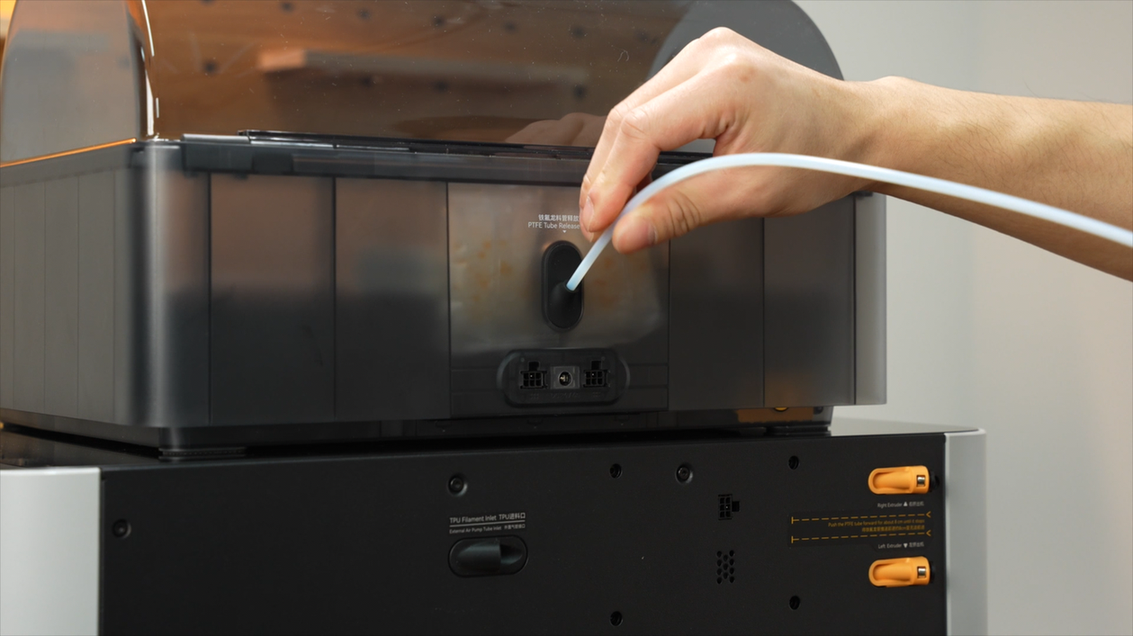
¶ Step 29. Insert the other end into any coupler of the printer. Push until the tube cannot move forward. The tube is fully inserted if can be seen from the window on the buffer.
 |
 |
Note:
Due to the differences in the length of the tube in different batches and versions of the whole printer configuration, under the premise of ensuring that the loading resistance meets the requirements, appropriately shortening the length of the tube can effectively reduce the printing time.
After testing and verification, the length of the tube from the AMS to the H2D is recommended to be no less than 600mm to ensure the best working condition of the equipment.
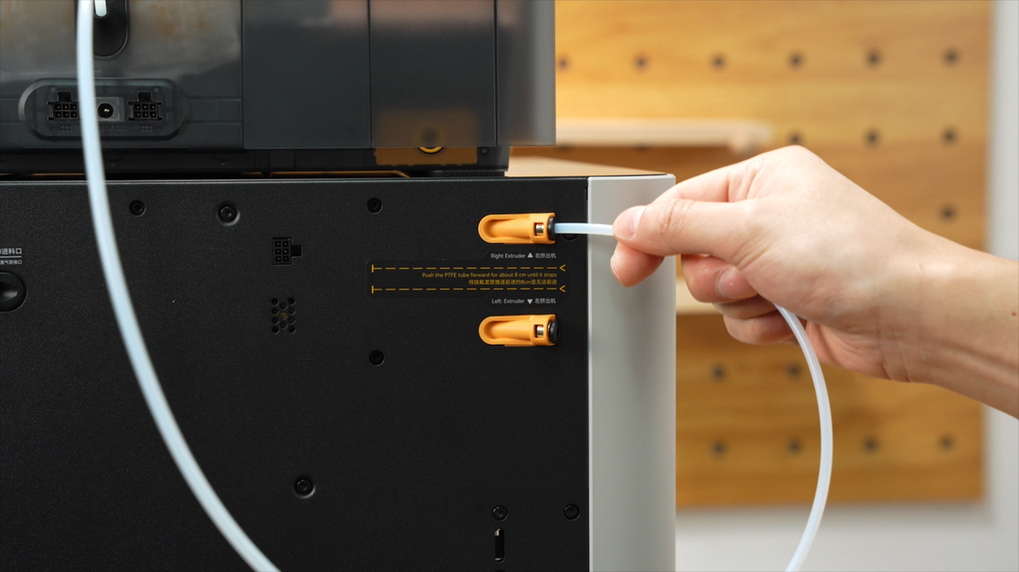
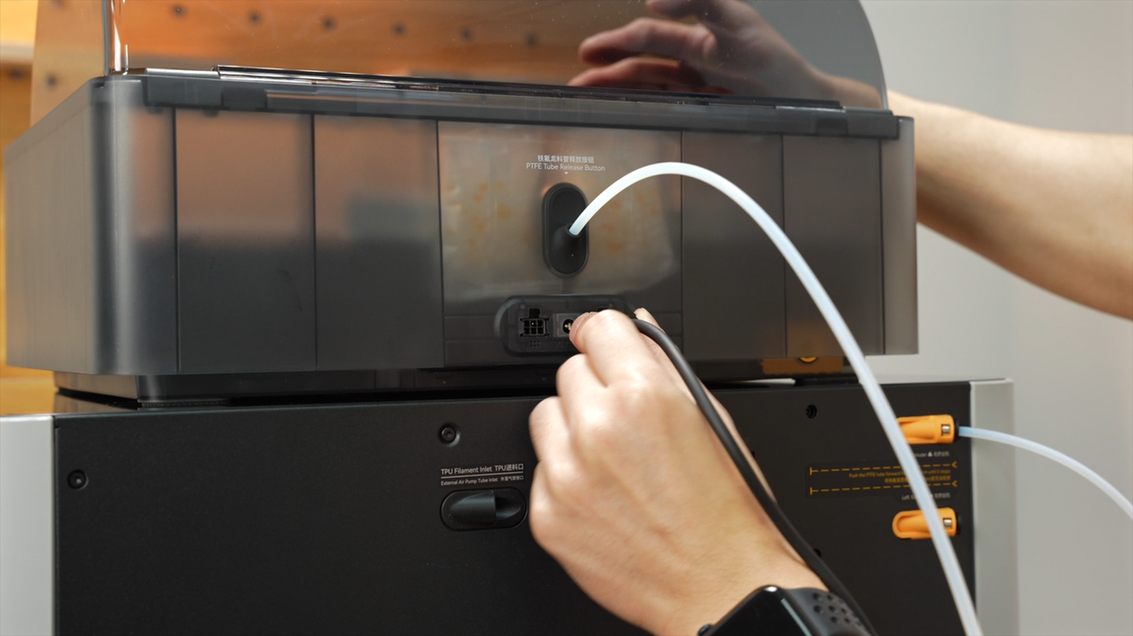
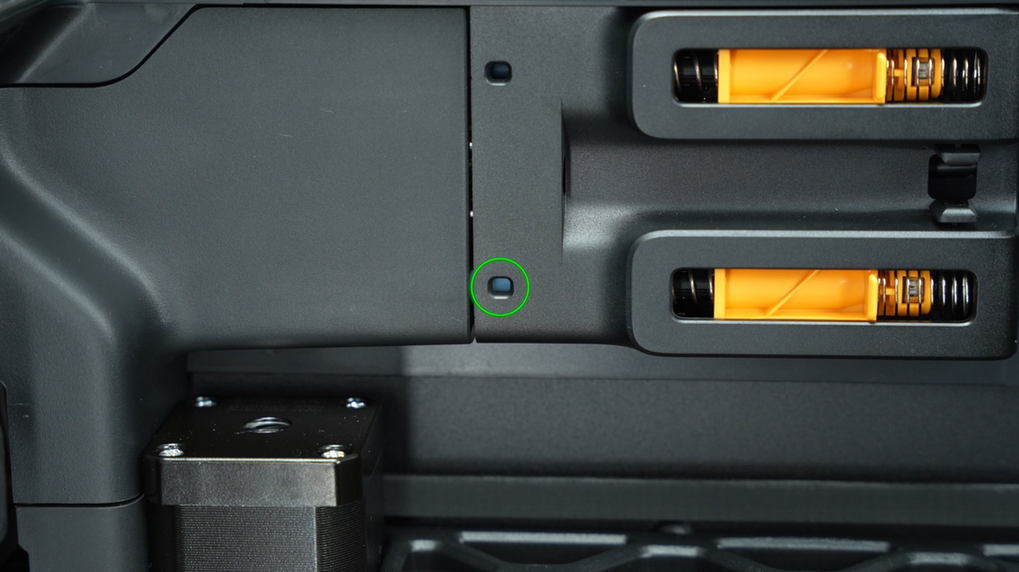
¶ Step 30. Insert the 6-pin cable into any port of the AMS 2 Pro and the other end into the printer.
 |
 |
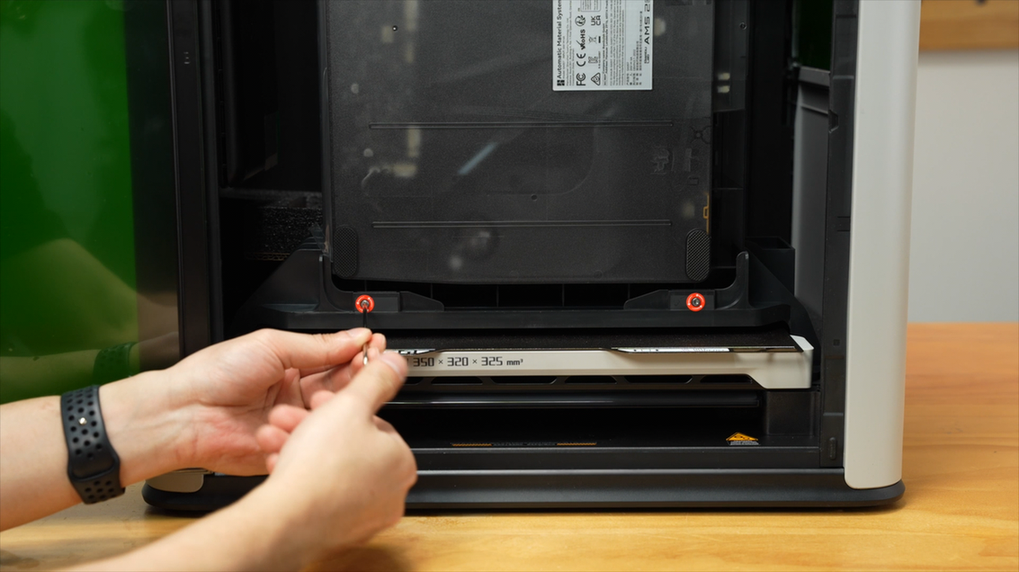
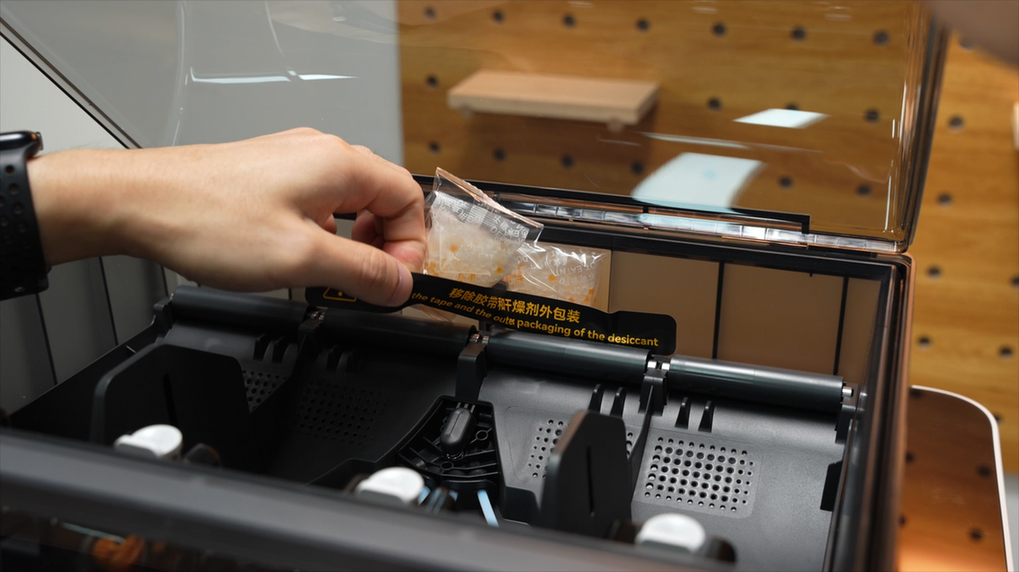
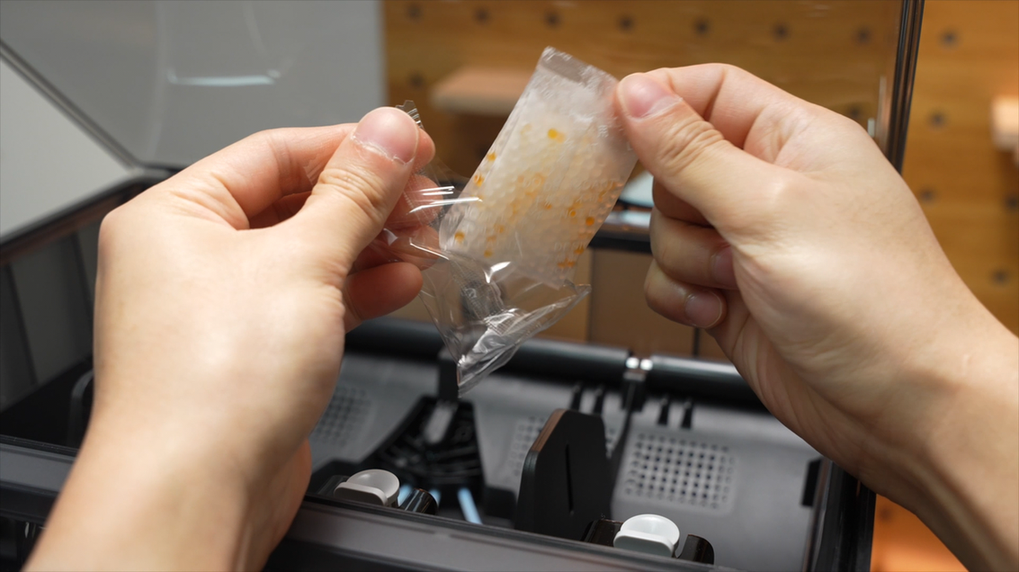
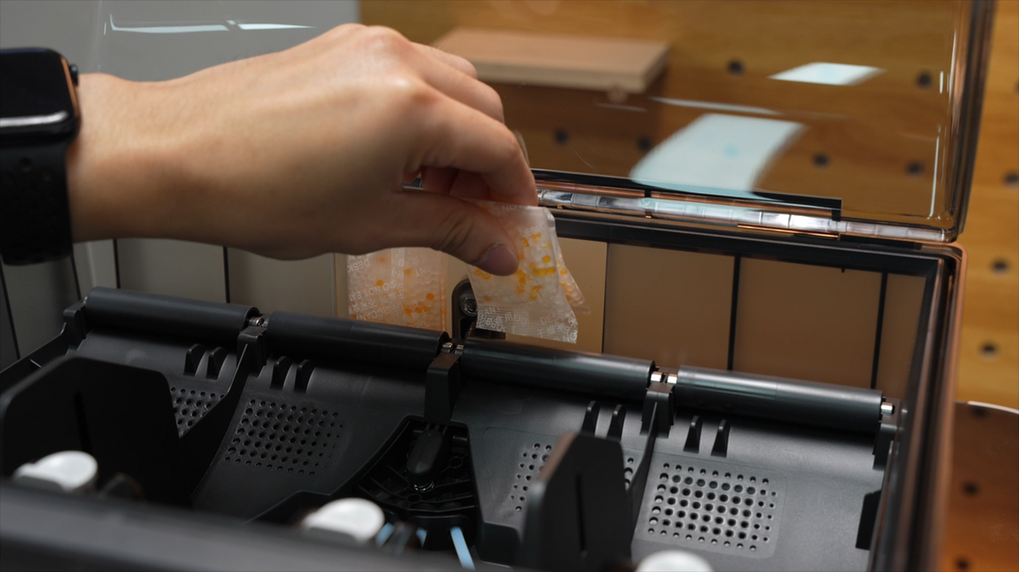
¶ Step 31. Take out the desiccant packs. Remove the packaging material and place them in the original place.
 |
 |
 |
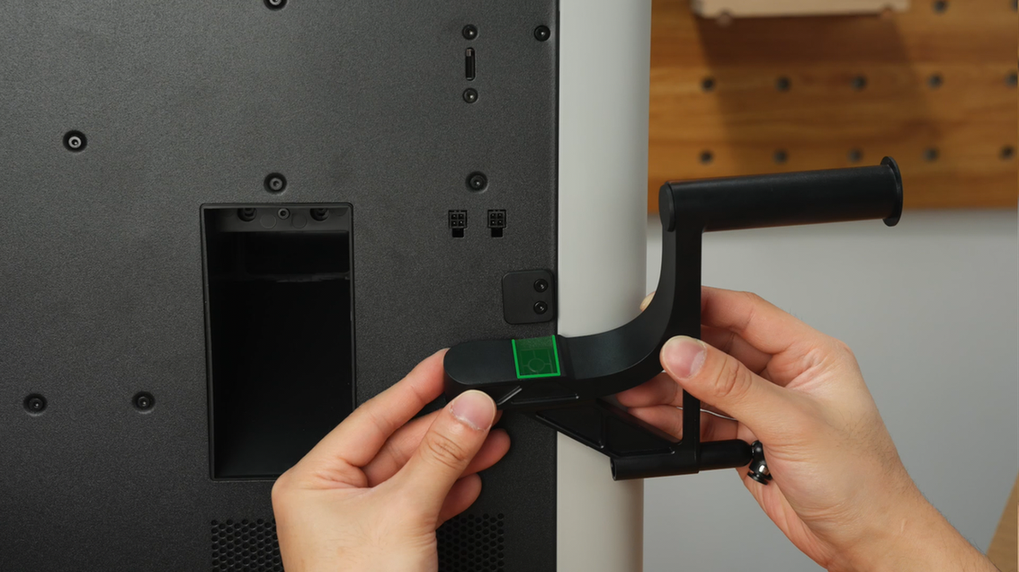
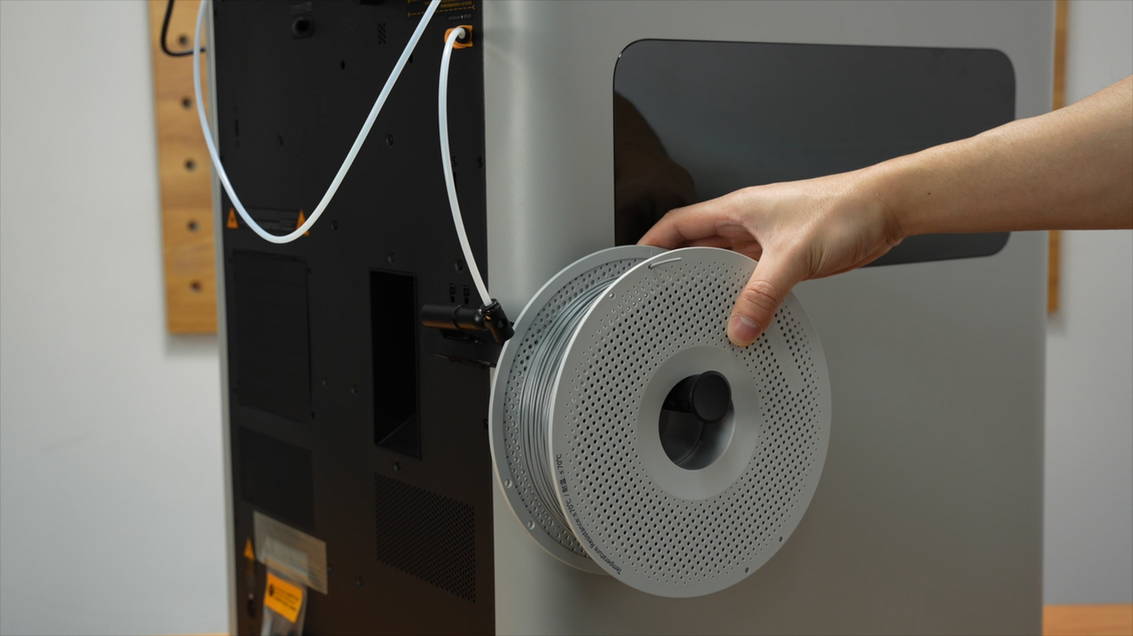
¶ Step 32. Align the slot and slide the spool holder in place.
 |
 |
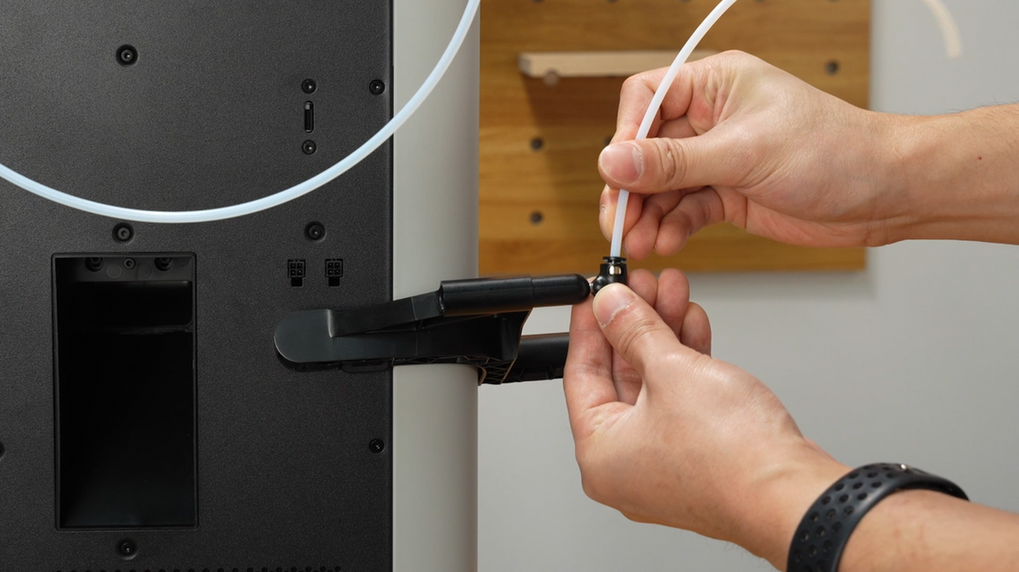
¶ Step 33. Insert one end of the PTFE tube into the spool holder, and the other end to the other coupler of the printer. Push the tube until it cannot move forward. The tube is fully inserted if can be seen from the window on the buffer.
 |
 |
 |
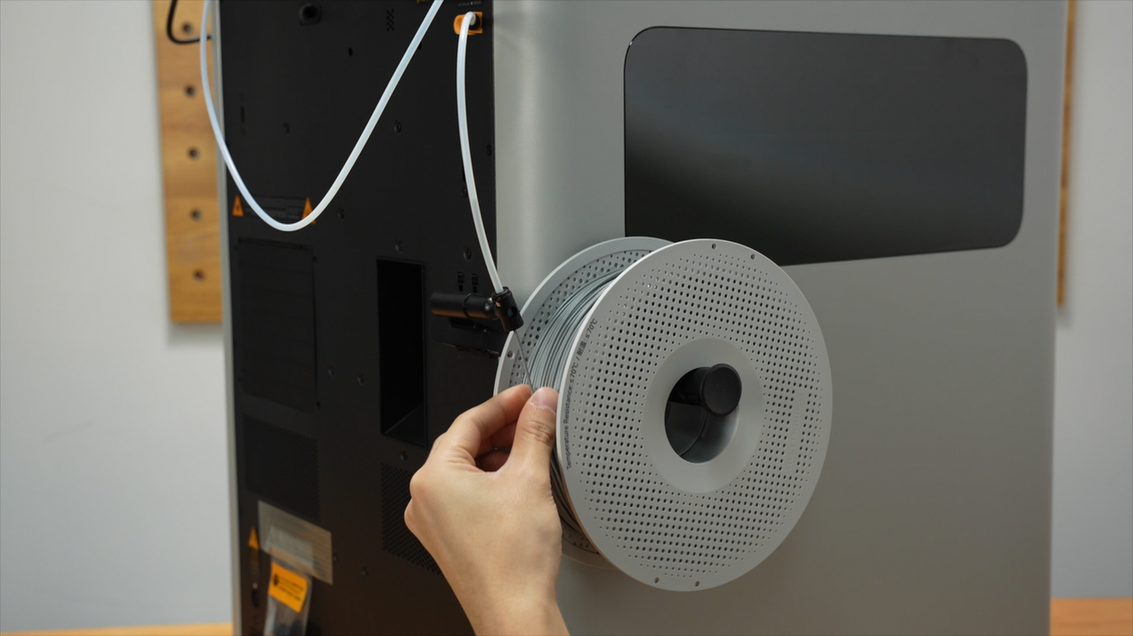
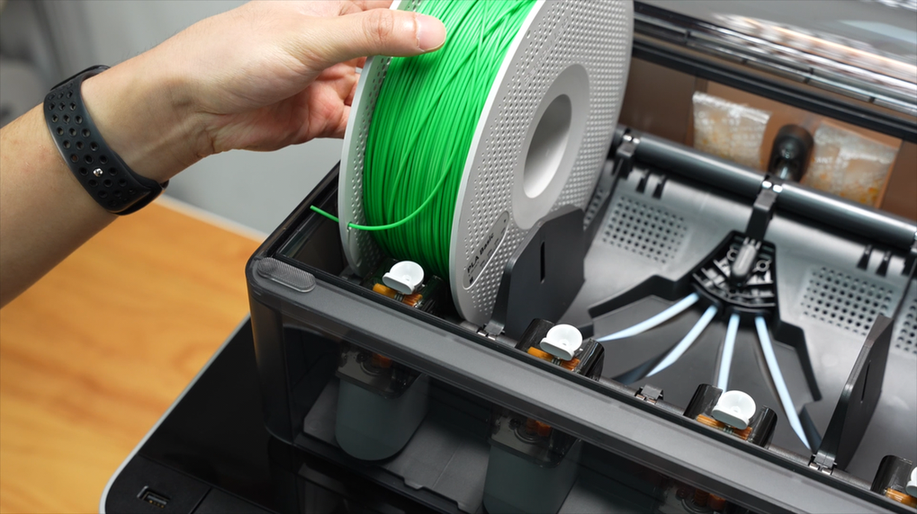
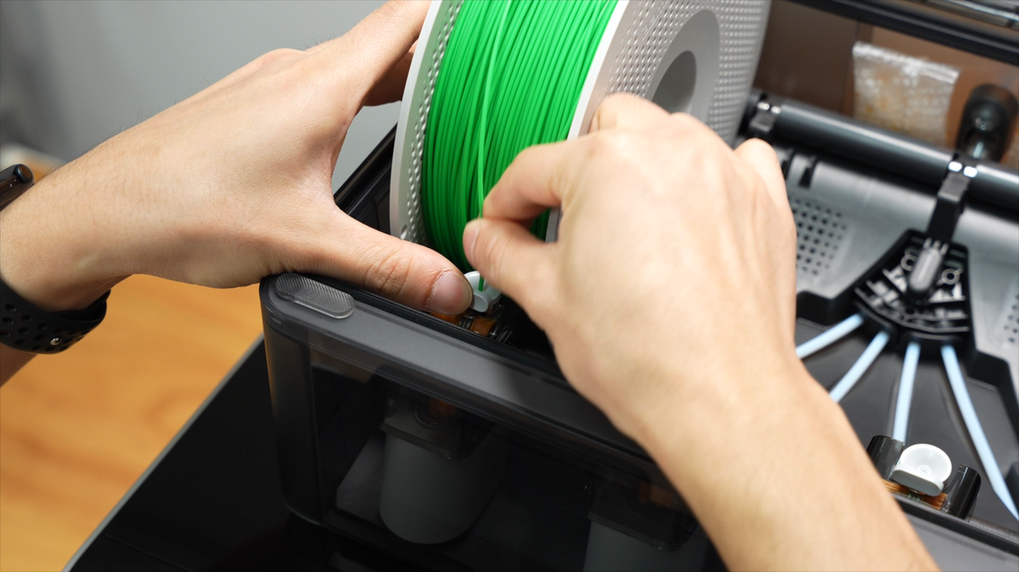
¶ Step 34. Place a spool of filament on the spool holder. Insert and push the filament into the PTFE Tube until it cannot move forward.
 |
 |
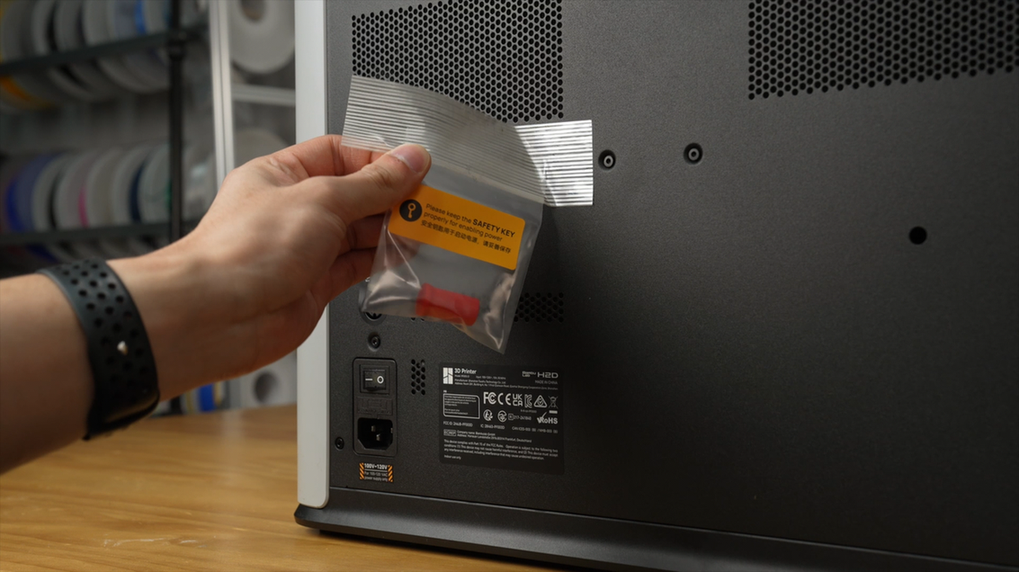
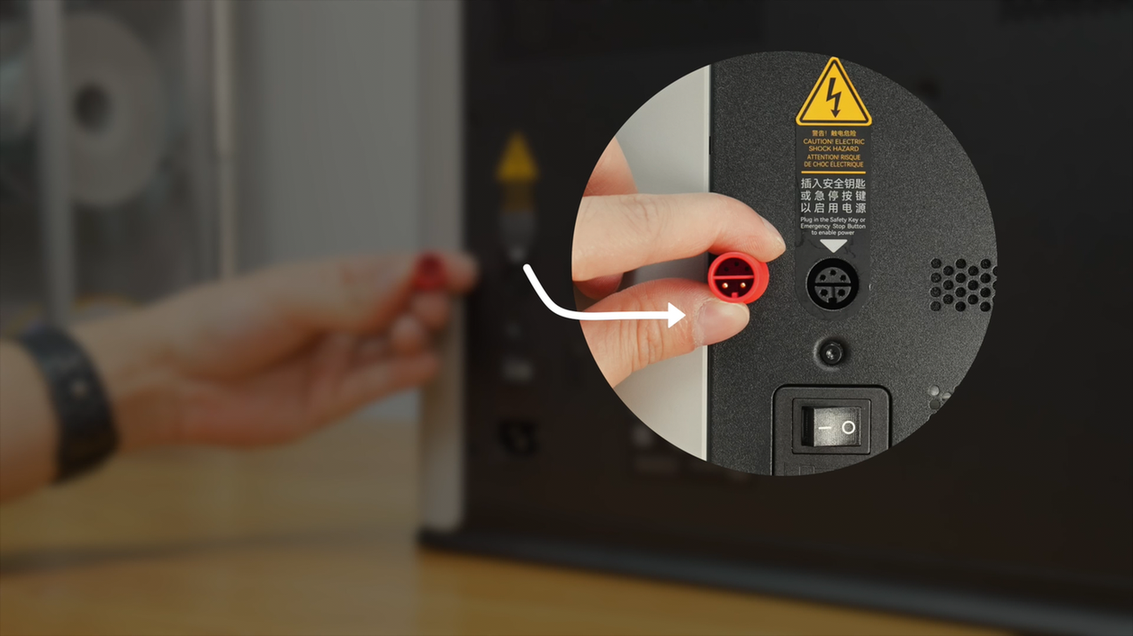
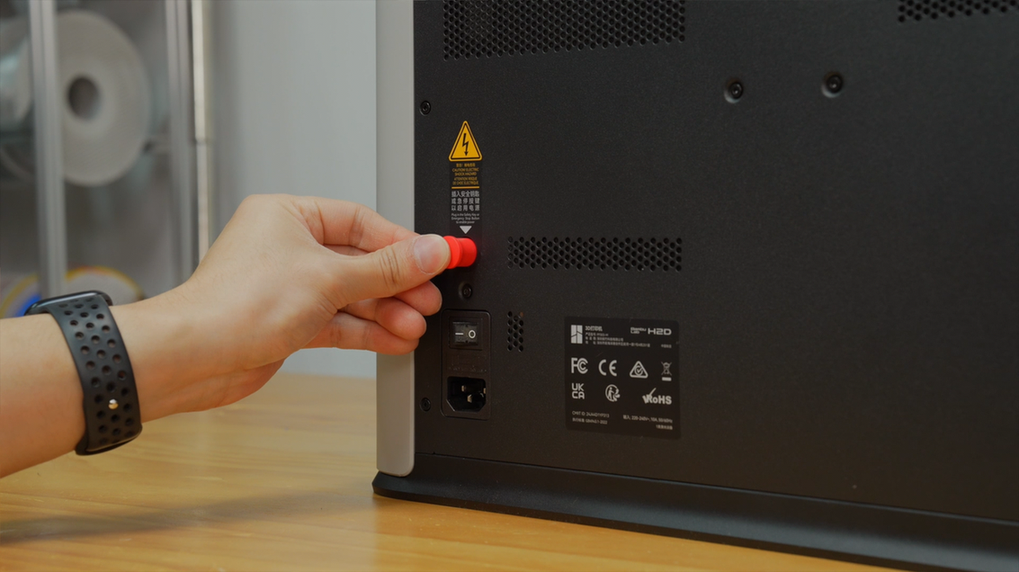
¶ Step 35. Take out the safety key on the back. Align and insert the safety key.
 |
 |
 |
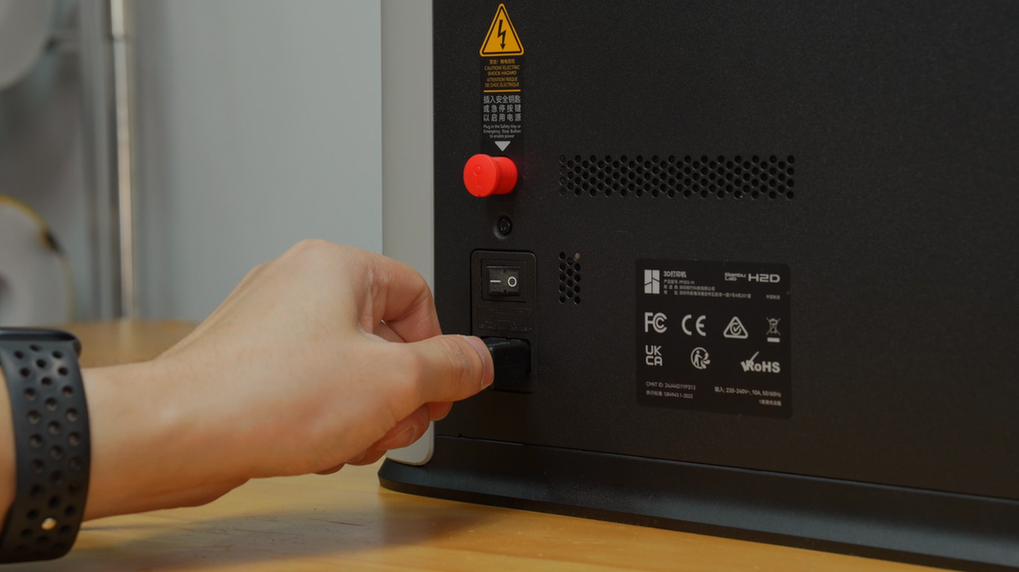
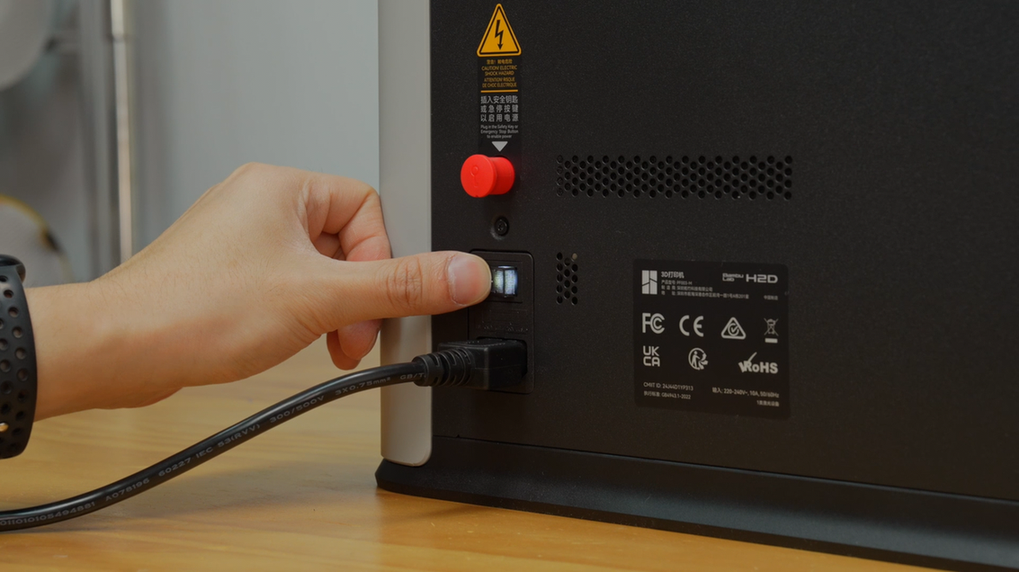
¶ Step 36. Insert the power cord and switch on the printer.
 |
 |
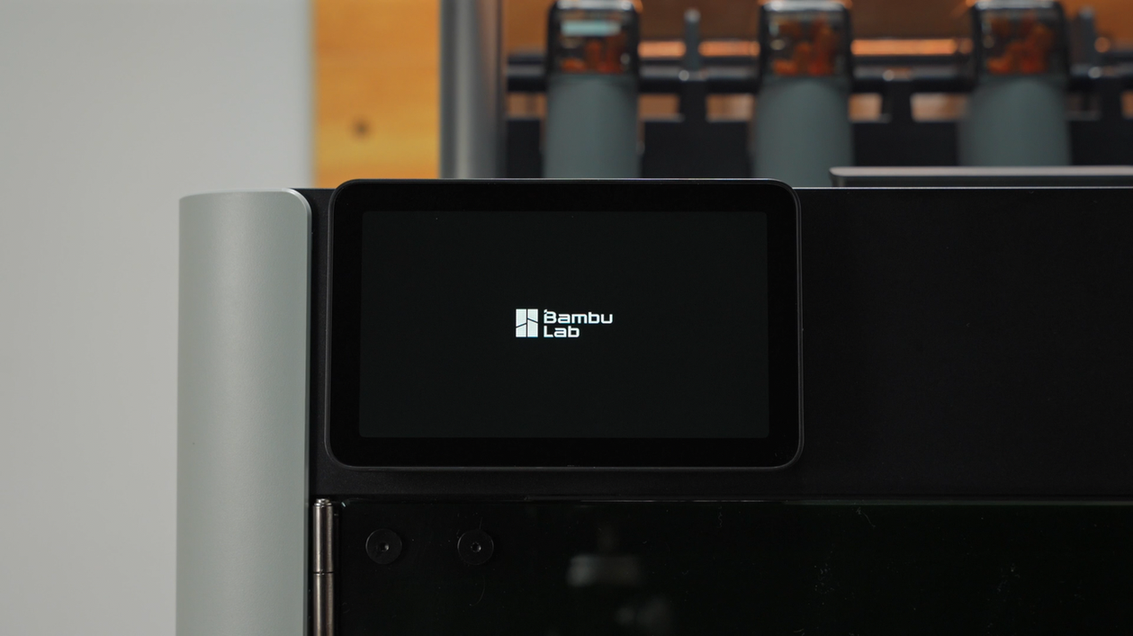
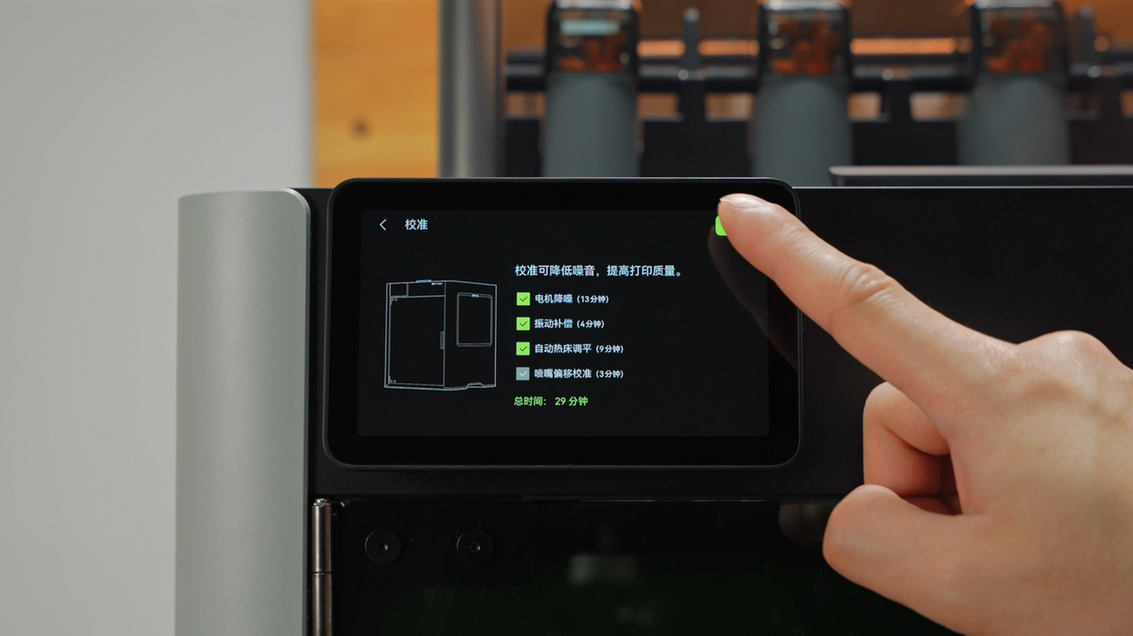
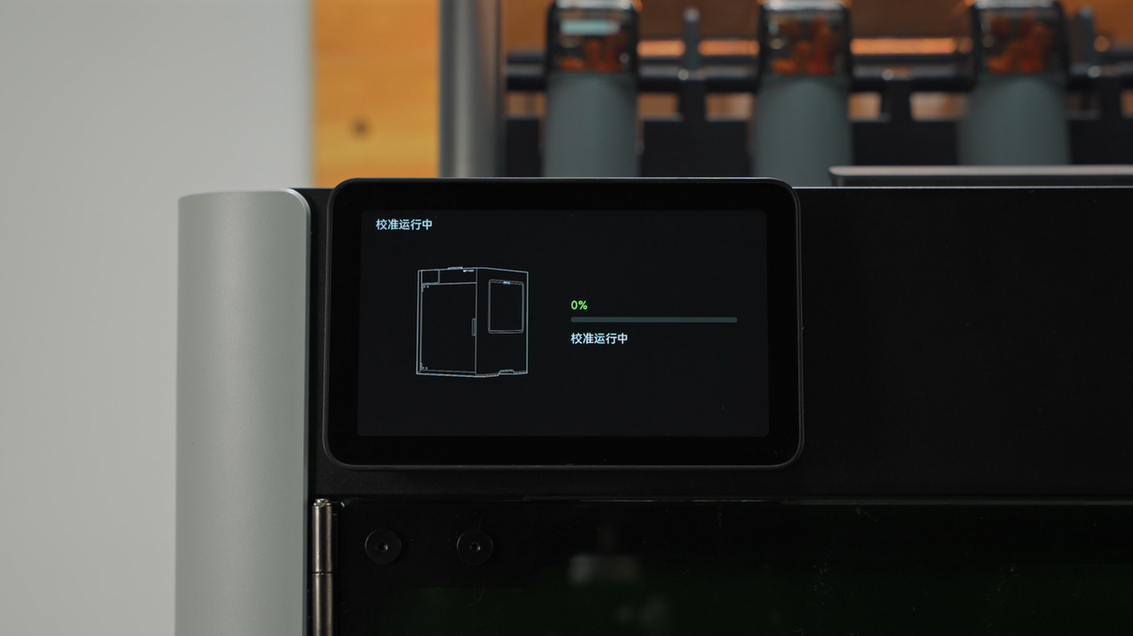
¶ Step 37. Follow the instructions to perform first calibration.
 |
 |
 |
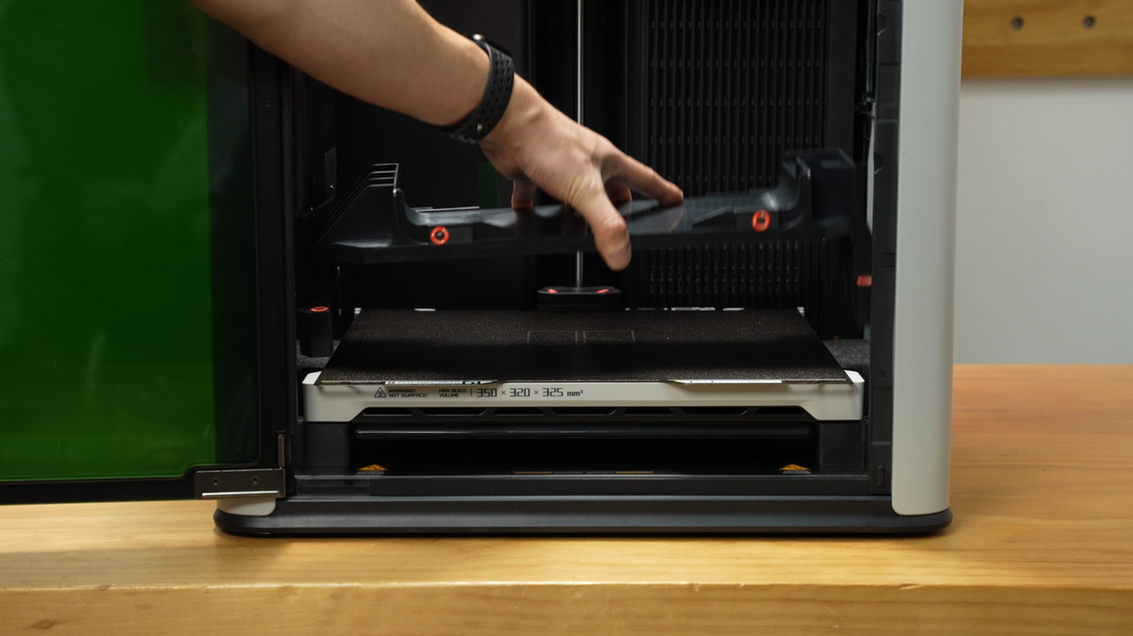
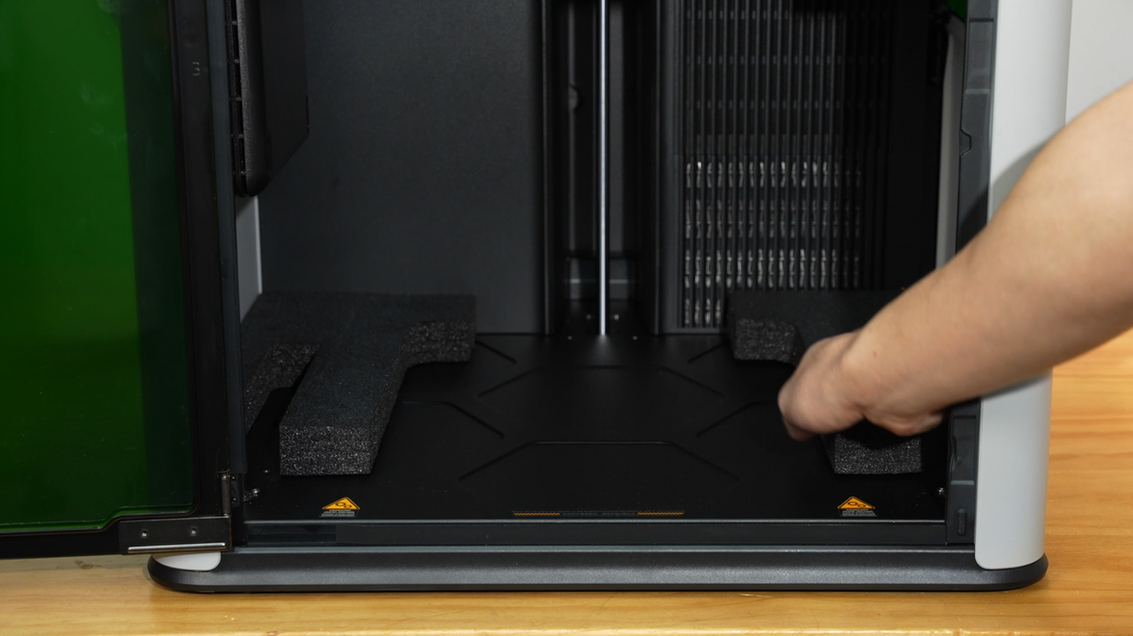
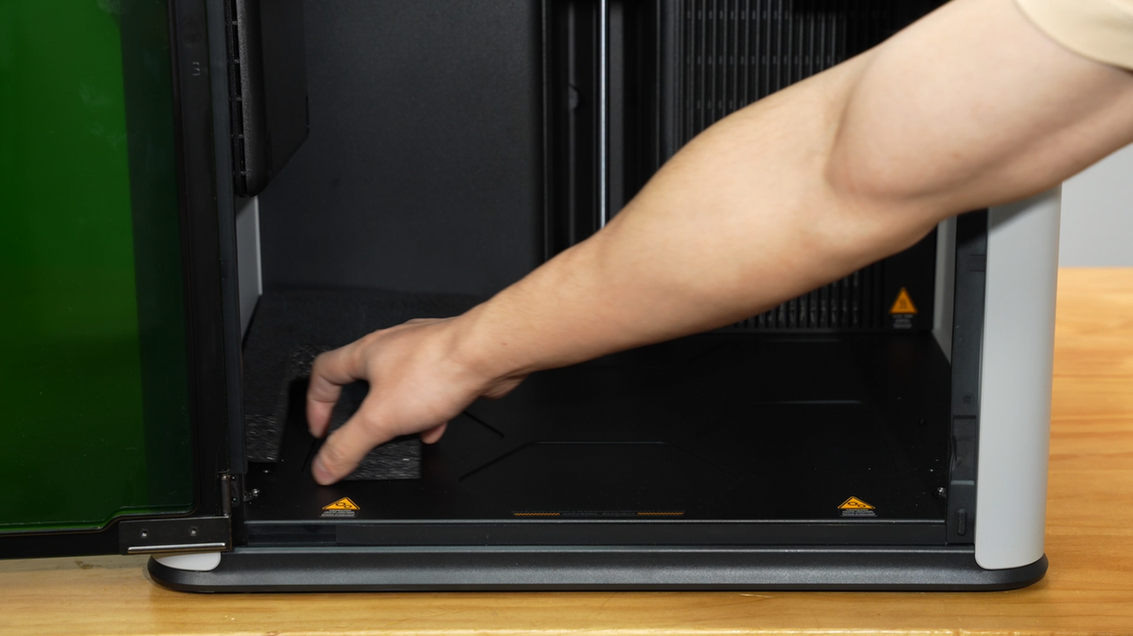
¶ Step 38. After calibration completes, take out the foam pieces under the heatbed.
 |
 |
¶ Step 39. Place a filament spool in the AMS 2 Pro. Push the feeder tab and insert filament so that the AMS 2 Pro can pre-load it.
 |
 |
When the LED light is on, the AMS 2 Pro is ready to print.
¶ End Notes
We hope the detailed guide provided has been helpful and informative.
If this guide does not solve your problem, please submit a technical ticket, we will answer your questions and provide assistance.
If you have any suggestions or feedback on this Wiki, please leave a message in the comment area. Thank you for your support and attention!