¶ Applicable Scenario
-
The printer reports extruder motor overload, air printing, or no error but it can be observed that the hotend is unable to extrude filament.
-
Printing with non-TPU filament.
-
If a clogging occurs when using TPU, we recommend that you refer to the H2D TPU filament clogging wiki for troubleshooting; click here
¶ Possible Locations of Clogging
-
Extrusion components (including the extruder idlers, gap between the drive gear and extruder idler, and extruder filament guide)
-
Hotend
¶ Video Guide
¶ Troubleshooting Steps
Before troubleshooting, please retry once to see if printing can be restored normally. If the issue persists, then proceed with the following troubleshooting steps.
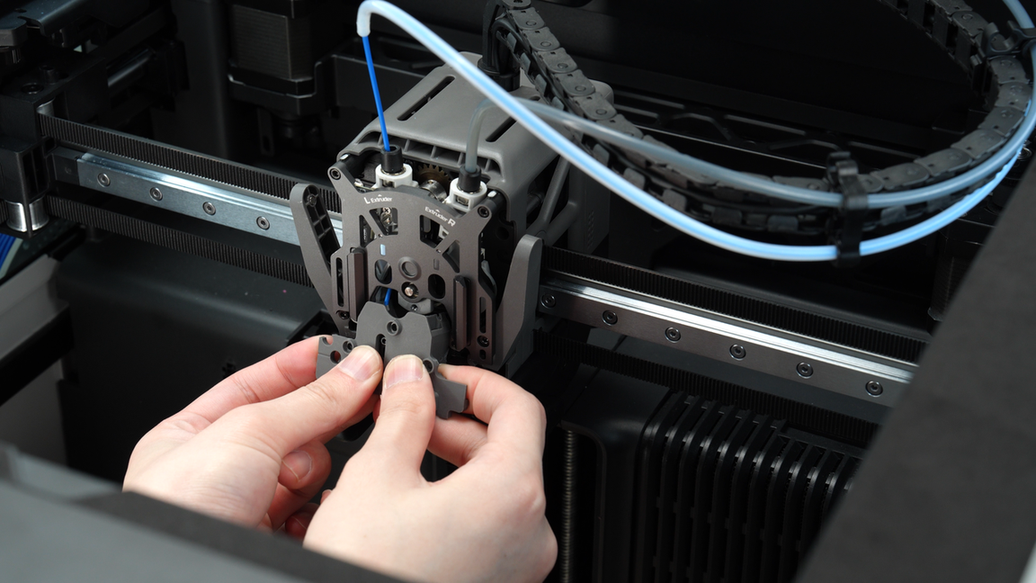
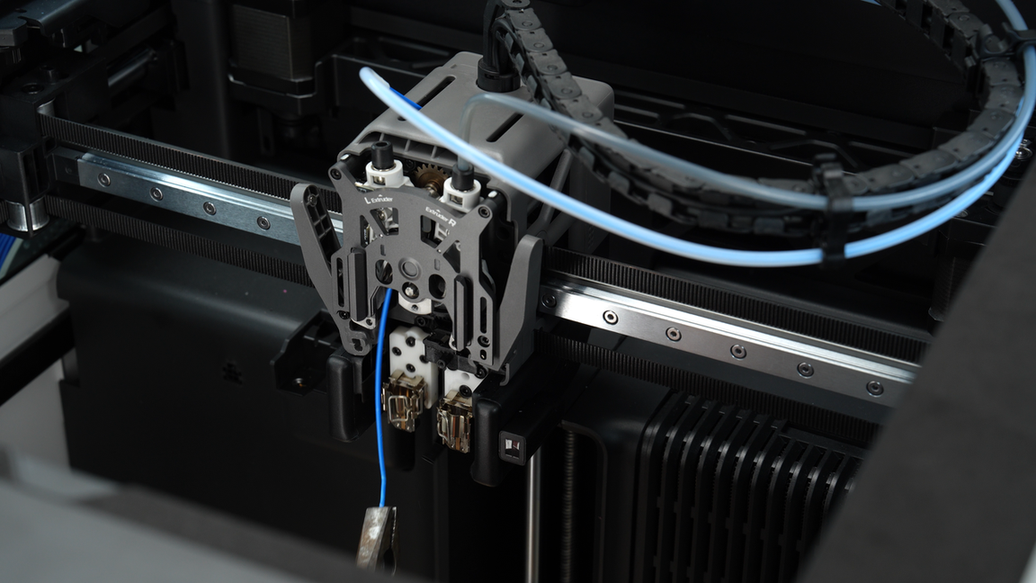
¶ Step 1. Remove the Hotend
Open the front door and remove the top cover. Pinch both sides of the toolhead front cover at the top and remove it.
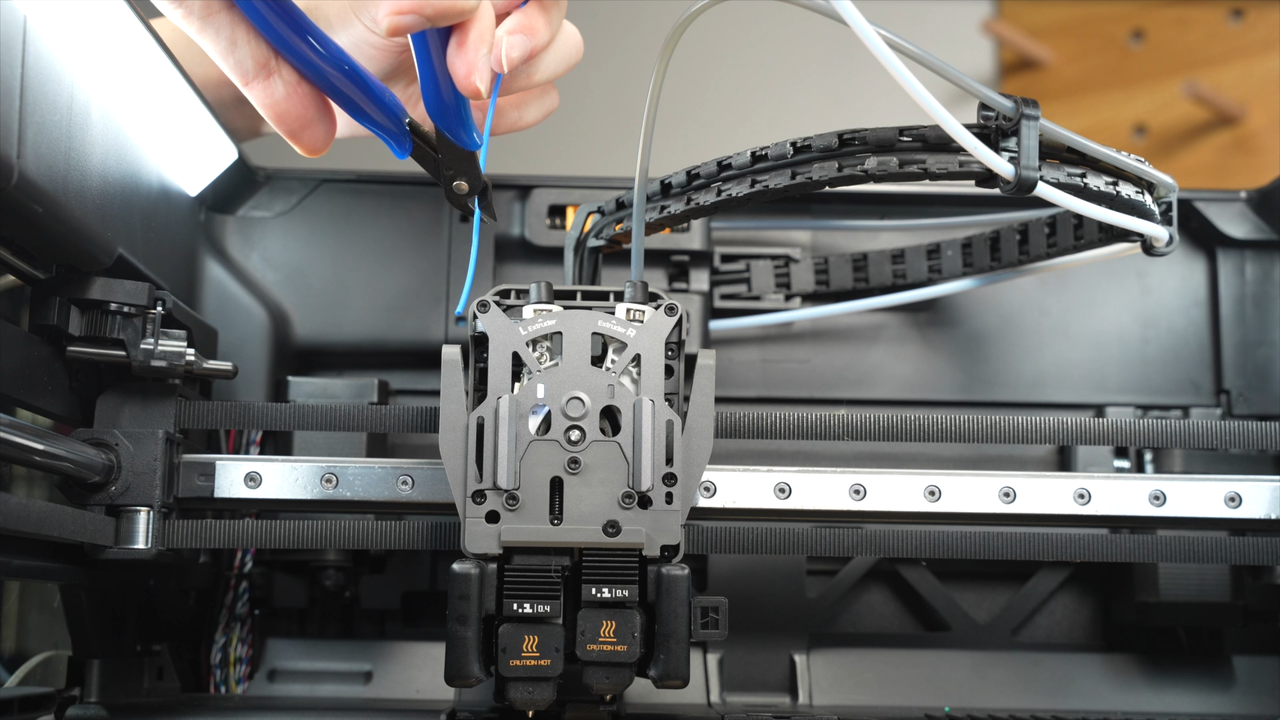
Ensure the hotend temperature has cooled down to room temperature. Press the cutter to cut the filament.
Please make sure to wait until the hotend has fully cooled to room temperature before cutting the filament, otherwise secondary clogging may occur at the cutter.
Then remove the silicone sock.
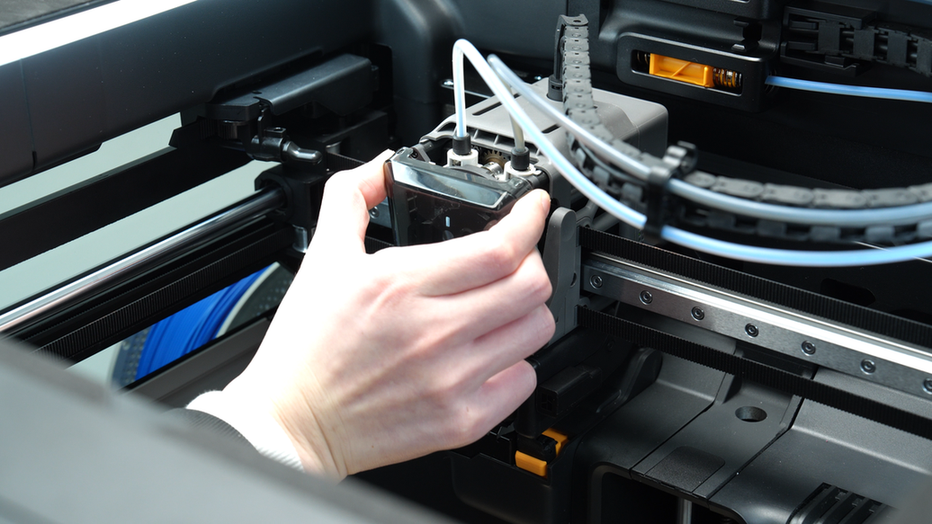
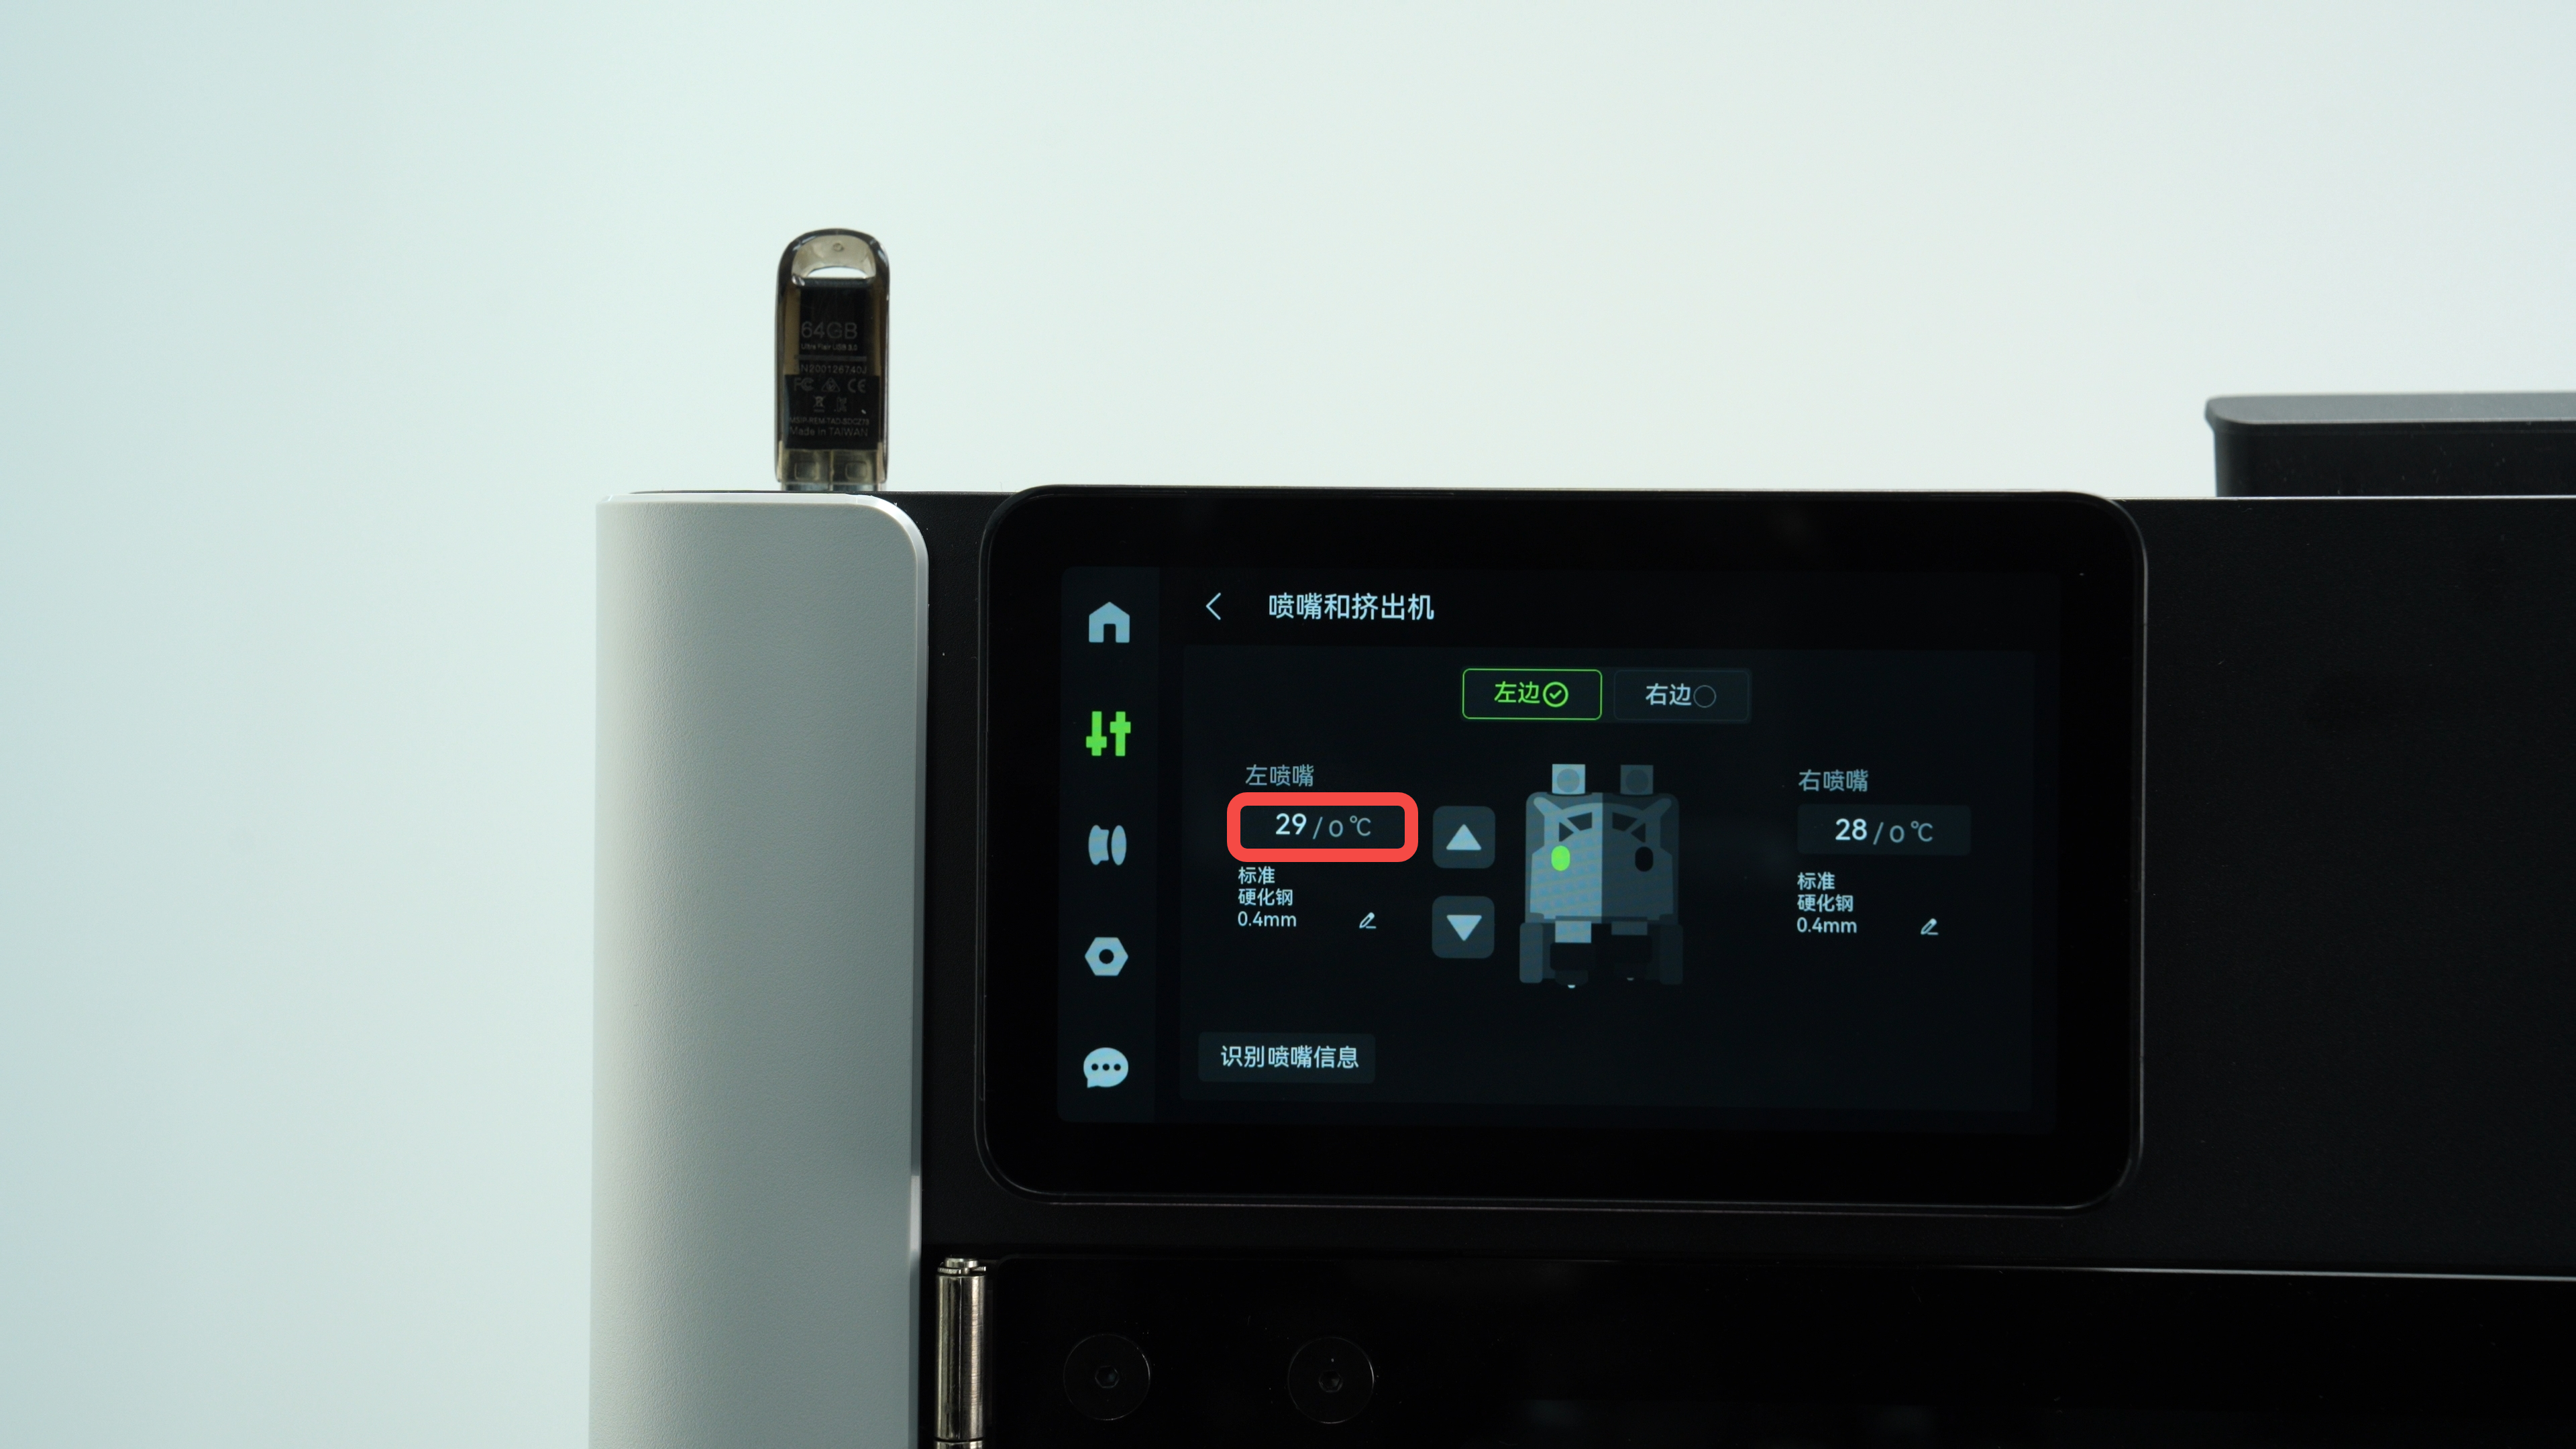
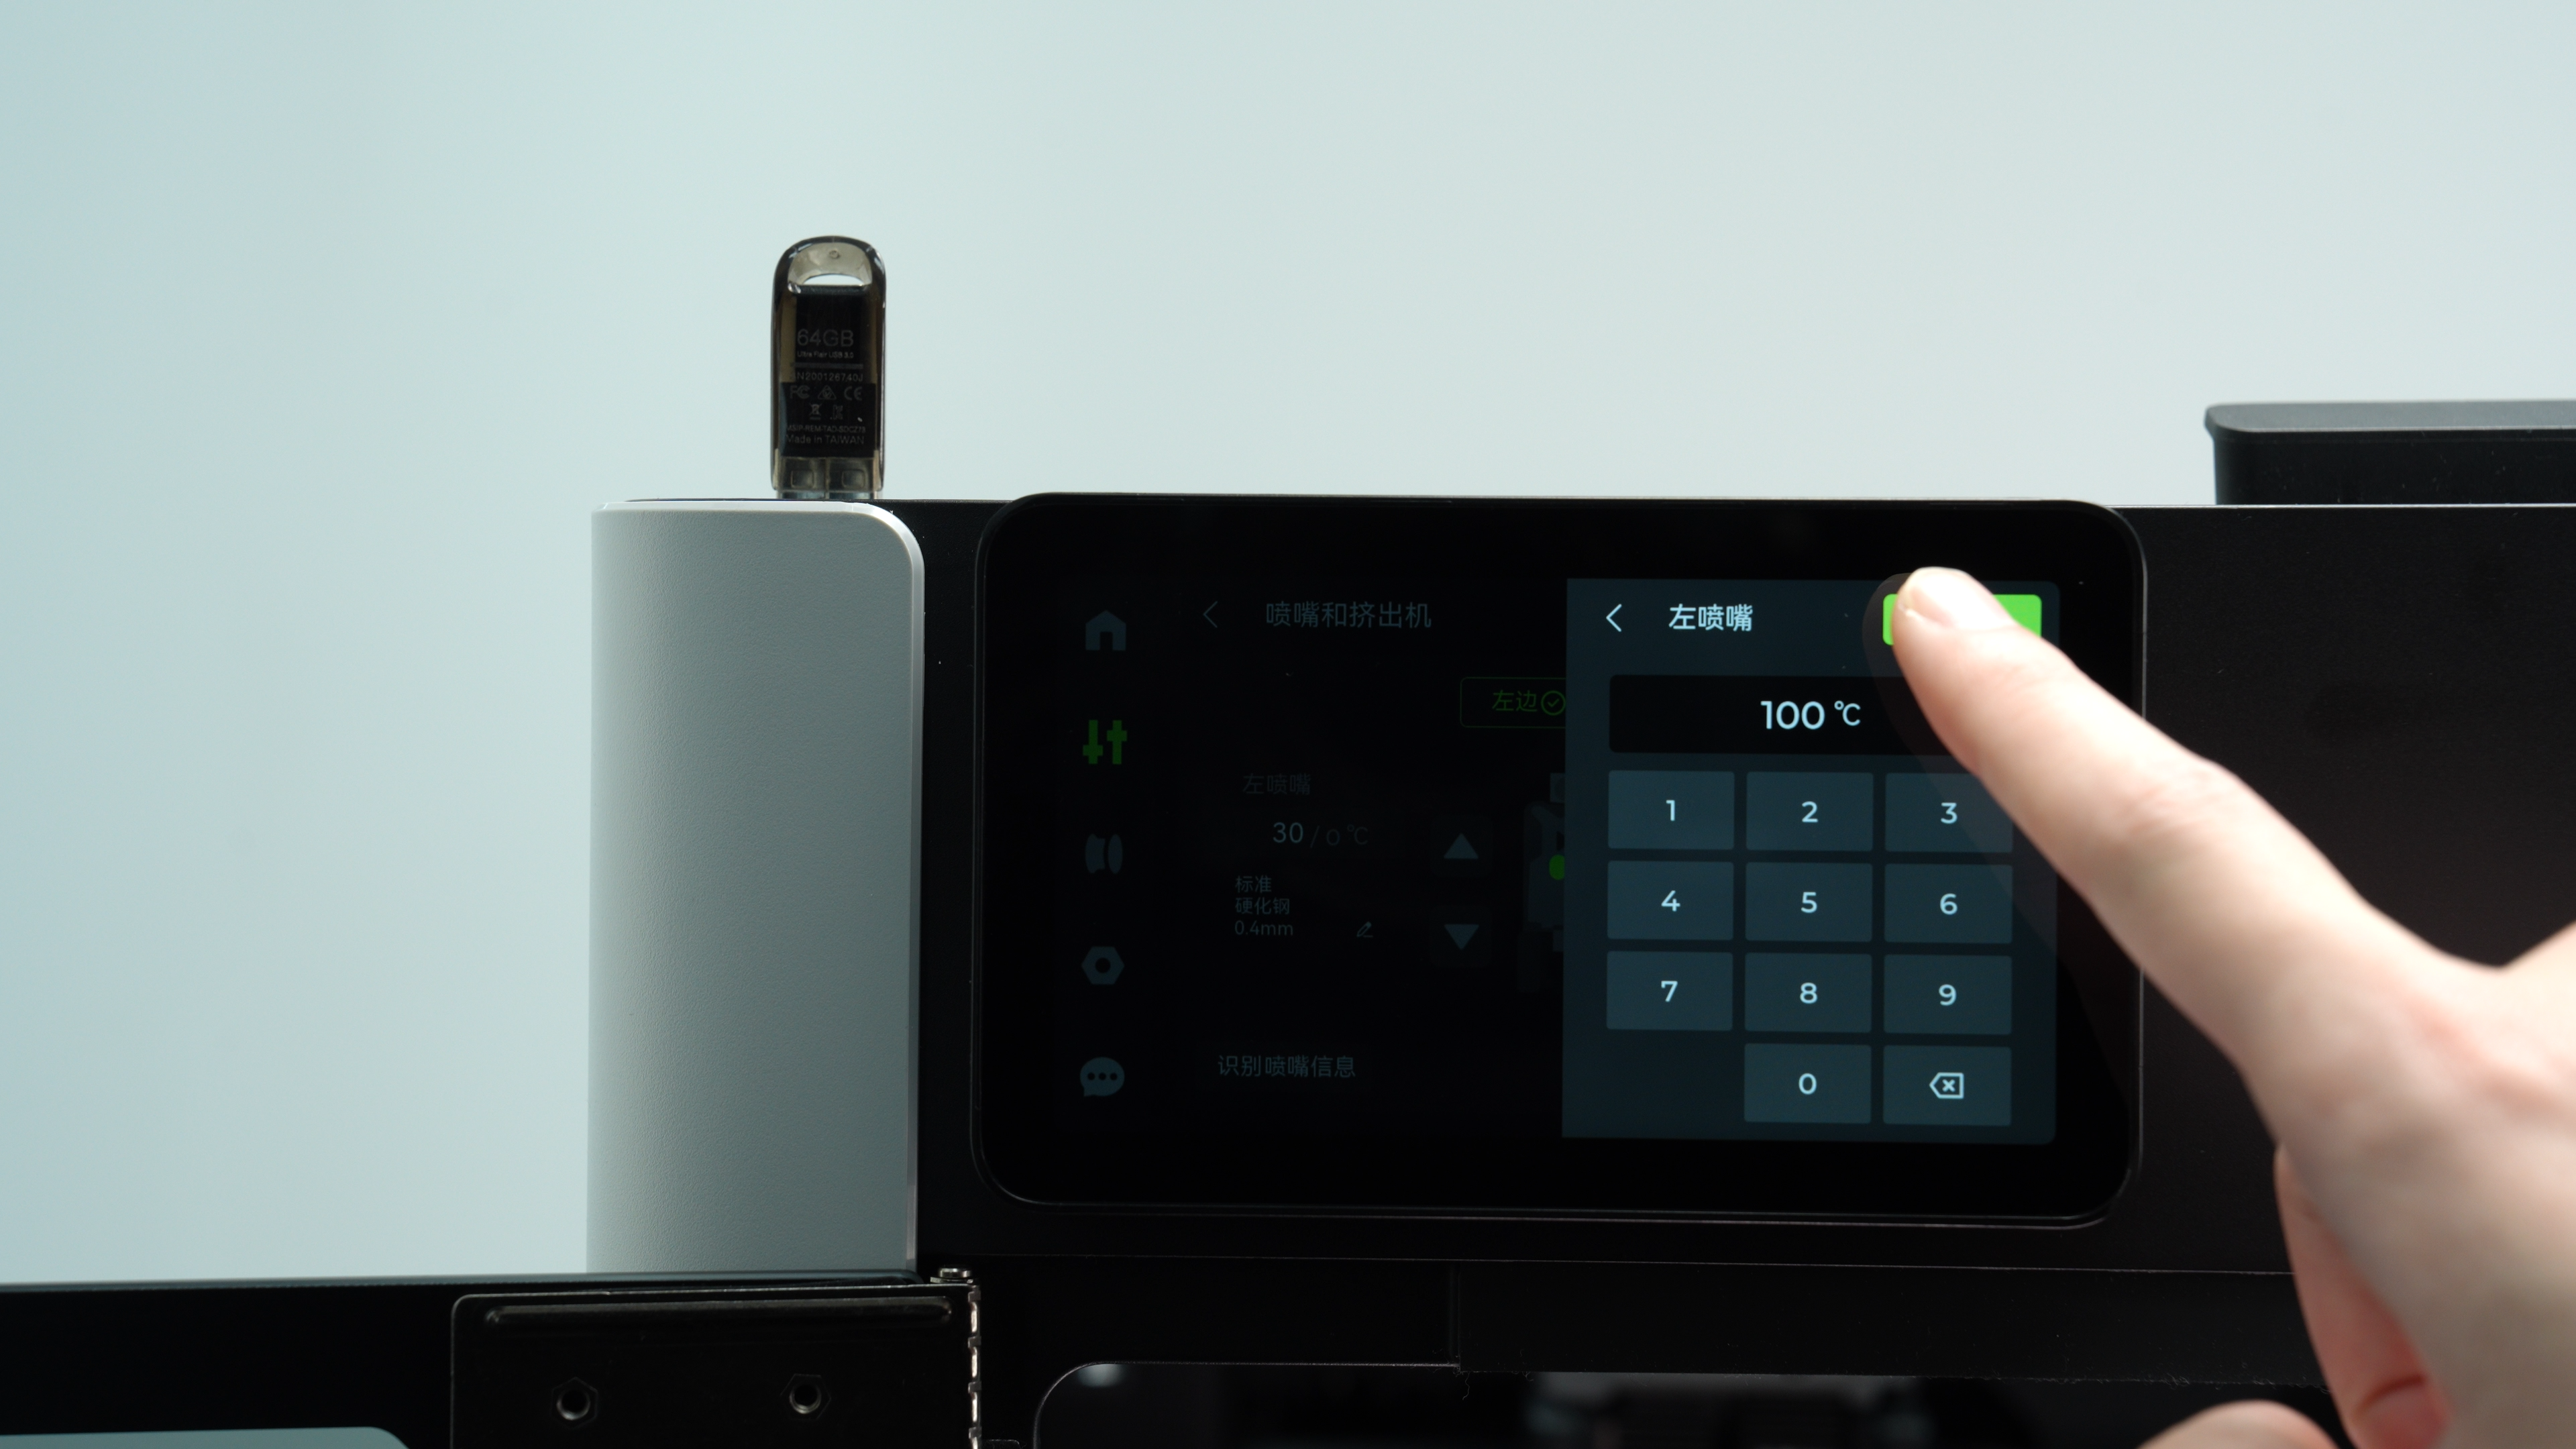
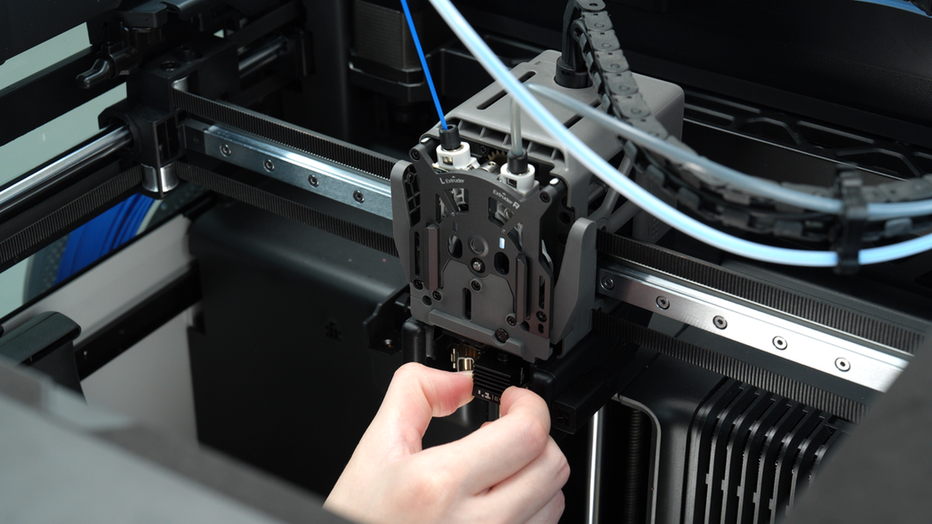
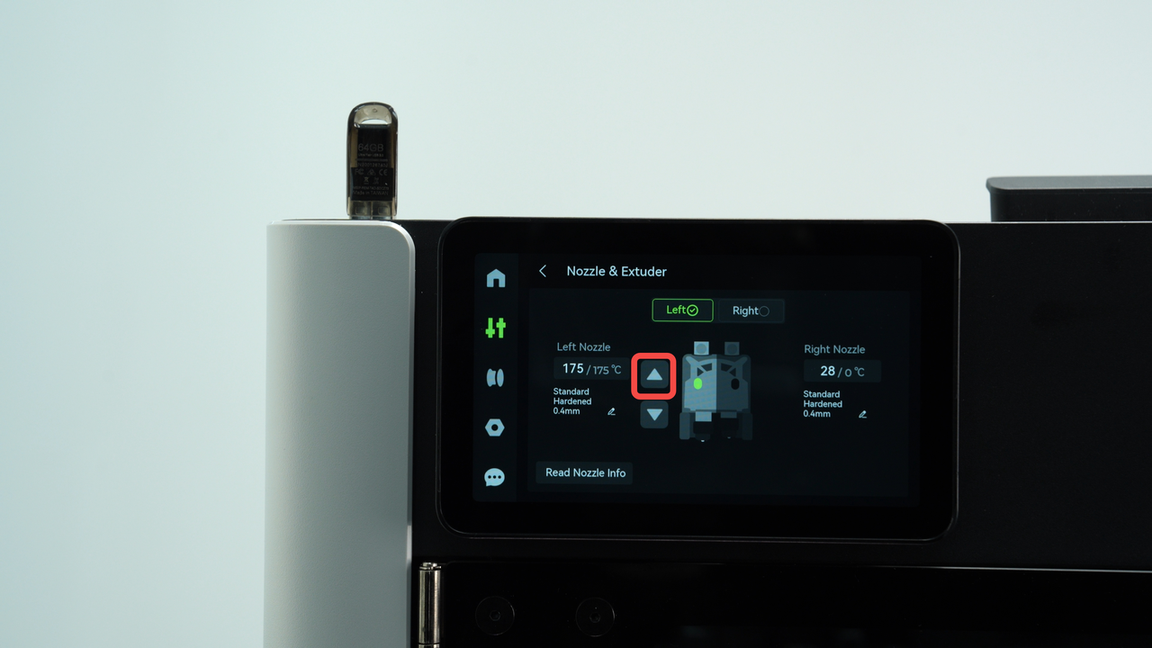
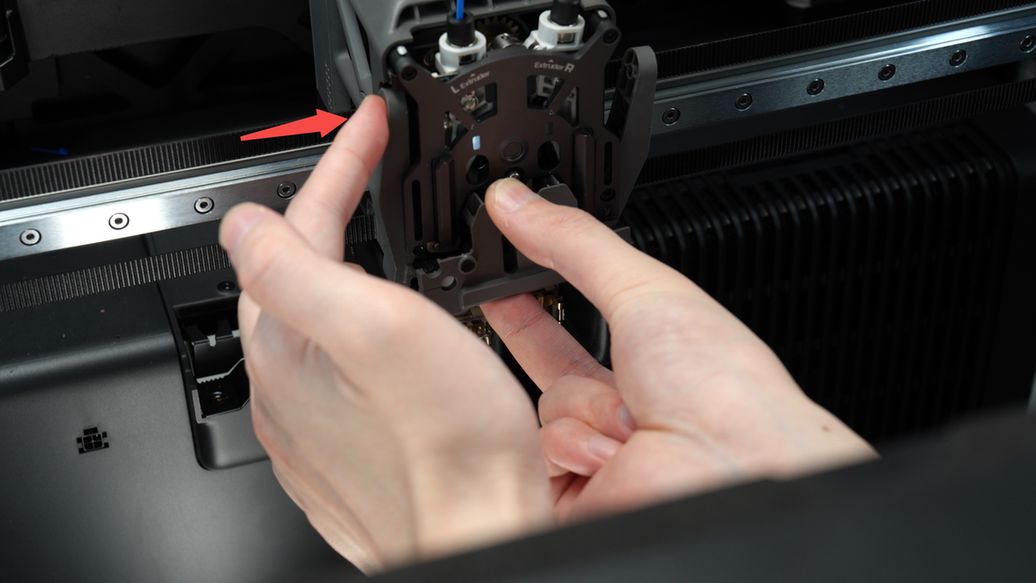
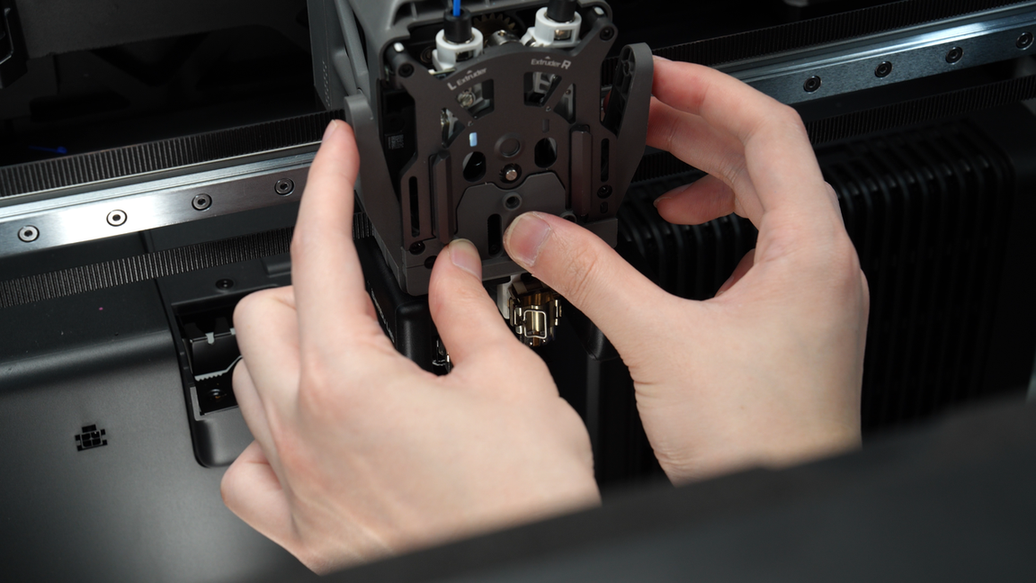
Heat the hotend to 100℃ (using PLA as an example), and remove the hotend while it is still heated.
Wear heat-resistant gloves when performing this step!
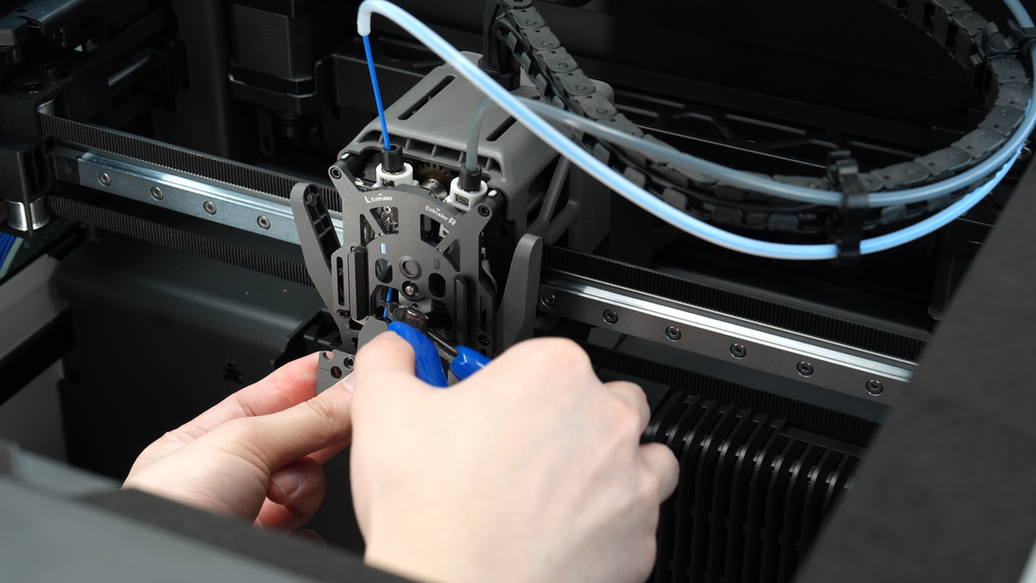
¶ Step 2. Clean the Hotend
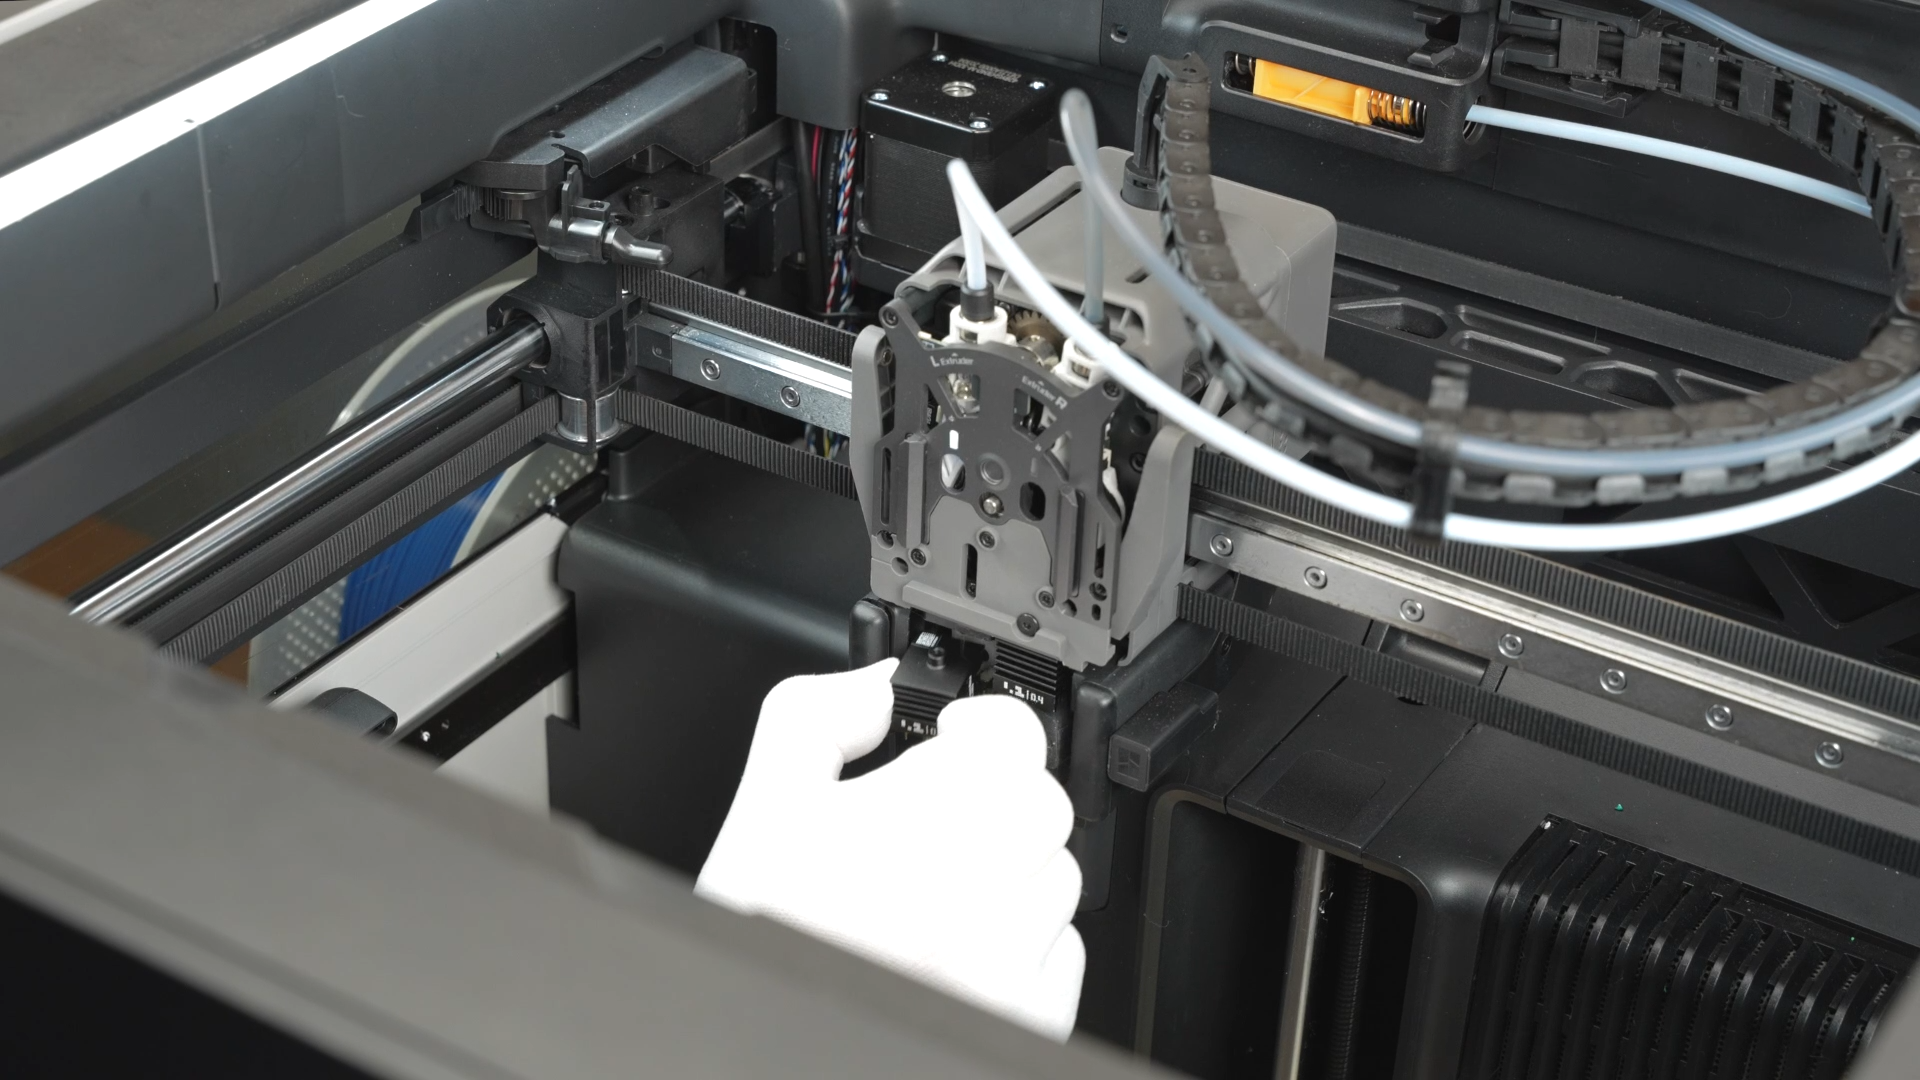
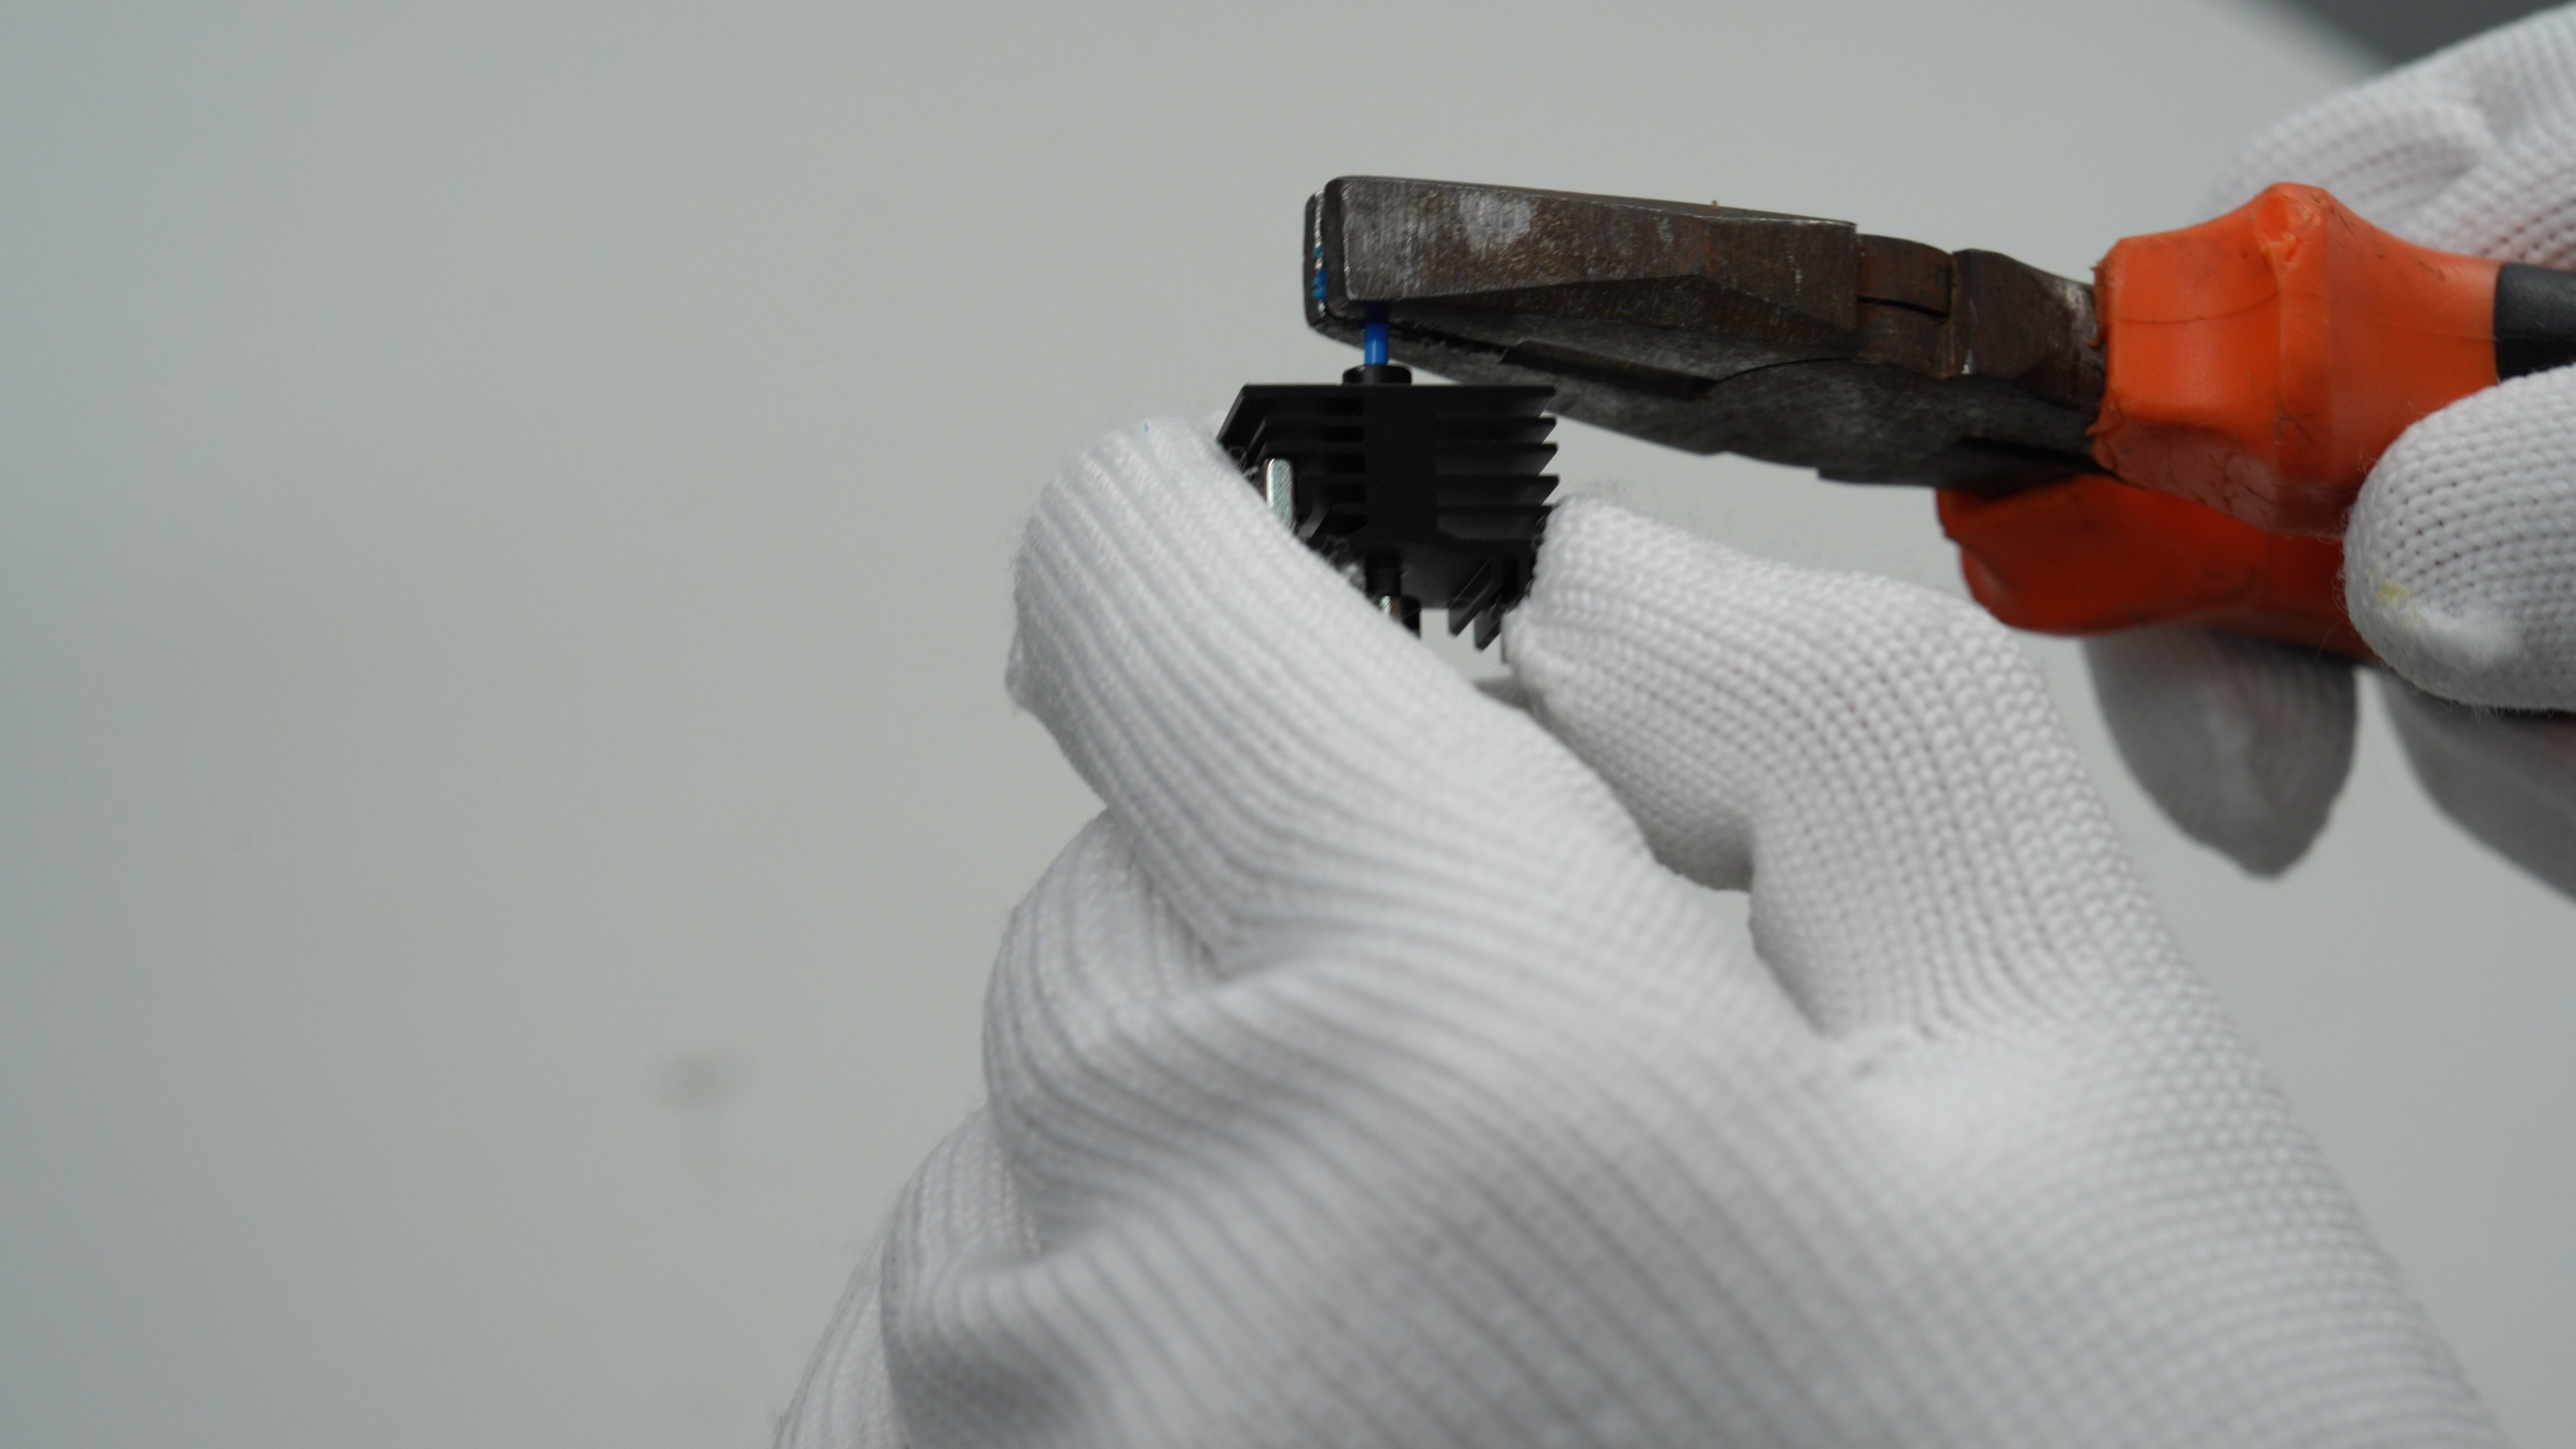
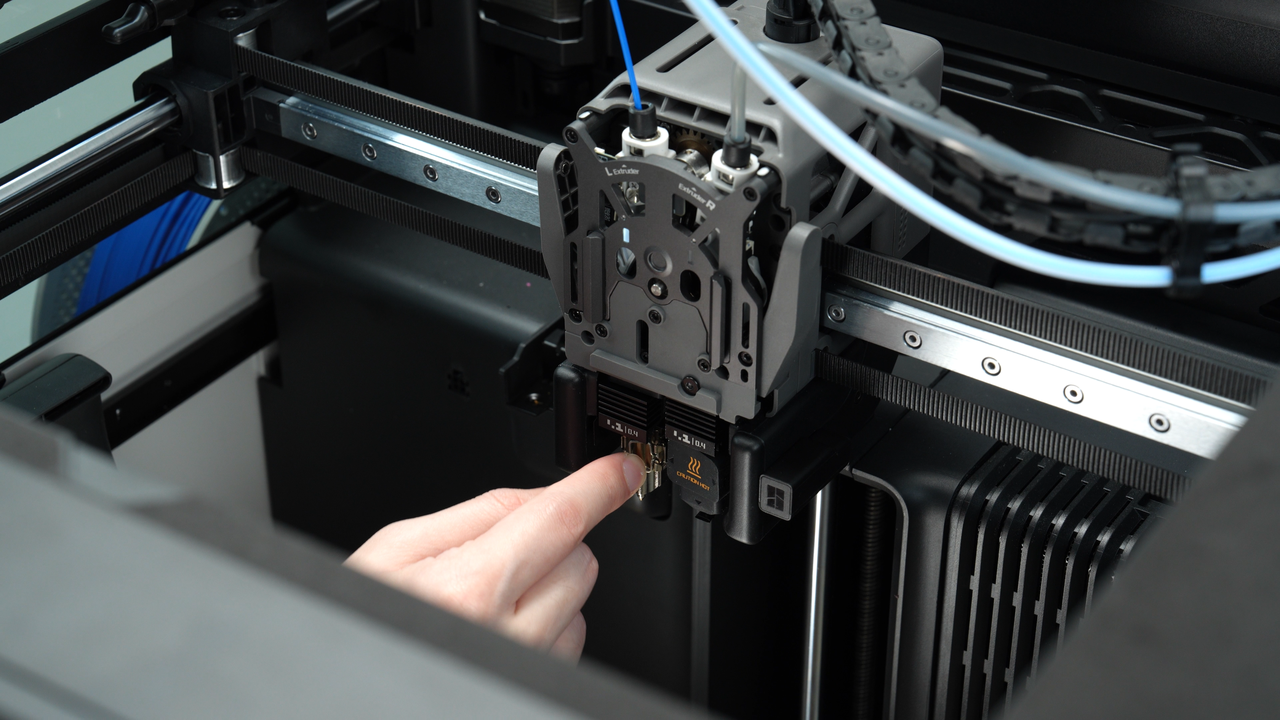
After removing the hotend, use pliers to pull out the filament stuck at the hotend inlet.
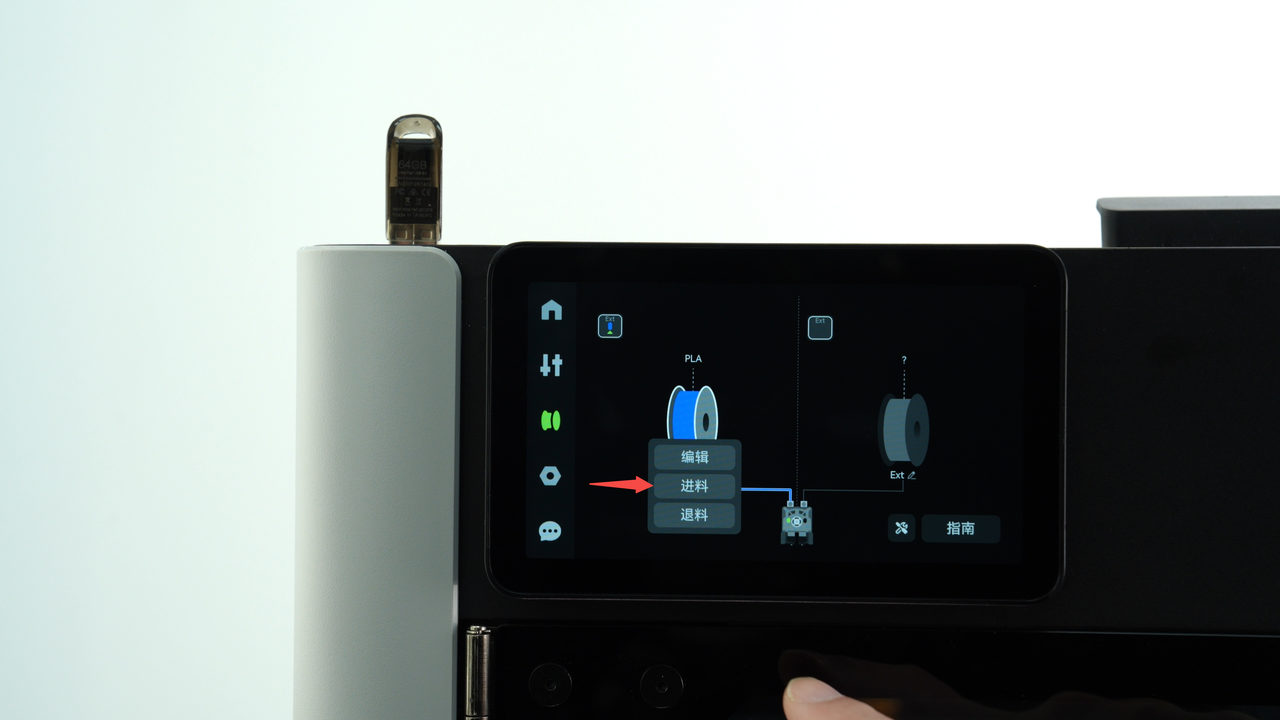
Reinstall the hotend and silicone sock, then reload the filament on the filament page to resume printing.
If printing resumes normally, the issue has been resolved. If printing still fails, proceed to Step 3.

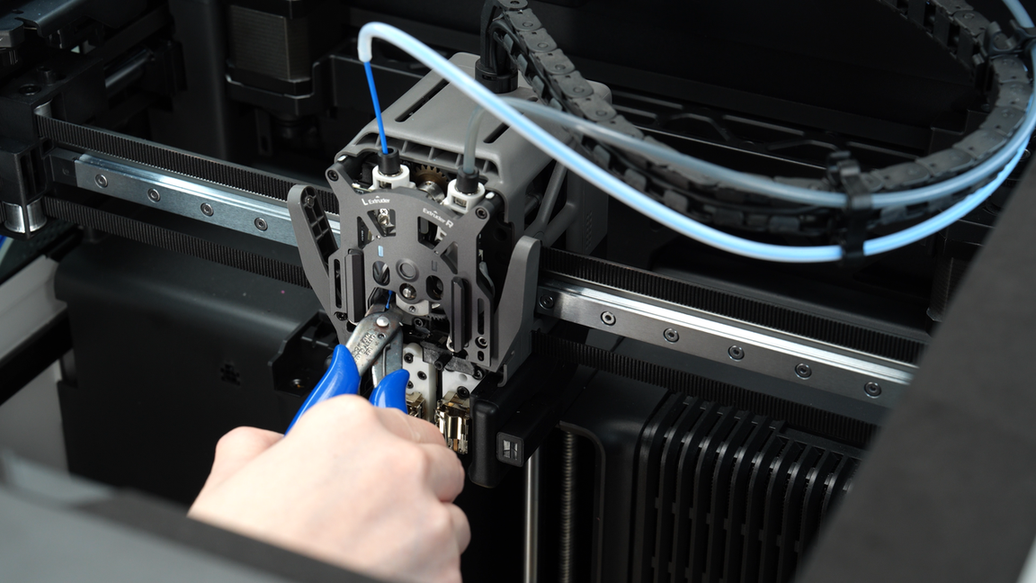
¶ Step 3. Manually Unload the Filament
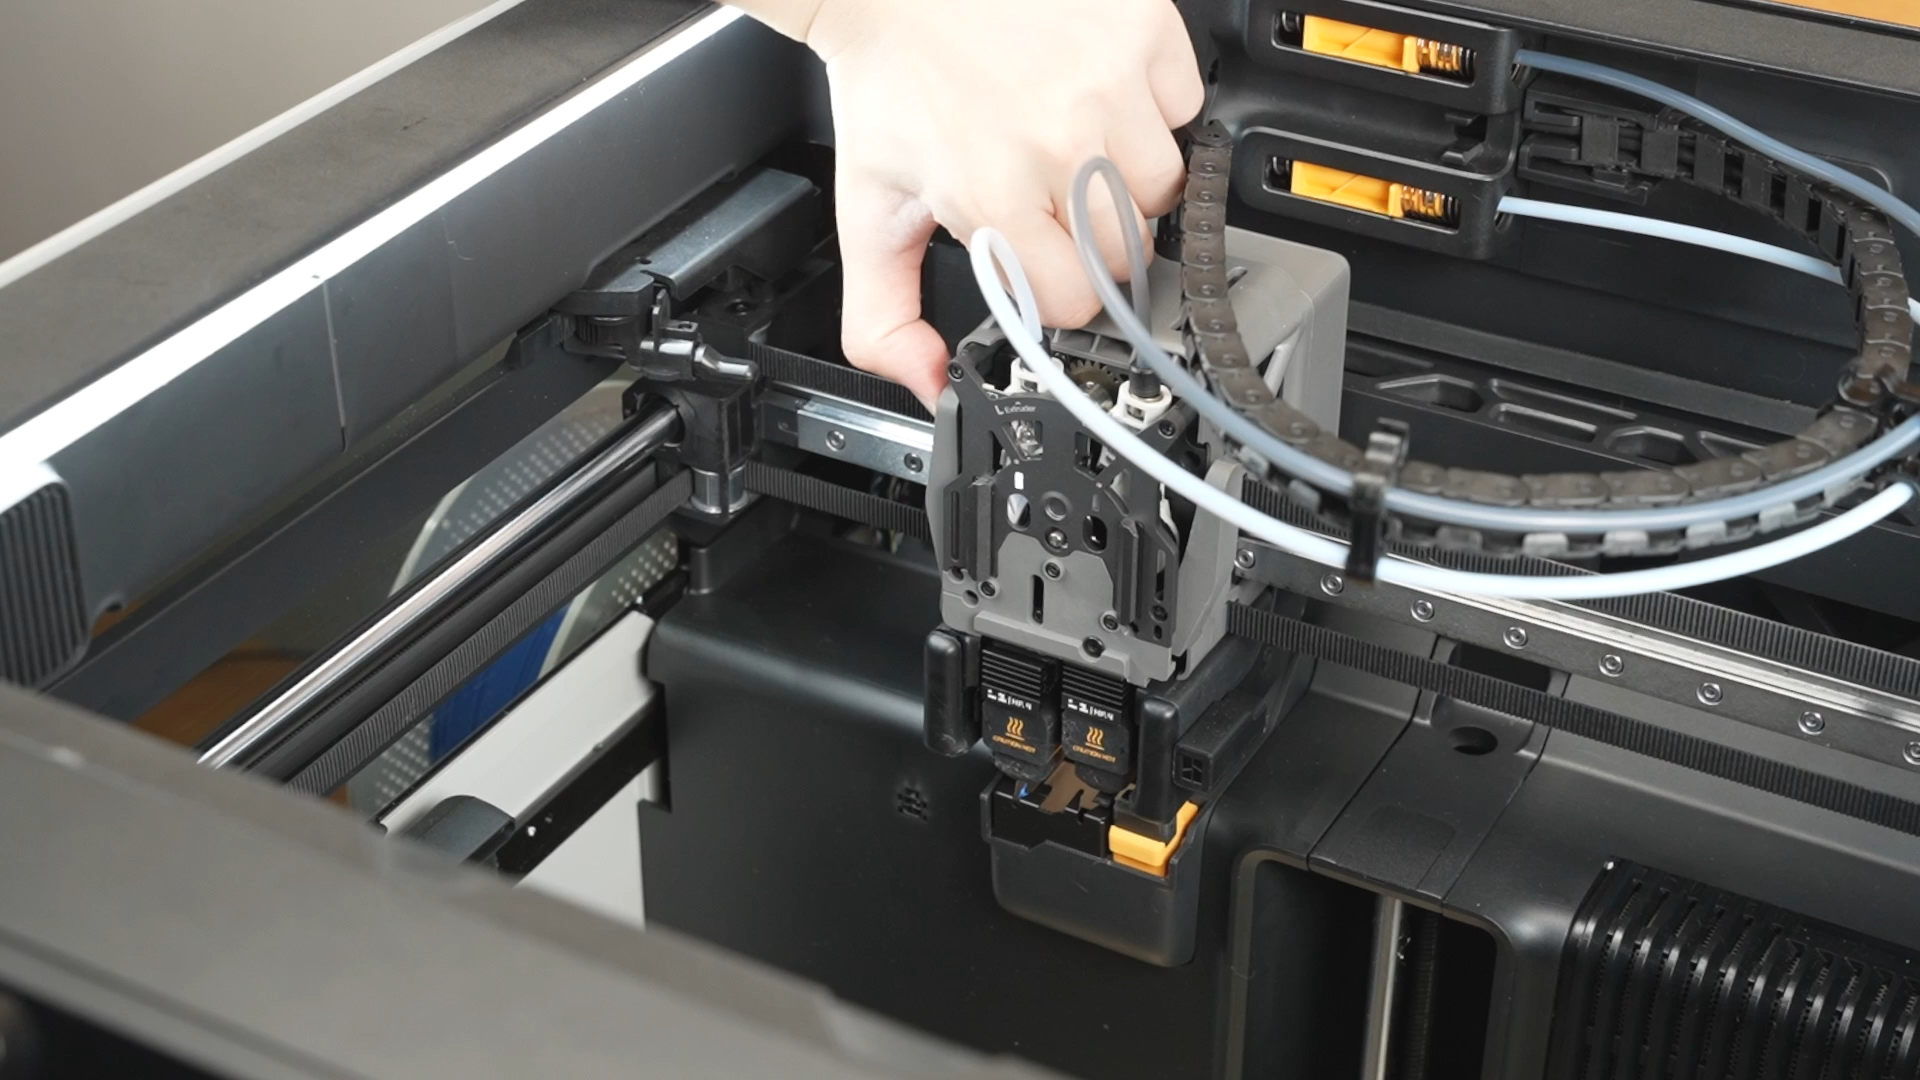
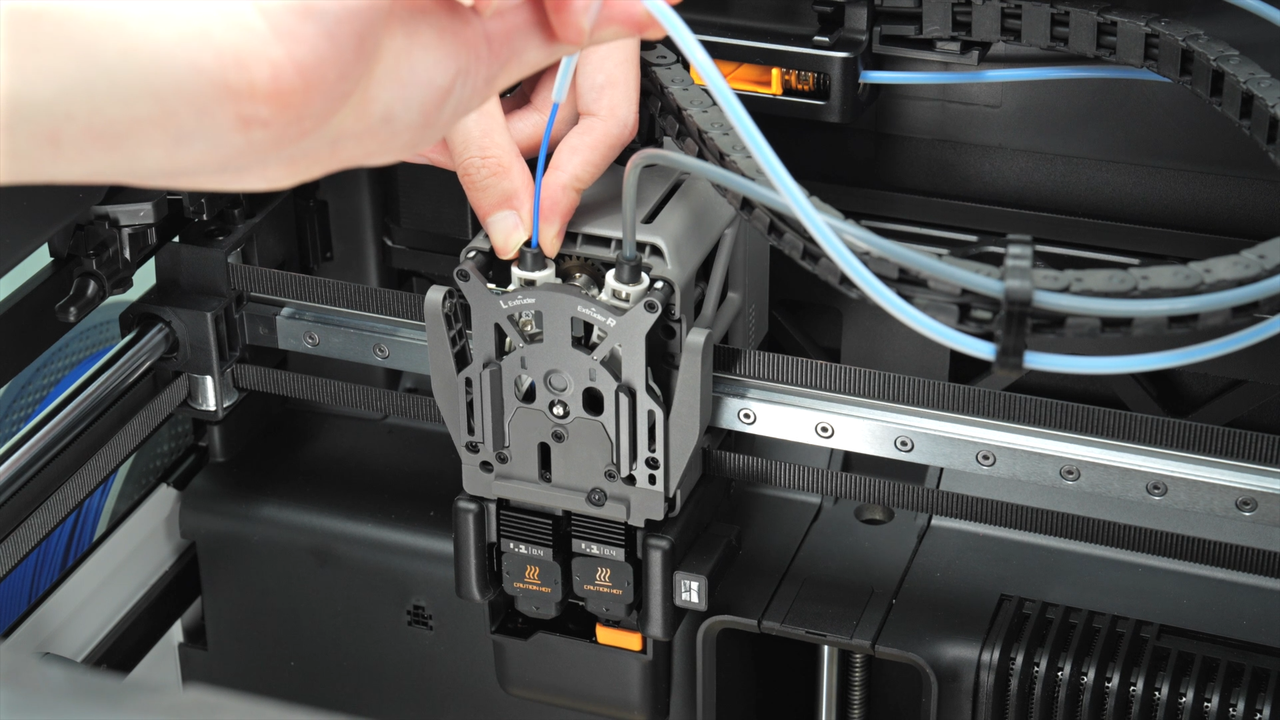
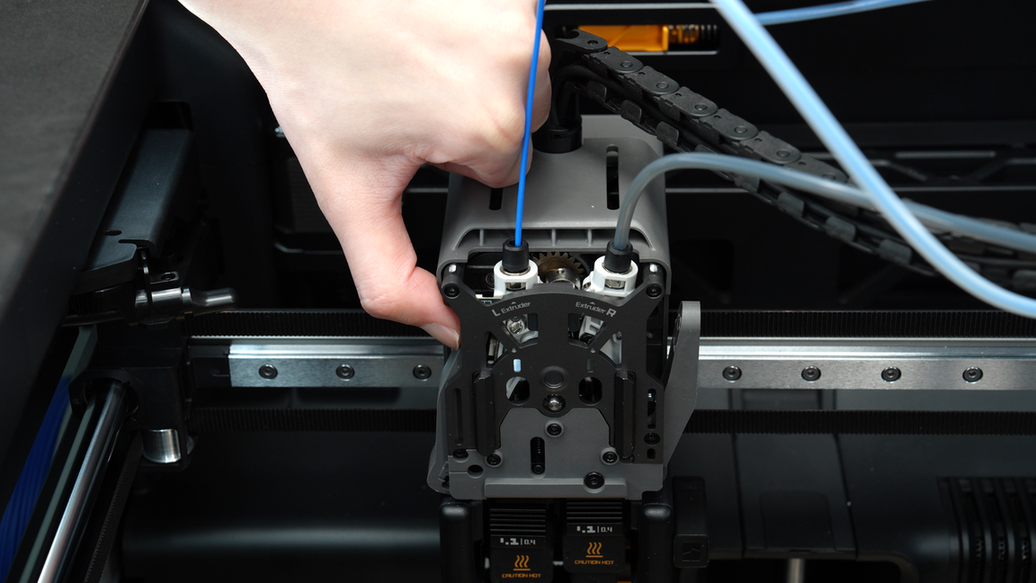
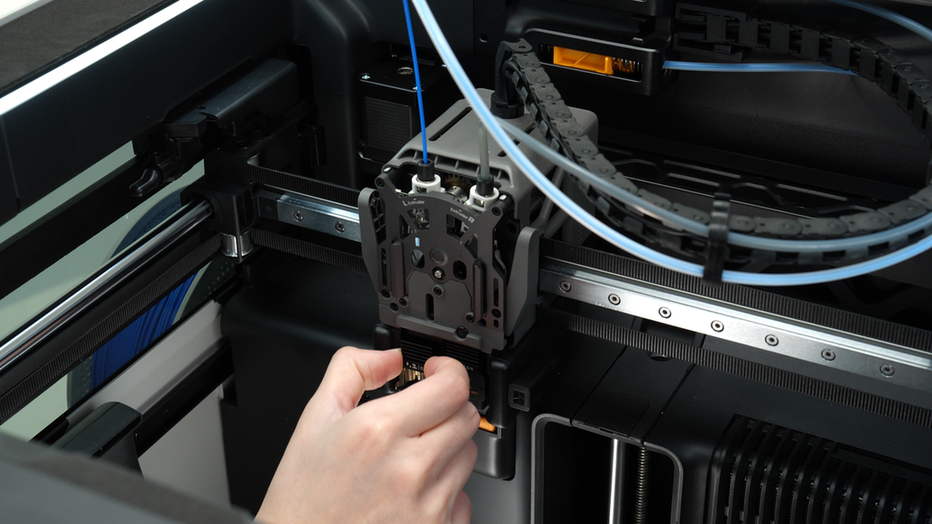
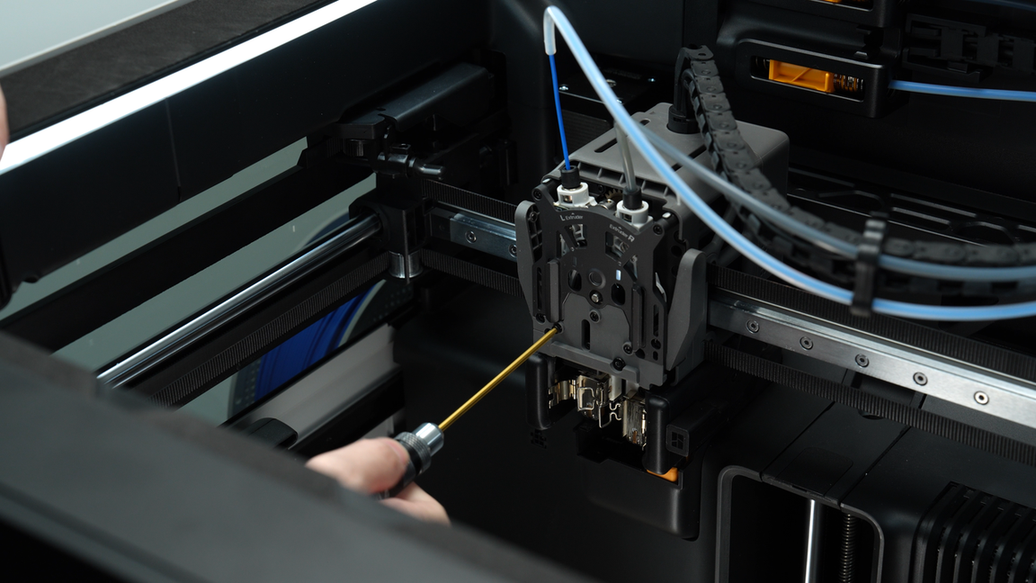
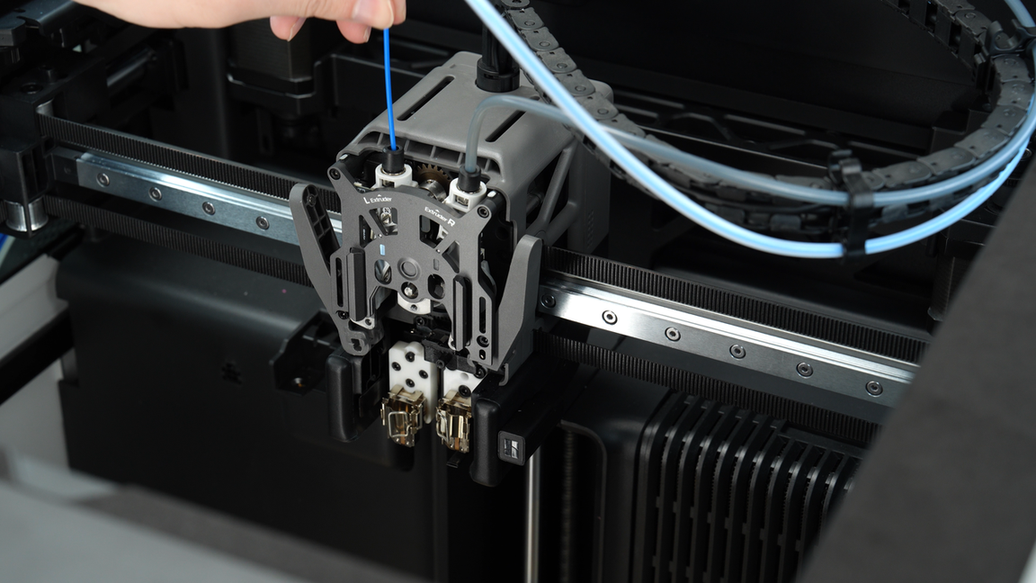
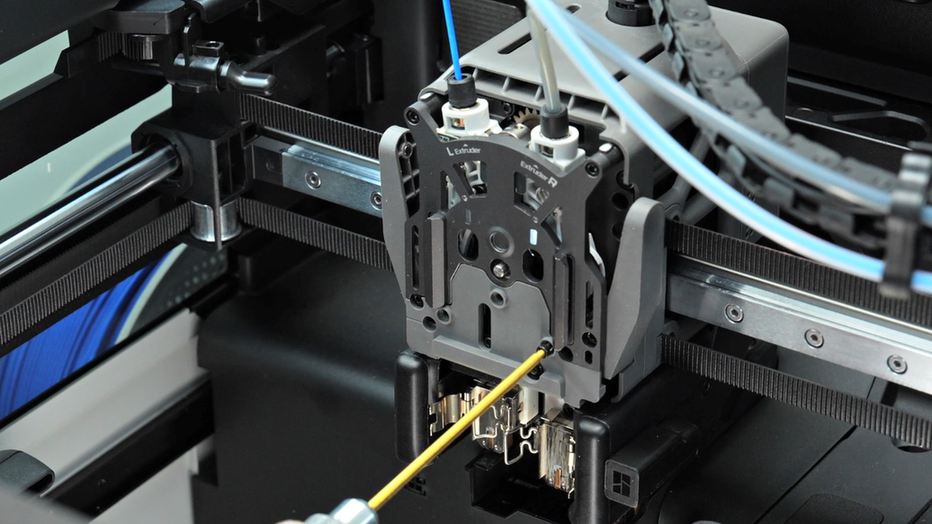
Press the black ring to disconnect the PTFE tube. Press the cutter again to cut the filament, then remove the hotend and silicone sock.
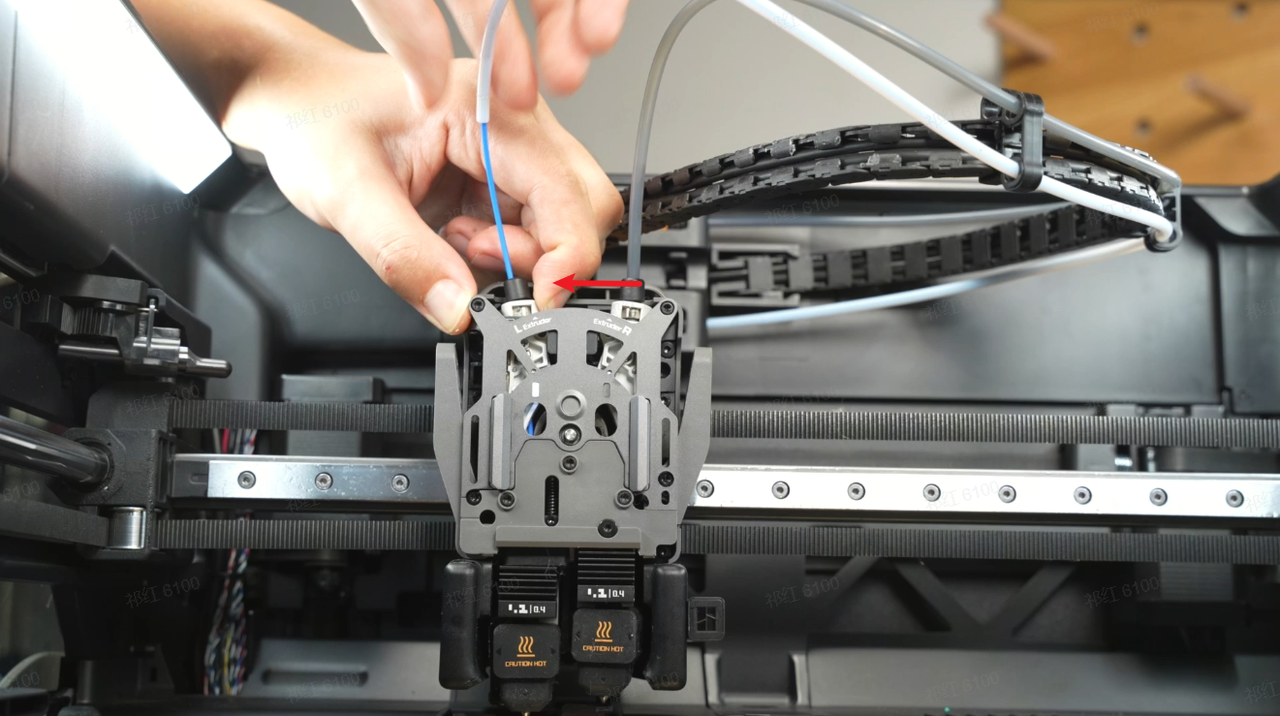
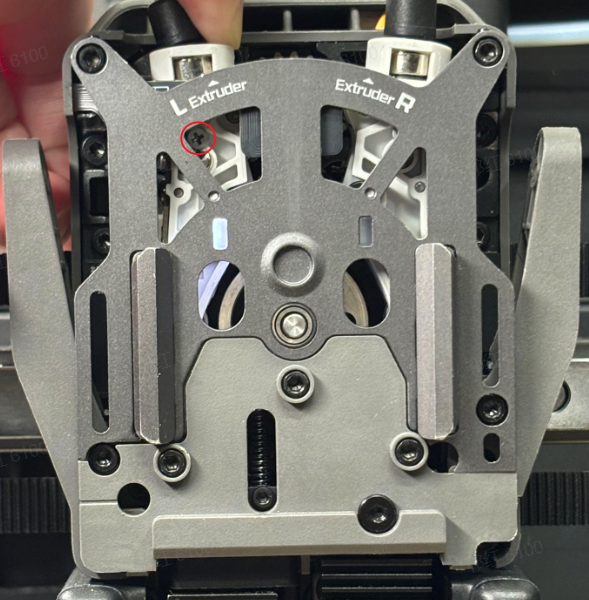
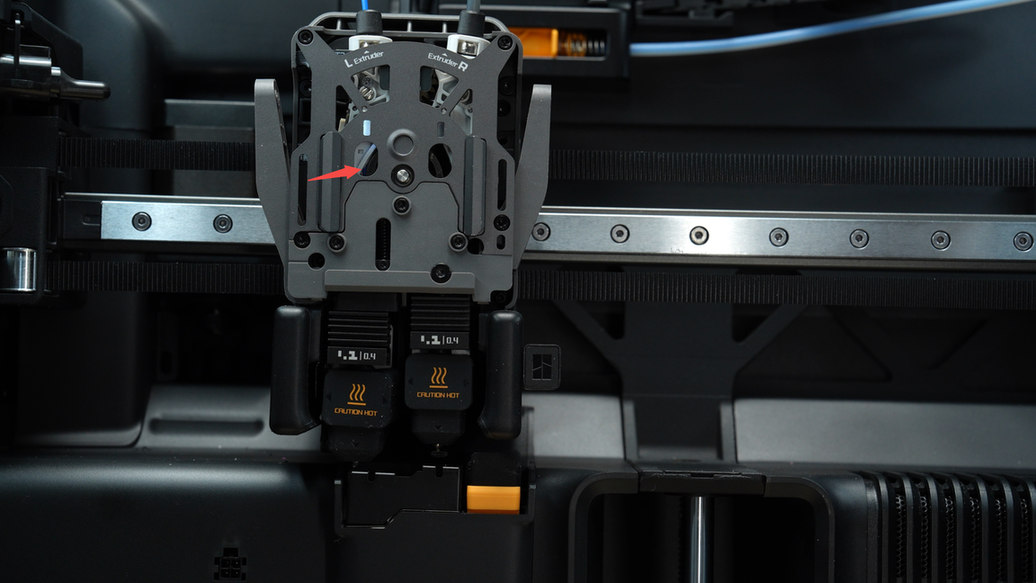
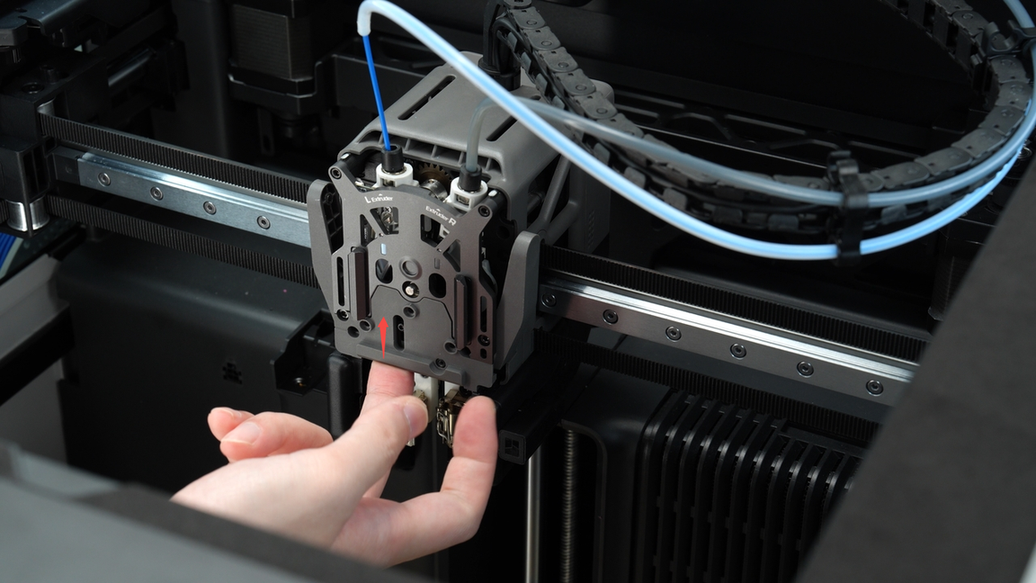
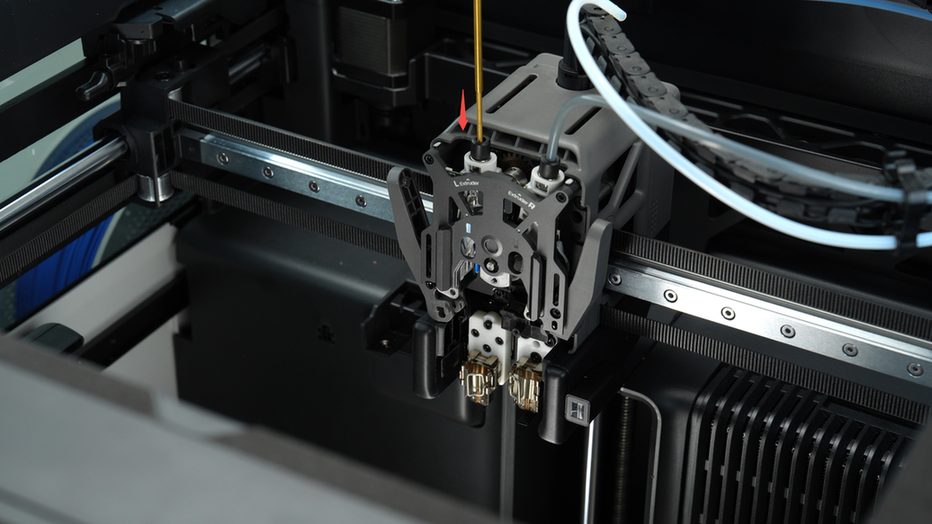
Firmly push the left idler arm to the left (considerable force may be required) until the screw shown in the image is no longer blocked by the front cover of the extruder. Then gently pull the filament upward by hand.
If the filament can be pulled out and you observe obvious abnormalities on the filament, cut off the defective section.
We also recommend keeping the front door and top cover open, and removing the toolhead front cover during printing to improve cooling for the extruder, which helps prevent such clogging issues.
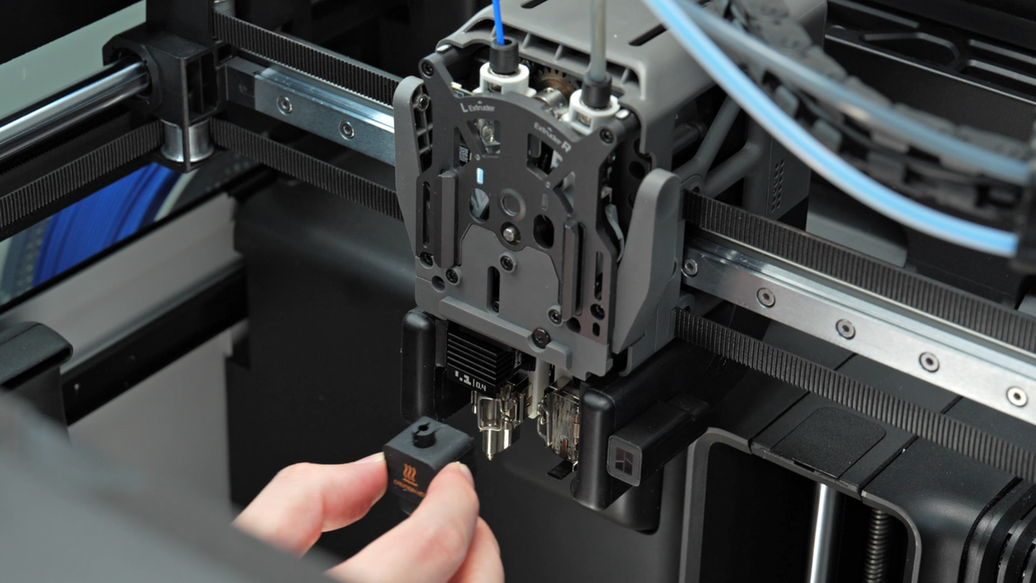
After improving the extruder cooling, reinstall the hotend and PTFE tube, then resume printing.
After resuming printing, observe whether the extruder gear is rotating normally and if any filament is being extruded from the hotend. If the extruder gear is rotating properly but no filament is observed extruding from the hotend, follow this wiki H2D Hotend Unclogging Procedure to clear any clogs in the hotend.
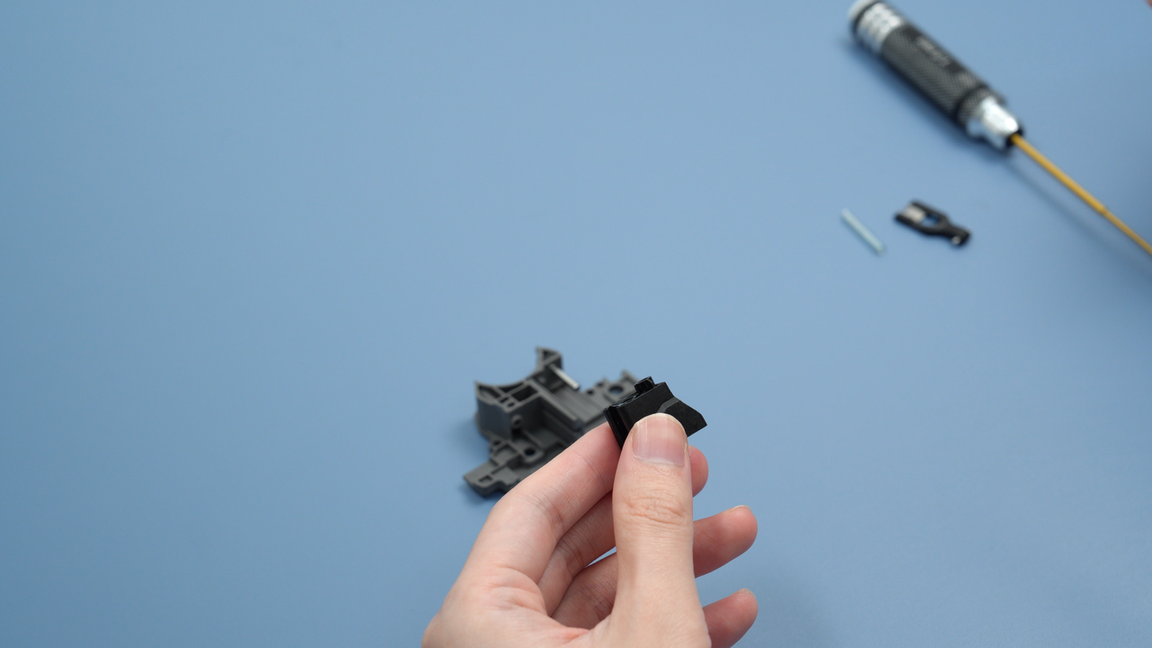
¶ Step 4. Remove the extruder filament guide for cleaning
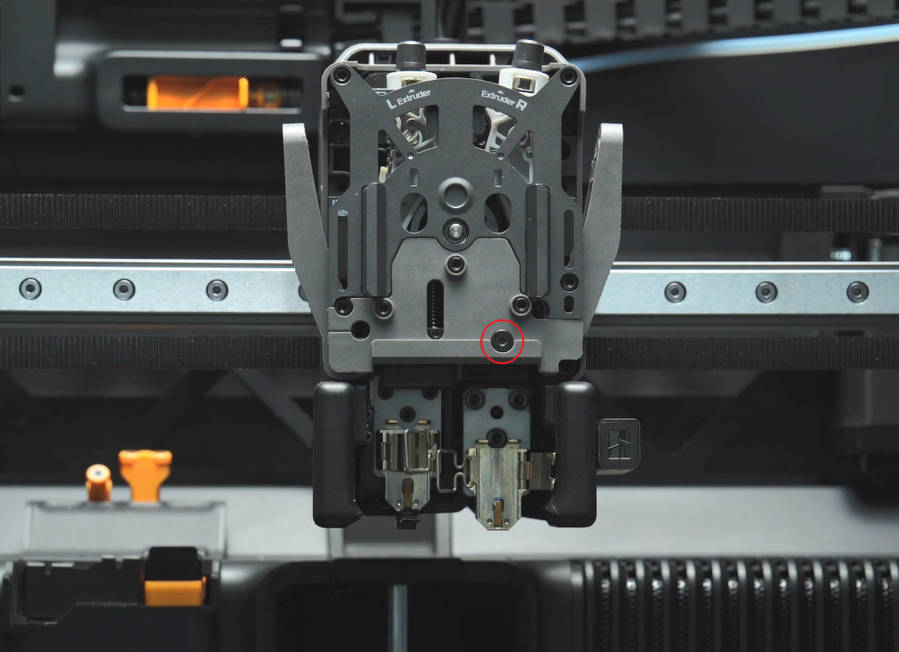
To simplify the assembly and disassembly of the extruder, we have decided to remove this screw after verification. As a result, there are versions available on the market both with and without this screw; please refer to what you have received.
If in step 3, with the hotend already removed, the filament still cannot be successfully extruded, it indicates a clog inside the extruder assembly. In this case, the extruder filament guide needs to be removed to clean the clog within the extruder assembly, including the extruder idler, the gap between the drive gear and extruder idler, or extruder filament guide.
It should be noted that there is interference between extruder filament guide and the left and right cutter levers, making disassembly and assembly somewhat challenging. This difficulty is especially pronounced when a segment of filament passes through both the extruder gear and extruder filament guide simultaneously (in dual-color printing, there might be two segments passing through the left and right sides simultaneously). Despite the increased challenge in disassembly and assembly, please do not be discouraged. By following the suggestions below, you will be able to successfully remove the extruder filament guide.
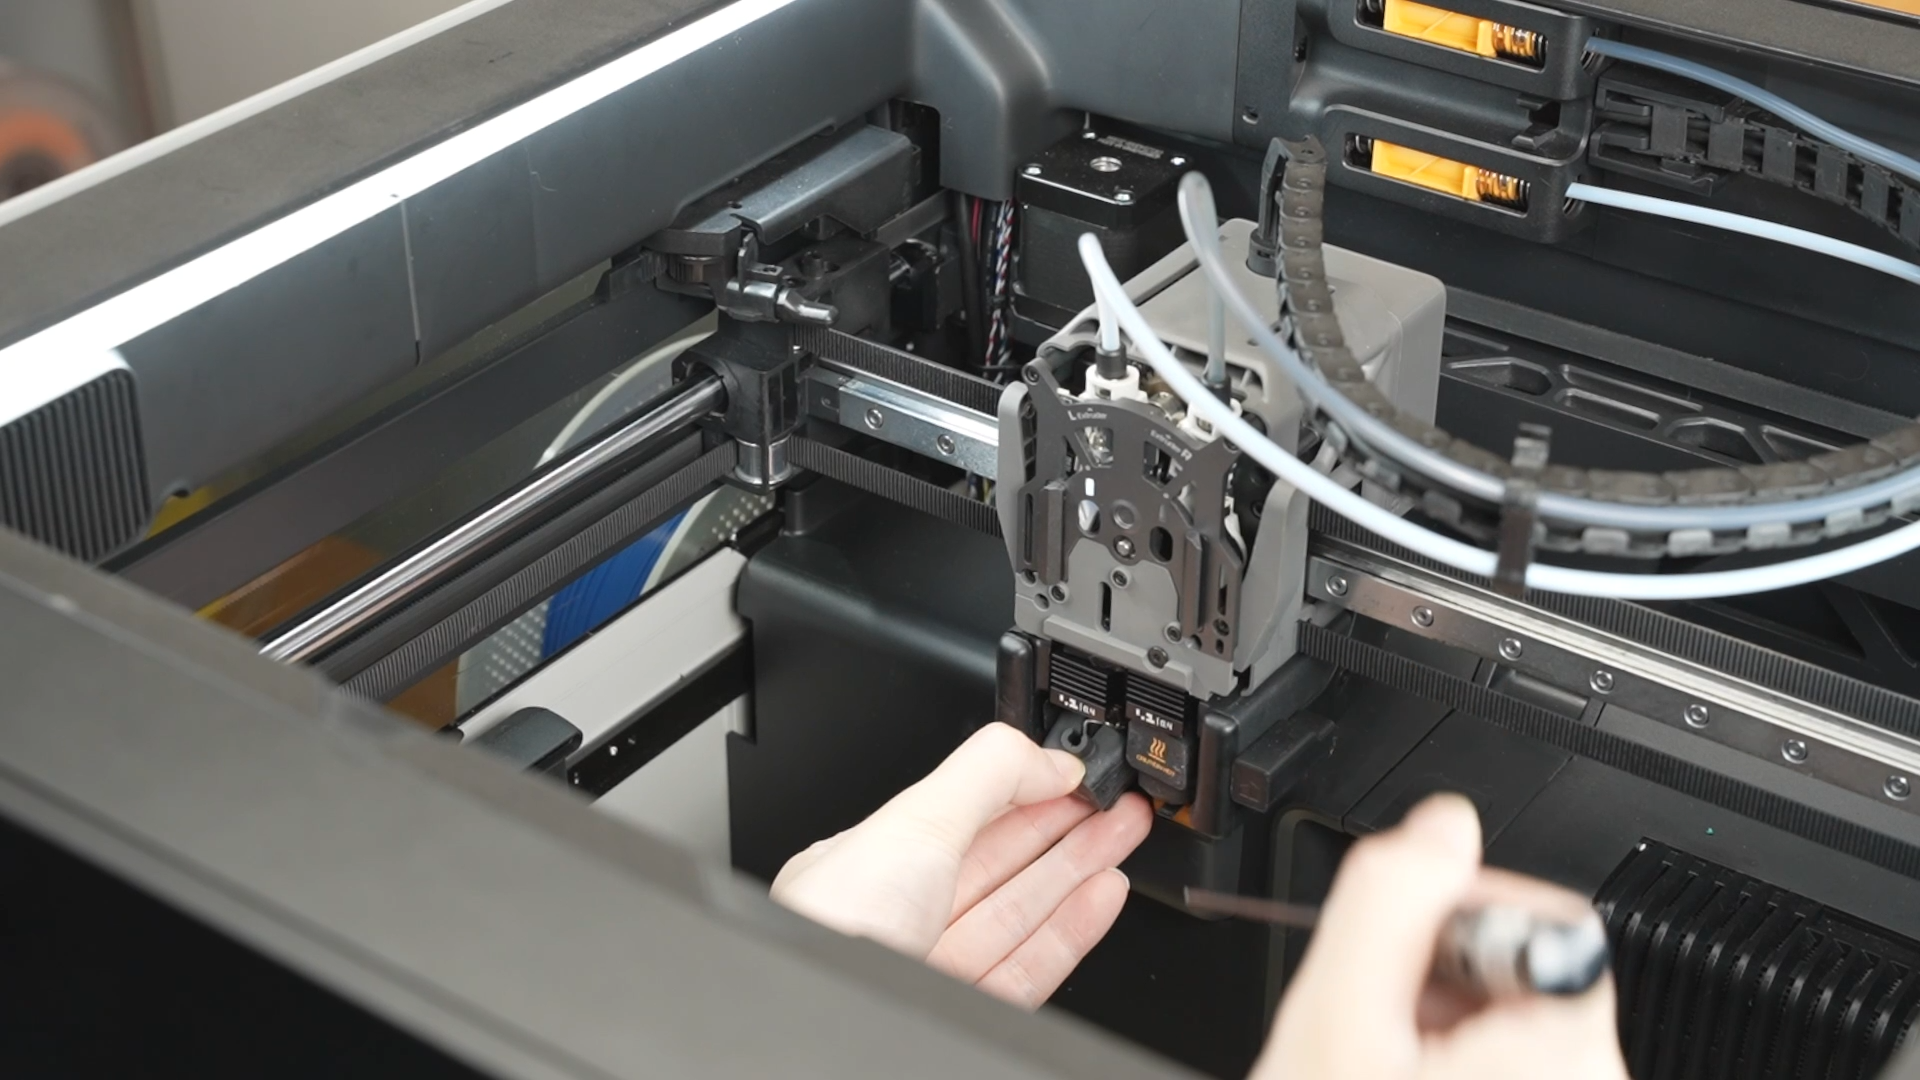
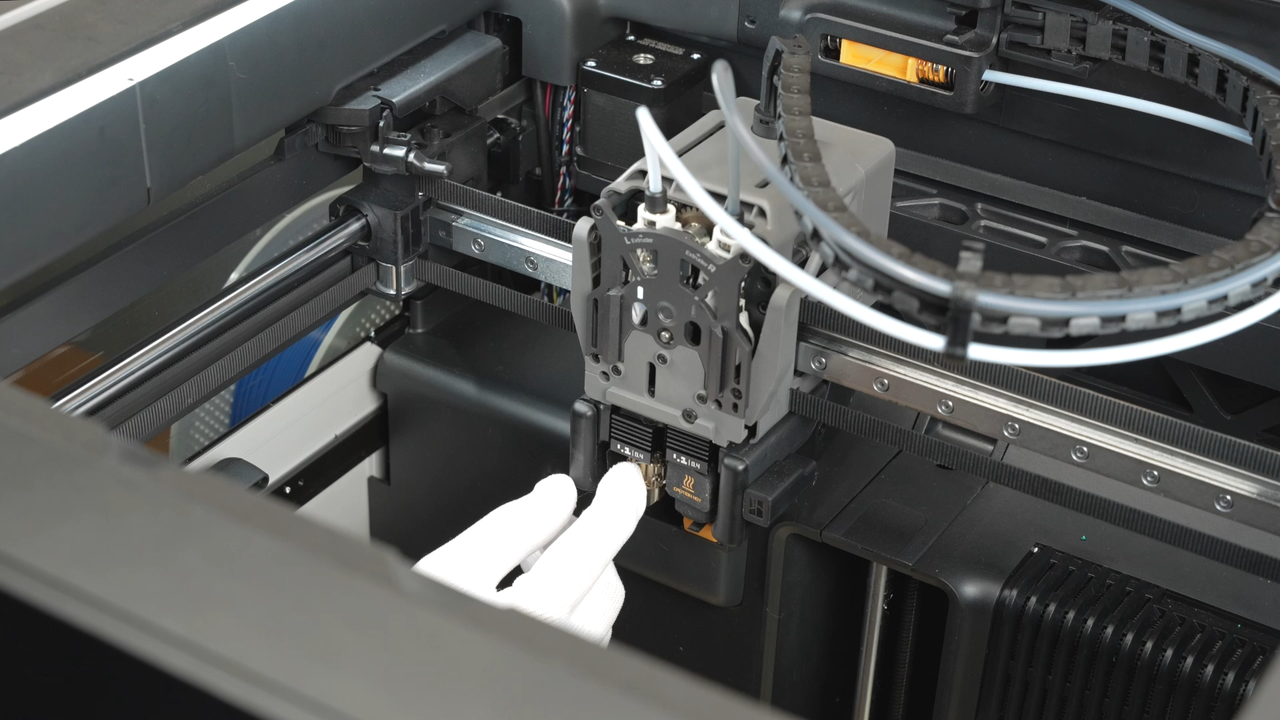
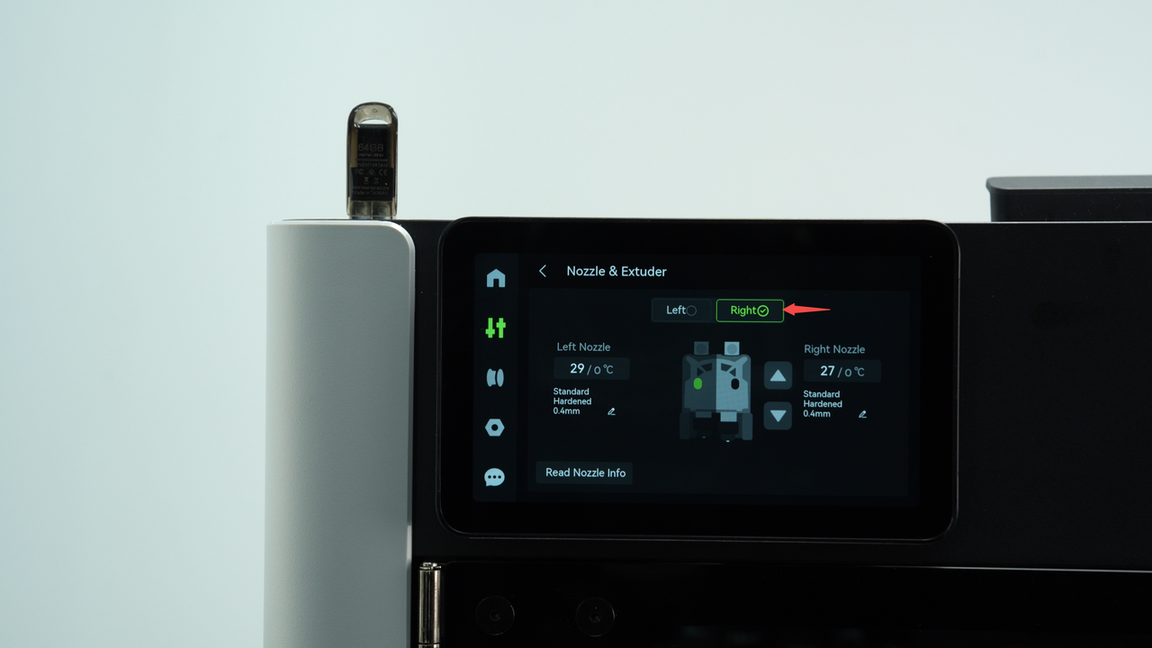
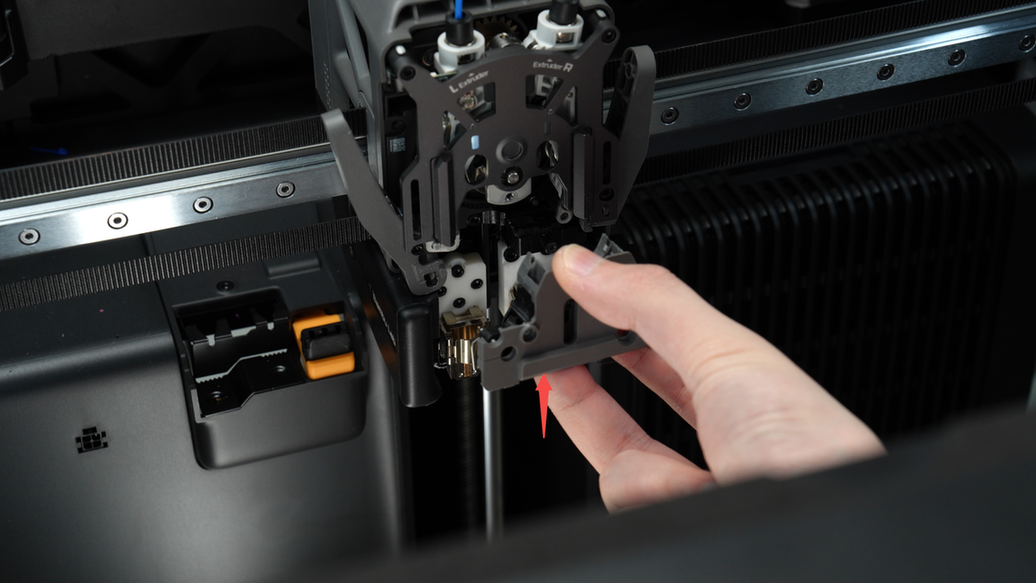
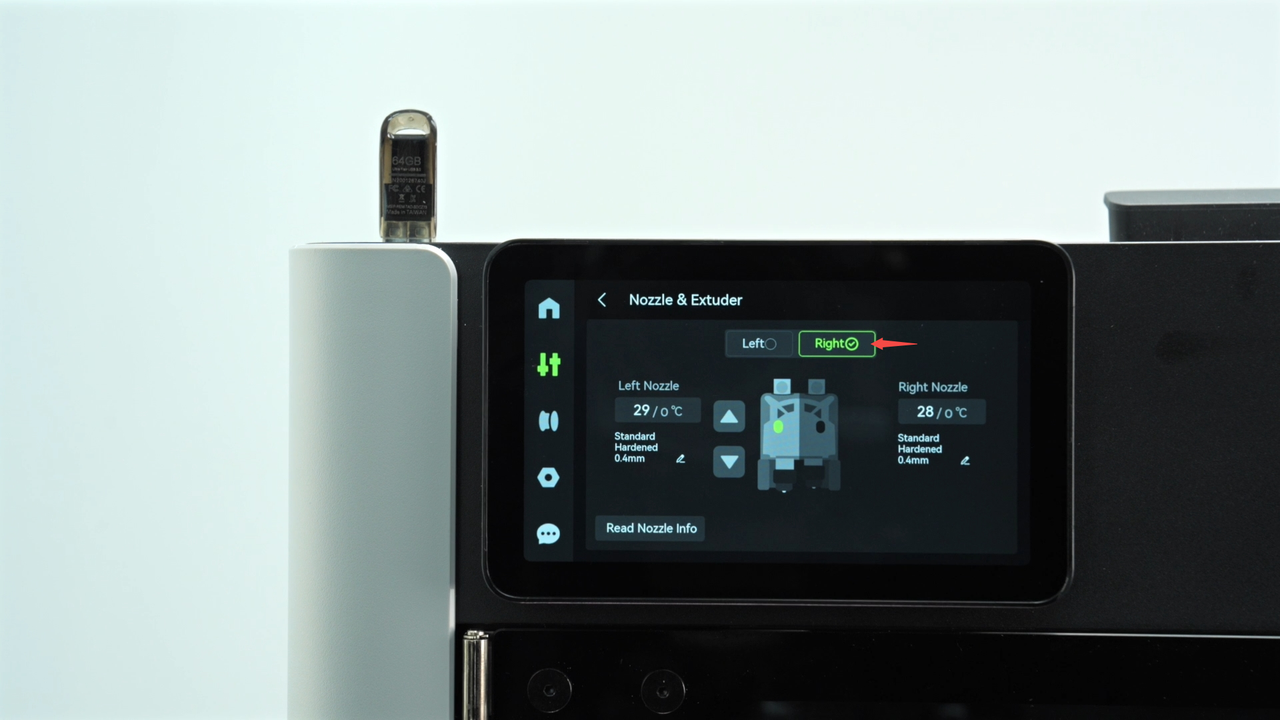
Ensure the hotend is at room temperature, remove the hotend not blocked by the flow blocker first, then switch the extruder on the screen to remove the other hotend as well.
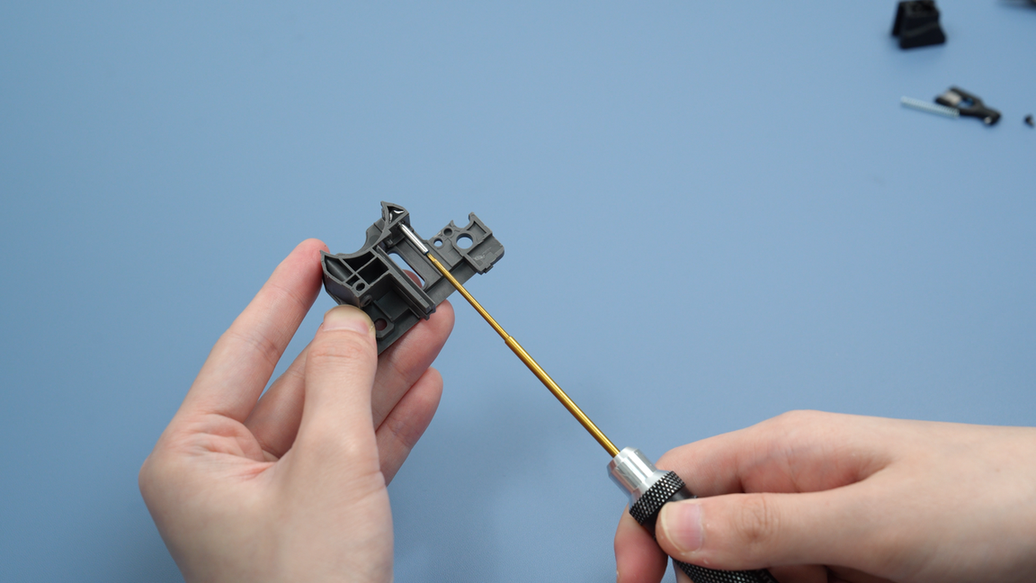
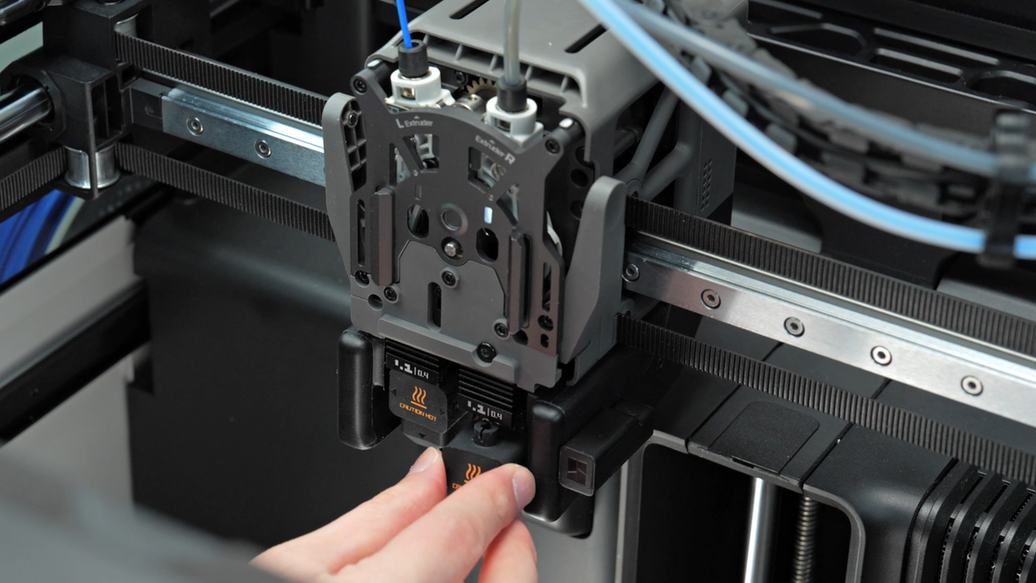
Remove the four screws on the extruder filament guide, push up the black hotend connector forcefully with your fingers to allow the left cutter to come out slightly from the open slot near the cutter screw. Then, lever out the extruder filament guide from the lower right corner. In this scenario, there is usually a segment of filament passing through both the extruder and the extruder filament guide, requiring significant force to remove the extruder filament guide. After removing the extruder filament guide, cut the filament between the guide and the extruder to separate the extruder filament guide.
If the black hotend connector is obstructed by filaments or springs, preventing it from being pushed up to avoid interference, or if you encounter significant resistance while removing the extruder filament guide, you may add an additional step. Remove the levers of the left and right cutters before taking out the extruder filament guide. During the subsequent reassembly, refer to this wiki to reinstall the cutter levers: H2D extruder unit disassembly and assembly.
After successfully removing the extruder filament guide, please proceed with cleaning as necessary based on the actual situation:
¶ Scenario 1: Abnormal filament may be stuck in the gap between the extruder driven gear and extruder active gear.
For this scenario, there are two methods to clear the clog.
- Cut the filament above the extruder, grip the clogged filament with tweezers or needle-nose pliers, and exert downward force. Simultaneously, switch the extruder on the screen and release the filament when switching left and right on the extruder to create a gap, allowing the filament to be removed.


- Cut off the abnormal part of the filament, then heat the hotend to 175°C. On the screen, press the retract button to remove the remaining normal filament.
In severe cases, the filament may get tangled or caught inside the extruder gear, making it difficult to directly pull out or retract the filament. In such instances, refer to this wiki to remove the extruder front cover or gear for cleaning: H2D extruder unit disassembly and assembly
¶ Scenario 2: The abnormal filament may be stuck at the extruder filament guide entrance or inside it.
If the abnormal filament is only stuck at the extruder filament guide entrance, you can simply use needle-nose pliers to pull it out.

If the abnormal filament is clogged inside the extruder filament guide, you will need to disassemble the extruder filament guide for cleaning. Loosen one screw first, then remove the black hotend connector along the guide rail, and detach the cutter and spring.
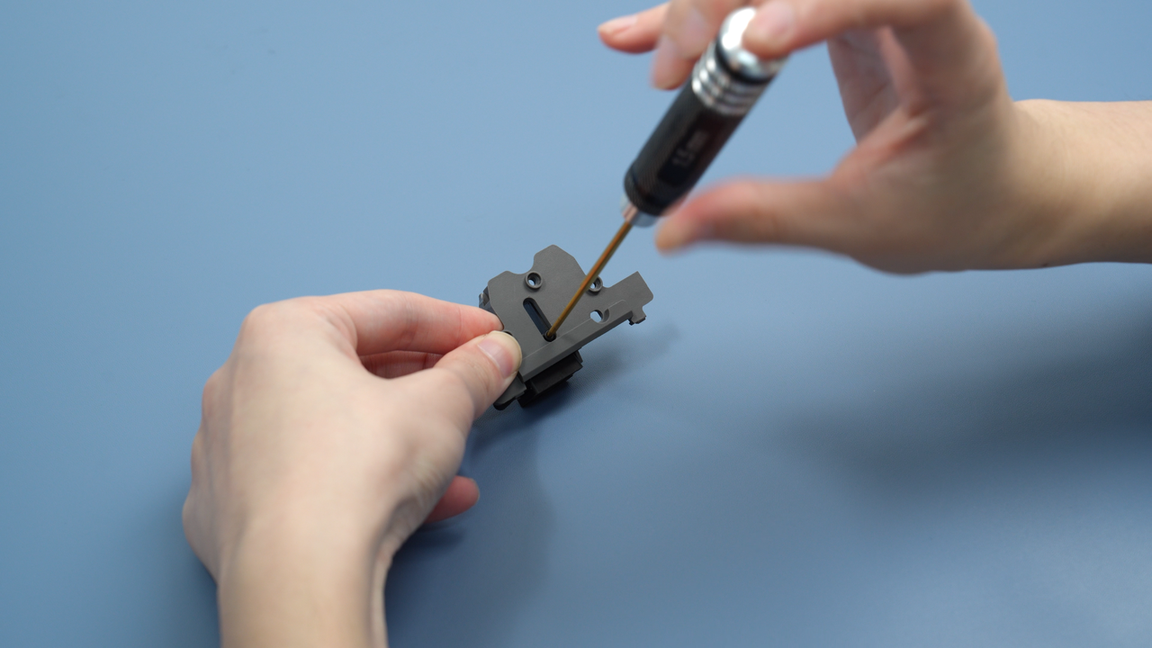
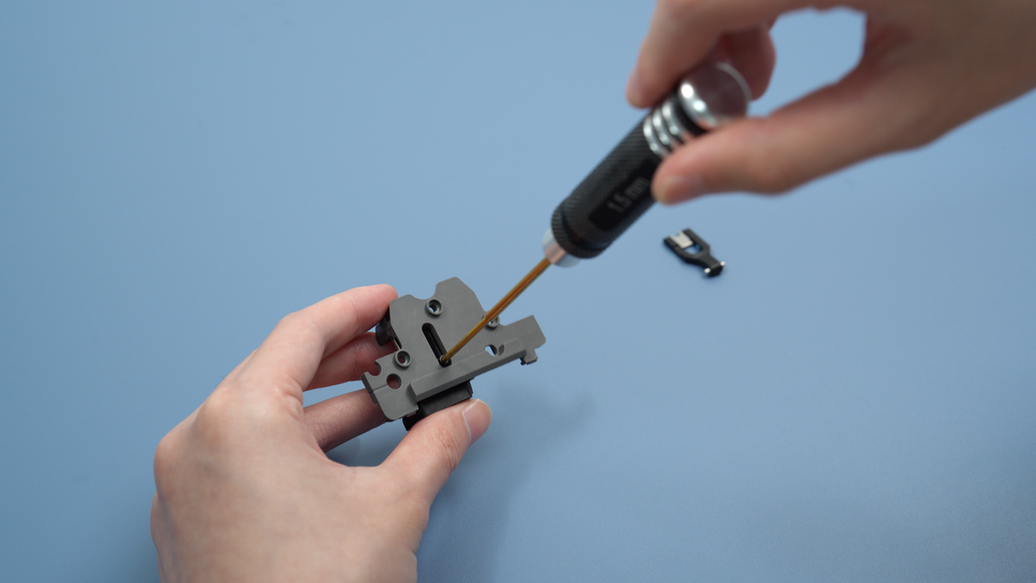
Use an H1.5 Allen key to clear the interior of the black hotend connector and extruder filament guide to prevent any filament from remaining blocked inside.
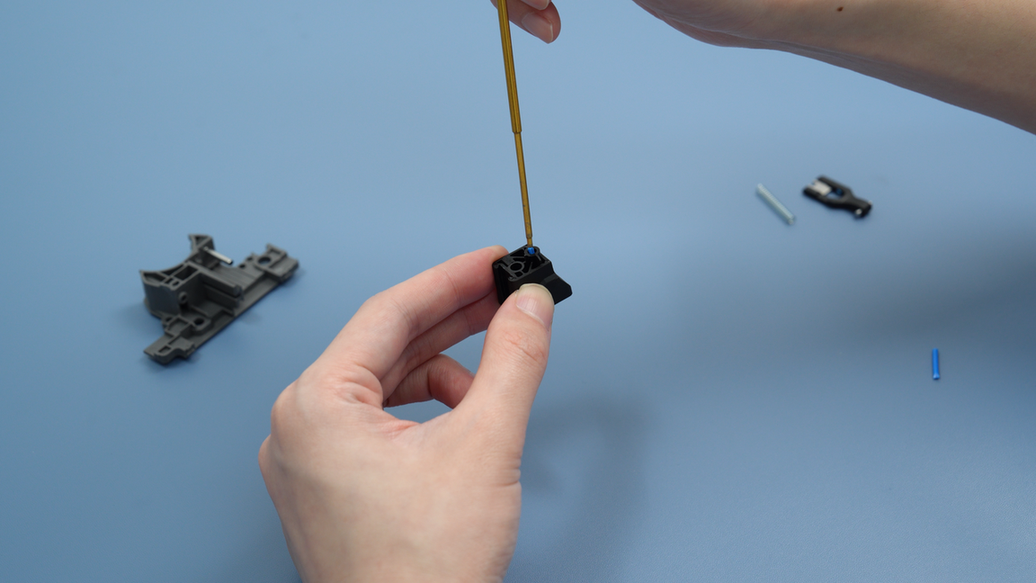
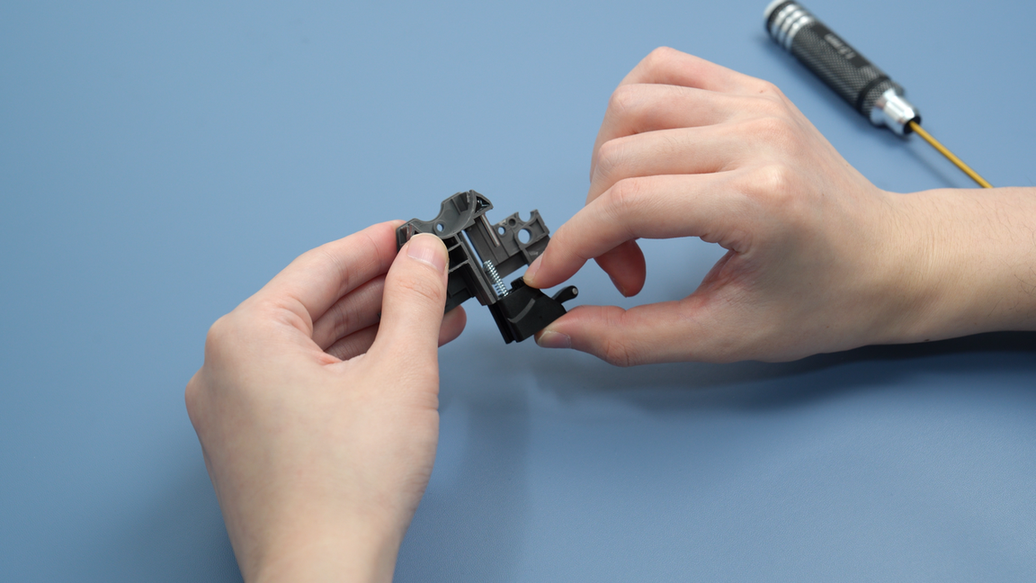
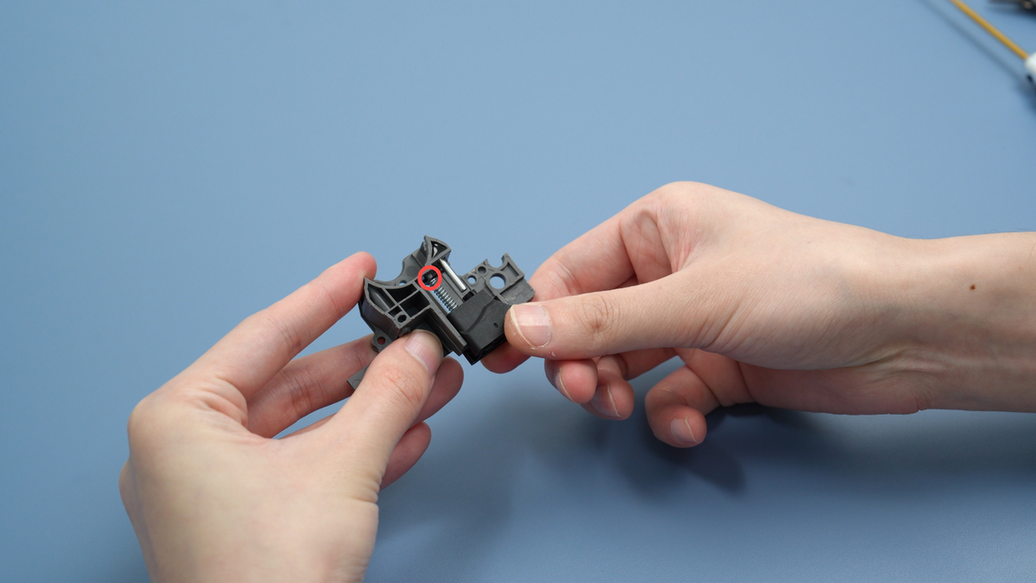
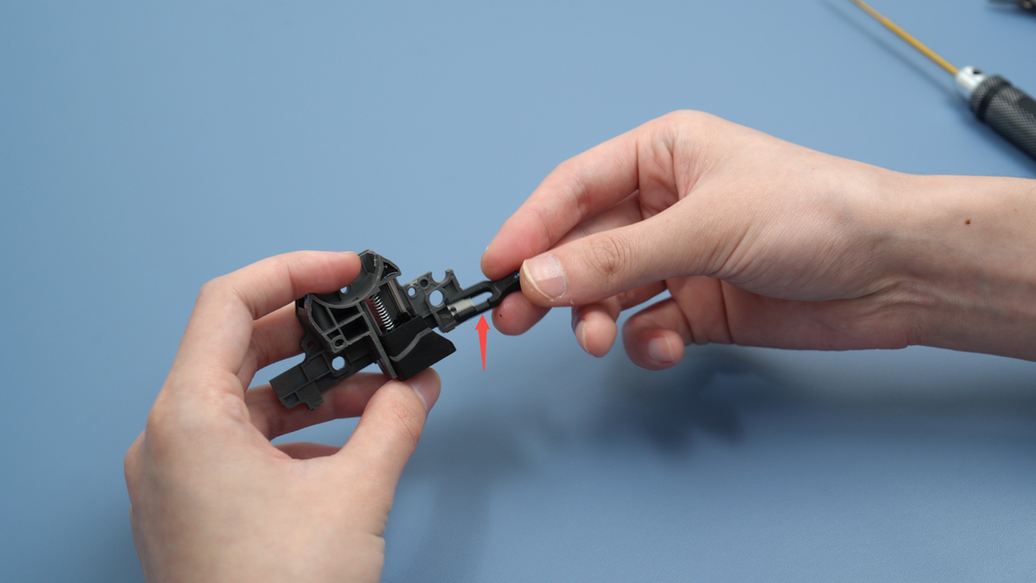
After cleaning, put the spring back on the black hotend connector, and reinstall the connector along the guide rail, ensuring that the spring fits snugly onto the slider in the red frame. Then, reinstall the screw and put the cutter back. It is important to note that the cutter has one concave side, so make sure the concave side is facing upwards when inserting the cutter.

¶ Scenario 3: Abnormal filament may be stuck at the exit or inside of the extruder idler.
This situation is very rare. If it occurs, it is recommended to use an H1.5 Allen key to attempt to push out the filament. If it cannot be pushed out, please refer to this tutorial for cleaning :H2D Idler Arm Filament Jamming Troubleshooting Guide.
If still unsuccessful, refer to this wiki to replace the extruder idler: H2D extruder unit disassembly and assembly.
When installing the extruder filament guide, first press firmly upward on the black hotend connector. Then, gently press the cutter to adjust it to an appropriate angle before inserting the extruder filament guide. Finally, press on both sides of the cutter while applying force to completely flatten the guide surface.
Then re-tighten the four screws on the extruder filament guide.
After cleaning is complete, reinstall the hotend and lock the hotend latch, then reinstall the silicone sock for hotend. Switch the nozzle on the screen and install the other hotend using the same method.
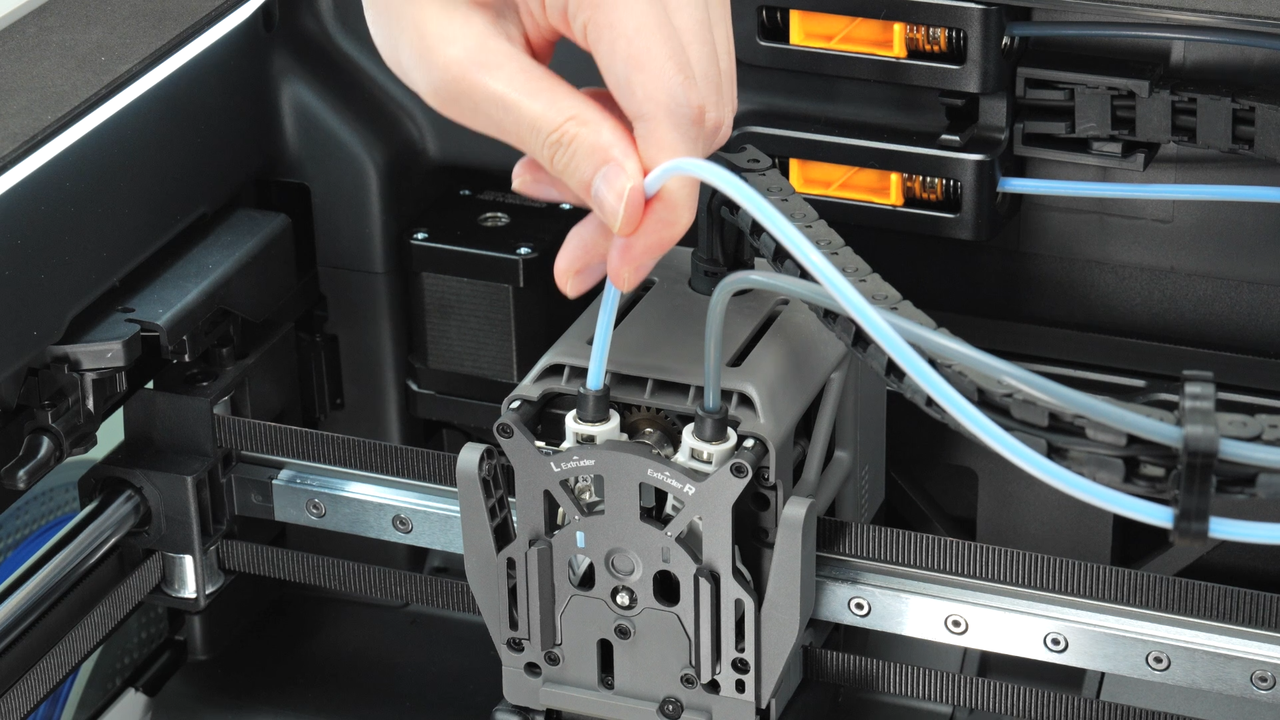
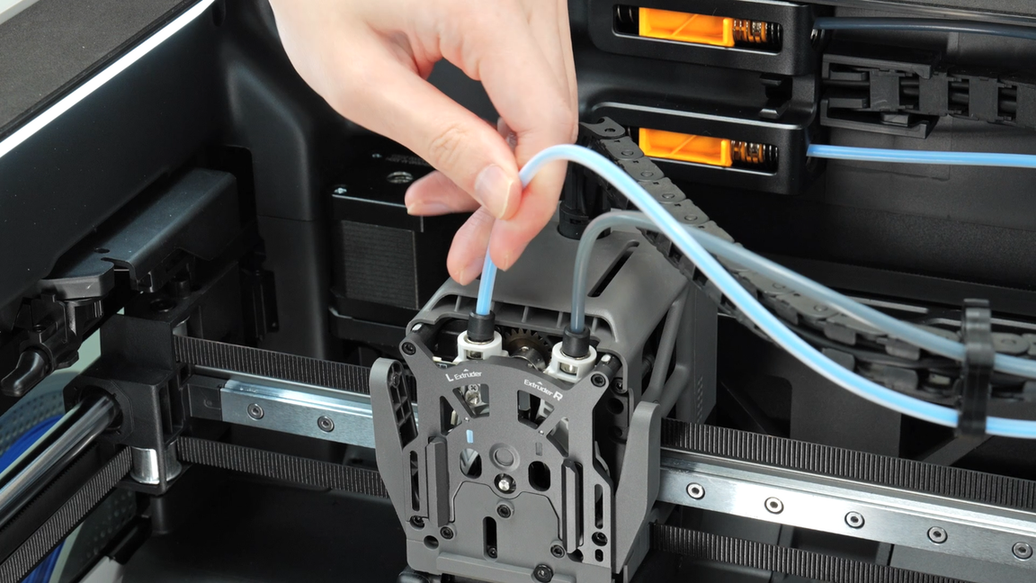
Reconnect the PTFE tubes, with the PTFE tube above the drag chain connecting to the right extruder and the PTFE tube below the drag chain connecting to the left extruder.
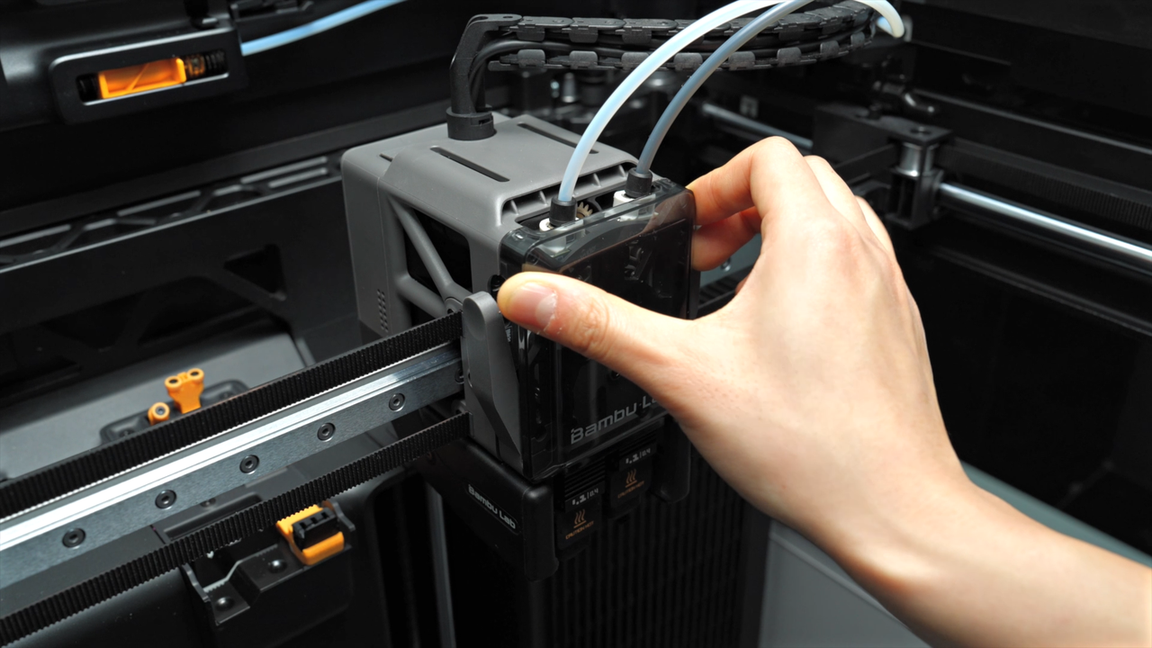
When reinstalling the toolhead front cover, first latch it under the extruder and then push it back to secure the front cover in place.
¶ End Notes
We hope the detailed guide provided has been helpful and informative.
If this guide does not solve your problem, please submit a technical ticket, we will answer your questions and provide assistance.
If you have any suggestions or feedback on this Wiki, please leave a message in the comment area. Thank you for your support and attention!